Picture this: a charming begonia sitting on your windowsill, its leaves showing off their vibrant colors and unique patterns. But wait, it seems like it’s outgrown its pot. What now? Repotting might sound intimidating, but with a little guidance, you'll find it's a rewarding process that can invigorate your plant and enhance its beauty.
In this article, we'll explore everything you need to know about repotting begonias. We'll cover when and why you should repot, the best soil and pot selections, and a step-by-step guide to making the process as smooth as possible. Whether you're a seasoned plant parent or a curious newcomer, there's something here for you.
When to Repot Your Begonia
Timing is everything, especially when it comes to repotting your begonia. But how do you know when it's time to give your plant a new home? Here are some telltale signs:
- Roots Peeking Out: If you notice roots poking out of the drainage holes or circling the top of the soil, your begonia is likely root-bound and in need of more space.
- Watering Issues: Is your begonia drying out faster than usual, or is water just sitting at the top? These could be signs that the soil is compacted or the roots are too crowded.
- Stunted Growth: If your begonia isn’t growing as vigorously as it once did, it might be struggling with limited root space.
Generally, spring is the best time to repot begonias, as they’re gearing up for a growth spurt. However, if you notice any of the signs above, don’t hesitate to repot when needed.
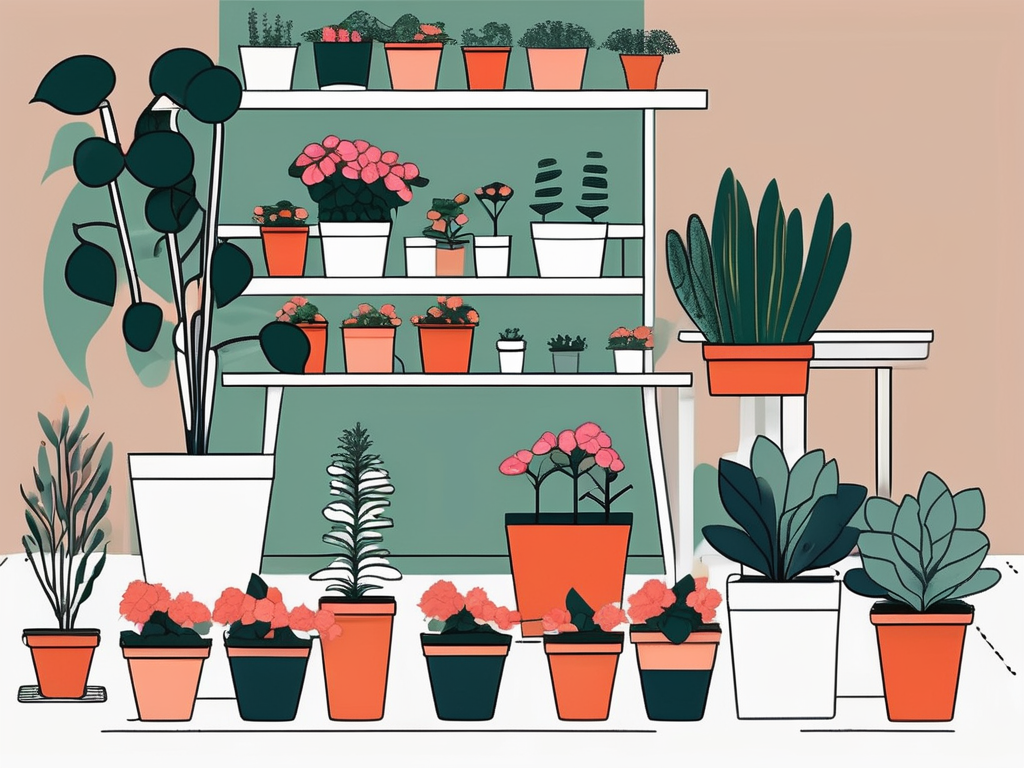
Choosing the Right Pot
Now that you've determined it's time to repot, the next step is selecting the right pot. But what makes a pot “right” for a begonia? Let's break it down:
- Size Matters: Choose a pot that’s just one or two sizes larger than the current one. A pot that’s too big can lead to overwatering, as the excess soil holds more water than the plant can use.
- Material Choice: Terracotta pots are a popular choice because they’re breathable, allowing moisture to evaporate and preventing waterlogging. However, they do dry out faster, so you might need to water more frequently. Plastic pots retain moisture better and are lighter, which can be more convenient for larger plants.
- Drainage is Key: Ensure your pot has adequate drainage holes. This is non-negotiable, as begonias are prone to root rot if left sitting in water.
Choosing the right pot ensures your begonia's roots have the space they need to grow healthy and strong.
The Perfect Soil Mix
Begonias aren’t too fussy, but they do have a preference when it comes to soil. The goal is to mimic their natural environment, which is typically loose, well-draining soil. Here’s how you can achieve that:
- Light and Airy: A mix that includes peat moss, perlite, and vermiculite works wonders. It provides the perfect balance of moisture retention and drainage.
- Nutrient-Rich: Look for soil that's rich in organic matter. This will provide the nutrients your begonia needs to thrive.
- Avoid Compaction: Avoid heavy garden soil or anything that compacts easily, as it can suffocate the roots.
If you’re mixing your own soil, try combining equal parts of potting soil, perlite, and peat moss. This combination offers excellent drainage and aeration while holding just enough moisture.
Gathering Your Tools
Before you dive into the actual repotting, gather all the tools and materials you’ll need. Having everything on hand makes the process smoother and less stressful for both you and your plant. Here’s what you’ll need:
- New Pot: As discussed, make sure it’s the right size and has drainage holes.
- Soil Mix: Prepare your soil mix ahead of time.
- Gardening Gloves: Protect your hands from dirt and any potential irritants.
- Trowel or Spoon: For scooping soil.
- Pruning Shears: Handy for trimming any dead roots.
- Watering Can: For giving the plant a good drink after repotting.
With these tools ready, you’re all set to move on to the repotting process itself.
Step-by-Step Repotting Guide
Alright, you’ve got your tools, your pot, and your soil. It’s time to give your begonia a new home. Follow these steps to make the process straightforward and stress-free:
- Prepare the New Pot: Add a layer of fresh soil at the bottom of the new pot. This gives your begonia a good foundation.
- Remove the Begonia: Gently turn the plant on its side and tap the bottom of the pot to loosen the root ball. Carefully lift the plant out, supporting the base.
- Inspect the Roots: Take a moment to look at the roots. Trim away any that are dead, mushy, or overly long.
- Place in New Pot: Position the begonia in the center of the new pot. Fill around the sides with fresh soil, gently pressing down to remove air pockets.
- Water Thoroughly: Give the plant a good drink to help settle the soil. Make sure the excess water drains out the bottom.
- Adjust as Needed: Check that the plant is secure and adjust if necessary. Add more soil if it looks like it’s sinking too much.
And there you have it! Your begonia is now comfortably settled in its new pot.
Post-Repotting Care
Repotting can be a bit stressful for plants, so it’s important to give your begonia some extra TLC afterward. Here’s how you can help it adjust:
- Light: Keep your begonia in a spot with bright, indirect light. Direct sunlight can be harsh and cause additional stress.
- Watering: Be cautious with watering. Allow the top inch of soil to dry out between waterings to prevent overwatering.
- Humidity: Begonias love humidity. If your home is dry, consider using a pebble tray or a humidifier to boost the moisture in the air.
- Avoid Fertilizing: Hold off on fertilizing for a few weeks. Let your begonia settle into its new pot before adding any extra nutrients.
With the right care, your begonia will bounce back and continue to thrive in its new environment.
Common Mistakes to Avoid
Even with the best intentions, mistakes can happen during repotting. Here are some common pitfalls and how to sidestep them:
- Choosing the Wrong Pot Size: It’s tempting to go big, but resist the urge. An oversized pot can lead to overwatering issues.
- Poor Soil Choice: Using garden soil or a heavy mix can suffocate your begonia’s roots. Stick to a light, airy mix for best results.
- Overwatering: Newly potted plants don’t need constant watering. Let the soil dry out a bit to avoid rot.
- Handling Roughly: Be gentle when removing and placing your begonia. Rough handling can damage the roots and stress the plant.
By being mindful of these common errors, you can ensure a smooth, successful repotting experience for your begonia.
Benefits of Repotting
Repotting might seem like a chore, but the benefits are well worth the effort. Here’s why giving your begonia a fresh start is a great idea:
- Improved Growth: Fresh soil provides new nutrients, giving your plant the energy it needs to grow bigger and stronger.
- Healthier Roots: More space allows the roots to spread out, reducing the risk of root rot and other issues.
- Better Appearance: A new pot can complement your decor, making your begonia a stunning focal point in your home.
- Pest Reduction: Old soil can harbor pests. Repotting helps eliminate these unwanted guests, keeping your plant healthy.
Repotting breathes new life into your begonia, setting it up for continued health and vitality.
Repotting Different Types of Begonias
Begonias come in many varieties, each with its own unique characteristics. While the basic repotting steps are the same, there are some nuances to consider for different types:
- Rhizomatous Begonias: These have thick, underground stems. Be careful not to bury the rhizomes too deeply when repotting.
- Rex Begonias: Known for their stunning foliage, Rex begonias prefer slightly more acidic soil. Consider adding a bit of peat moss to your mix.
- Tuberous Begonias: These grow from tubers. Make sure to plant them just below the soil surface, with the concave side facing up.
Understanding these subtle differences can make the repotting process more successful for each begonia type.
Final Thoughts
Repotting your begonia doesn’t have to be a daunting task. With the right knowledge and approach, you can give your plant the space and nutrients it needs to thrive. From choosing the perfect pot and soil to post-repotting care, each step is an opportunity to connect with your plant and help it flourish.
At Cafe Planta, we’re all about helping you nurture your love for plants. Whether you're seeking the perfect plant accessory or need some advice, we're here for you. Feel free to reach out via email or drop us a message on Instagram. We believe in the power of plants to bring joy and connection to your life. Let's grow together!


