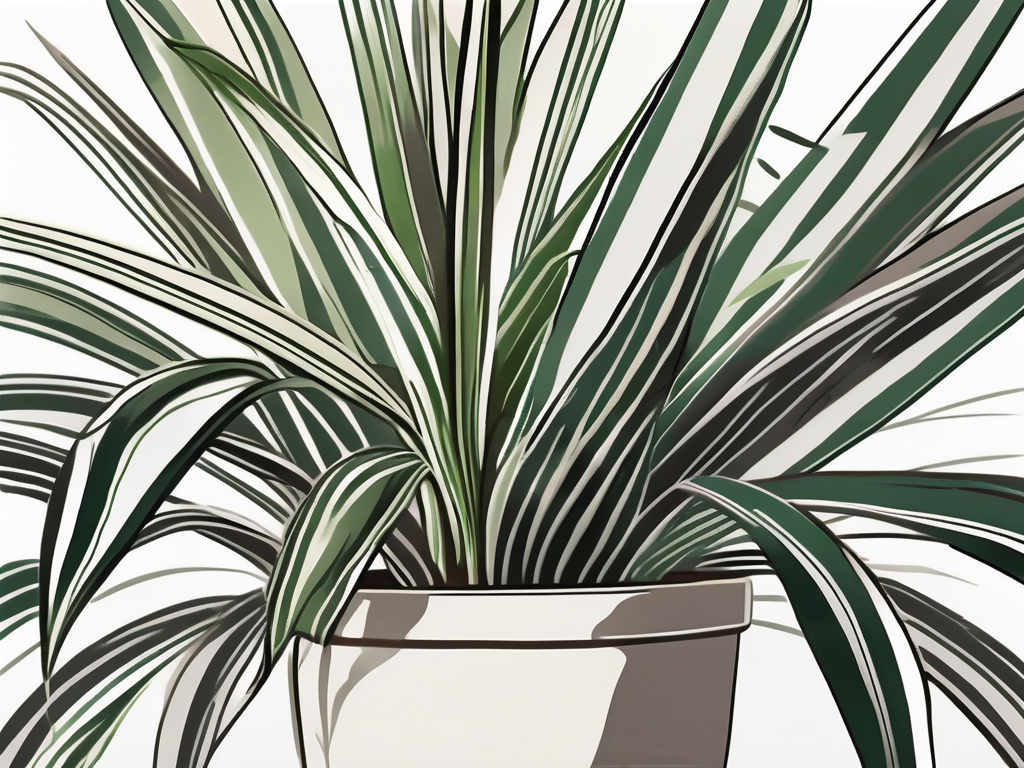
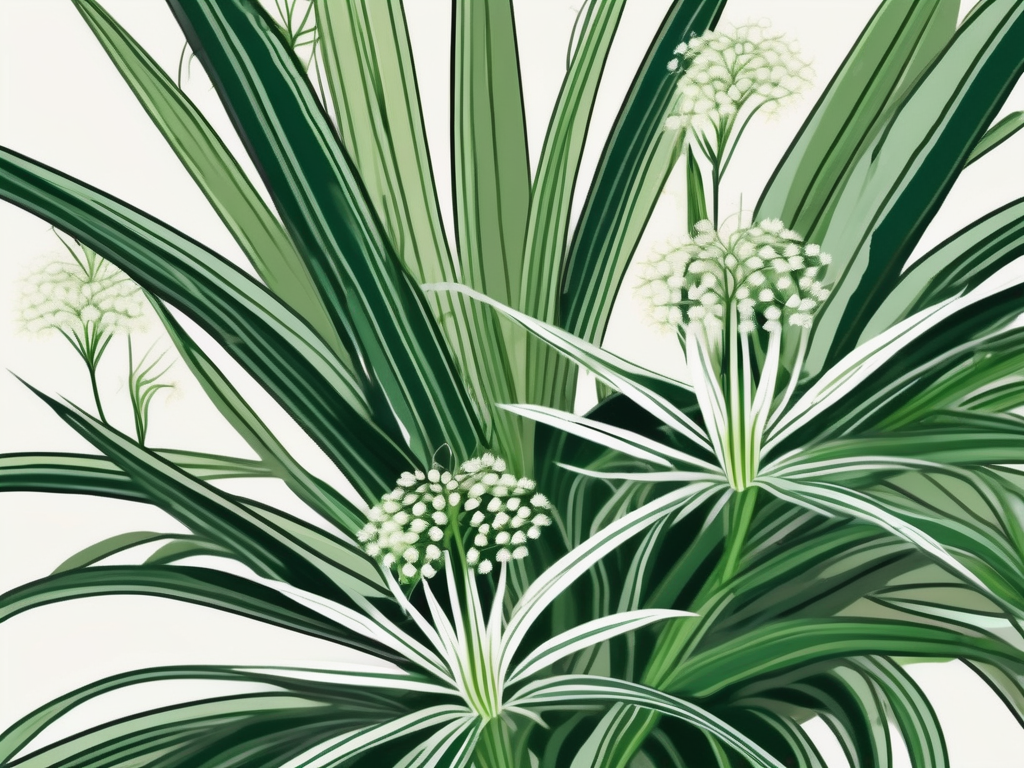
Ah, the spider plant! It's the quintessential houseplant, loved for its graceful arching leaves and charming little "spiderettes" that dangle like nature's own green baubles. Whether you're a seasoned plant parent or a newbie just starting to build your indoor jungle, the spider plant is a fantastic choice. But while they might seem easygoing, a little guidance goes a long way in keeping them truly thriving.
In this article, we'll explore everything you need to know to keep your spider plant happy and healthy. From choosing the right spot in your home to understanding their watering and lighting needs, we've got you covered. So, grab a cup of tea, settle into your coziest chair, and let's chat about how to turn your spider plant into the star of your indoor garden.
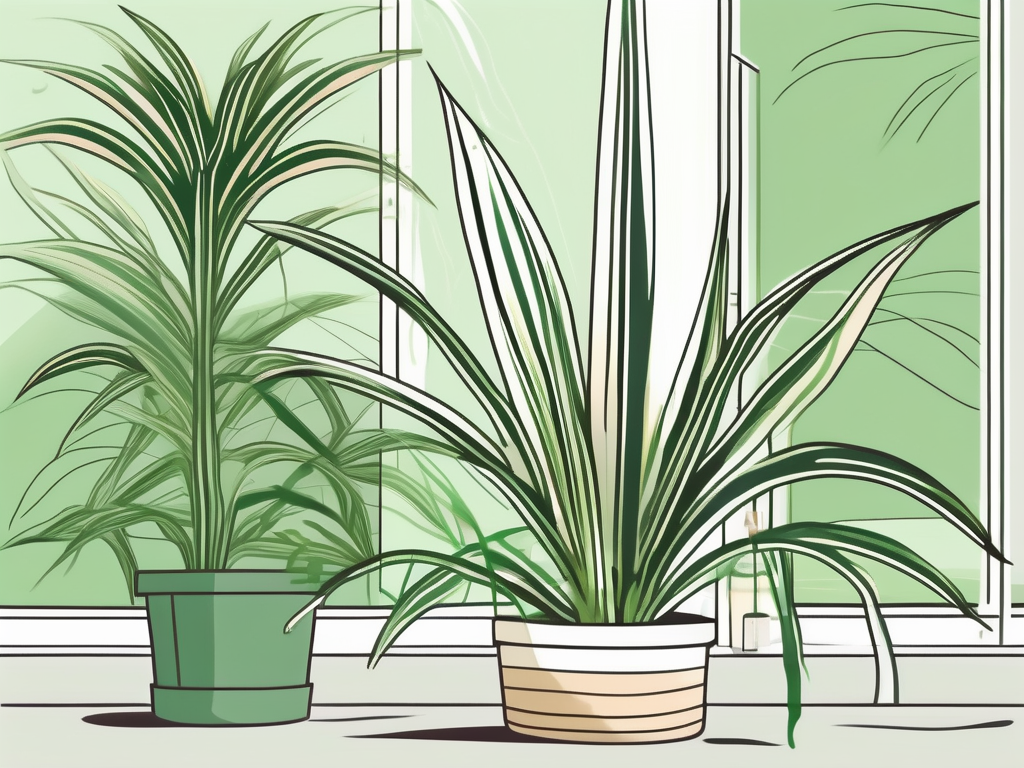
Choosing the Perfect Spot for Your Spider Plant
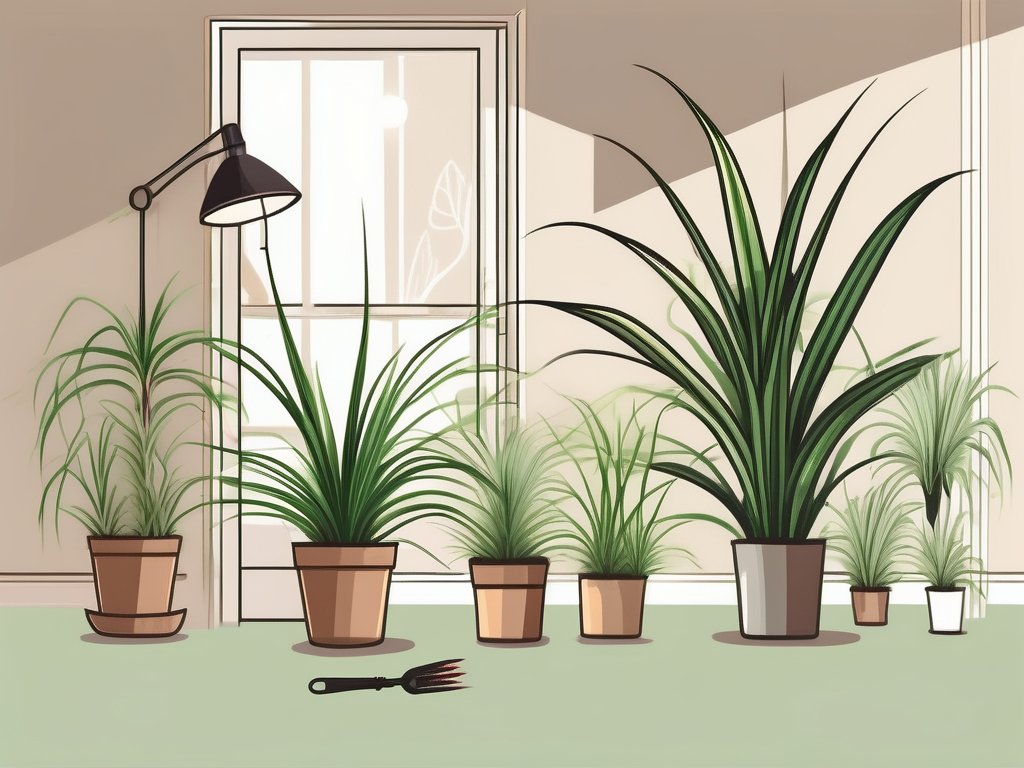
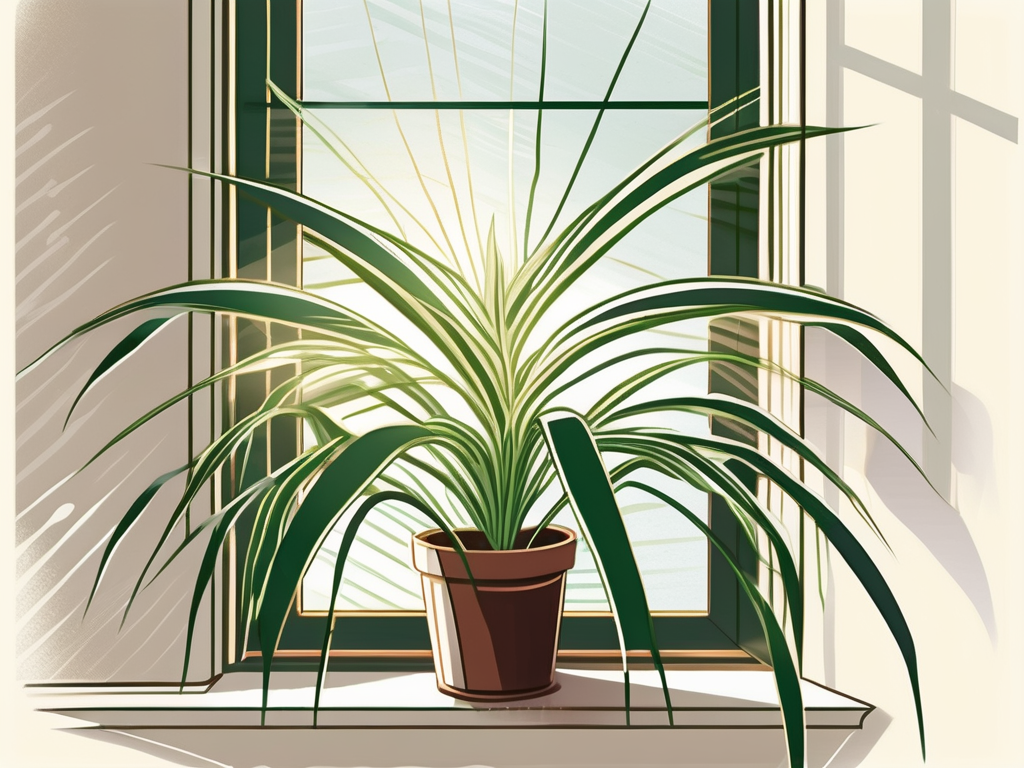
First things first, let's talk about location. Spider plants are like Goldilocks when it comes to light—they don't want too much, and they don't want too little. They thrive in bright, indirect sunlight, which mimics their natural habitat under the forest canopy. Think of a spot where you can read a book comfortably during the day without needing a lamp—that's your sweet spot for a spider plant.
If you're placing your plant indoors, a north or east-facing window is usually ideal. These spots provide ample light without the harsh, direct rays that can scorch the leaves. But if your only option is a south or west window, don't worry! Just make sure to place a sheer curtain to diffuse the light or set the plant a few feet back from the window.
While spider plants can adapt to lower light conditions, they might not produce as many offsets or "baby spiders." So, if you're hoping for a family of spiderettes, aim for that bright, indirect light. And remember, like any good roommate, they appreciate a consistent environment—avoid moving them around too much once you find their happy place.
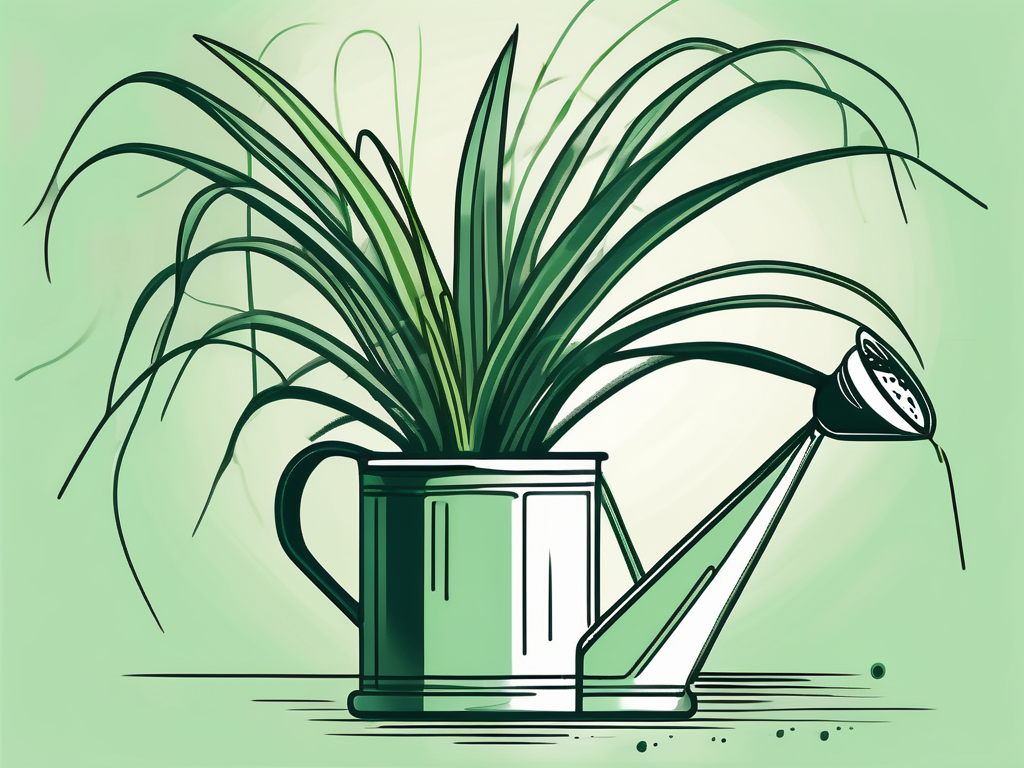
Understanding Watering Needs
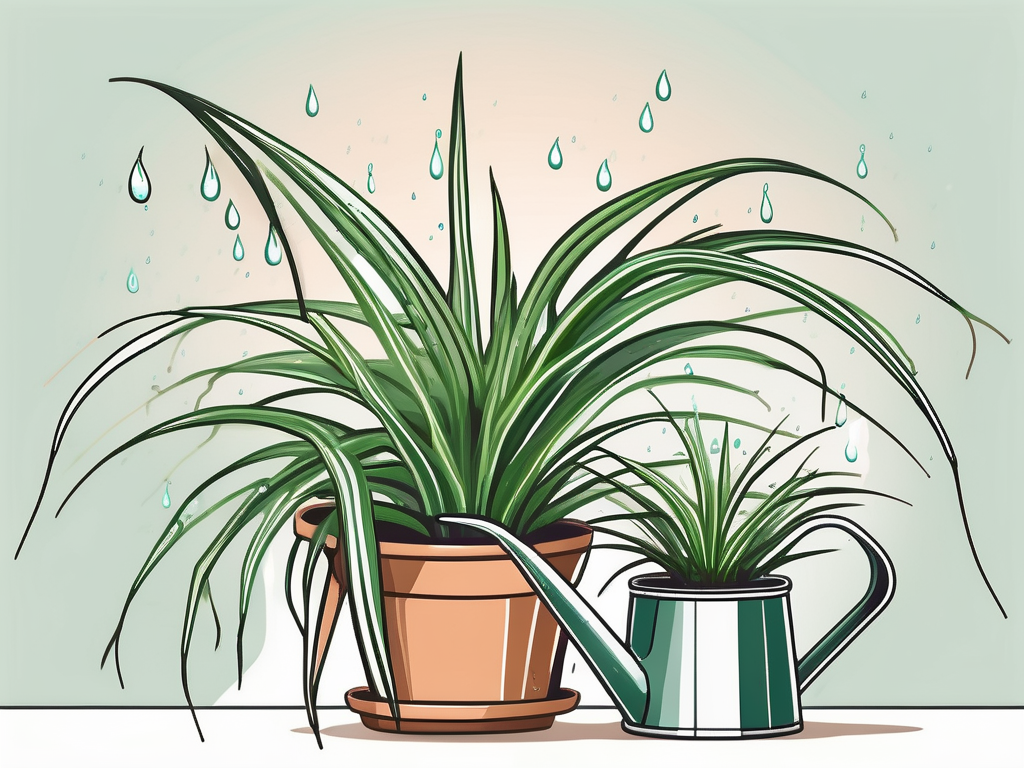
When it comes to watering your spider plant, moderation is key. These plants prefer their soil to dry out a bit between waterings, so it's important not to overwater them. A good rule of thumb is to wait until the top inch of soil feels dry to the touch before giving them a drink.
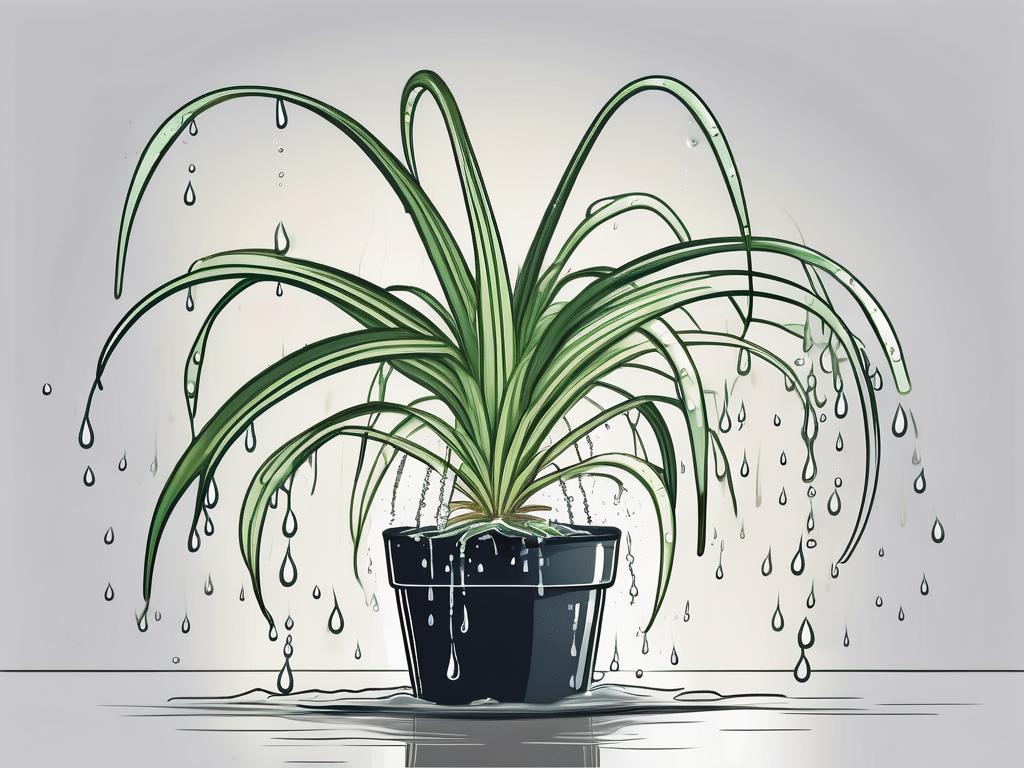
In general, spider plants will need more frequent watering during the growing season (spring and summer) and less during their dormant phase (fall and winter). However, your specific watering schedule will depend on the humidity and temperature of your home. If the leaves start developing brown tips, it's often a sign of over-watering or fluoride build-up from tap water. Using distilled or rainwater can help prevent this.
Here's a quick checklist to guide your watering routine:
- Check the soil moisture by sticking your finger about an inch into the soil.
- Water thoroughly until it drains from the bottom of the pot.
- Empty any excess water from the saucer to prevent root rot.
- Adjust the frequency based on the season and your home's environment.
Getting the Soil Just Right
Spider plants are not too fussy about soil, but they do appreciate a well-draining mix. A standard potting soil with a bit of added perlite or sand works wonderfully. This ensures that the soil retains enough moisture without becoming waterlogged, which is crucial for preventing root rot.
If you're feeling a bit adventurous, you can even create your own potting mix. Mix equal parts of peat moss and coarse sand or perlite to create a light, airy blend that spider plants love. Remember, the goal is to allow excess water to drain away quickly while still holding onto enough moisture for the plant's roots.
Repotting is another aspect to consider. Spider plants grow quickly, and their roots can become crowded. Typically, repotting every one to two years is sufficient. Choose a pot that's just one size larger than the current one to avoid giving the roots too much space, which can slow down growth.
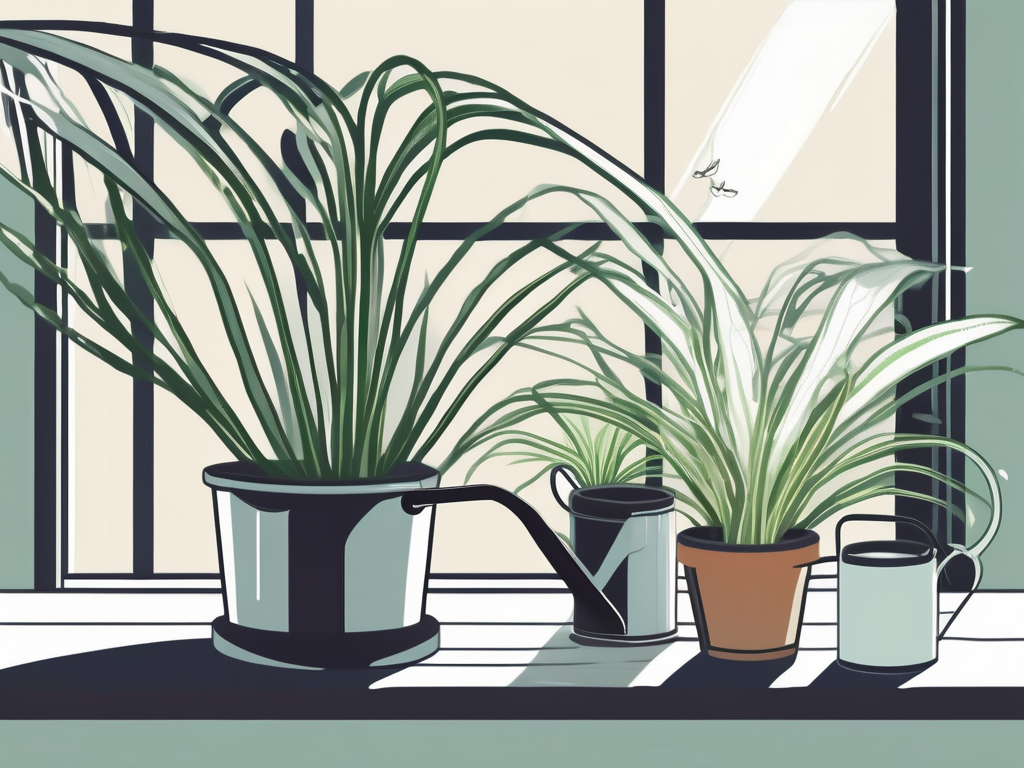
Temperature and Humidity Preferences
Spider plants are quite forgiving when it comes to temperature, making them perfect housemates. They thrive in temperatures ranging from 65°F to 75°F during the day and can tolerate a drop to about 50°F at night. Just remember to keep them away from cold drafts and sudden temperature changes, which can stress the plant.
As for humidity, spider plants prefer a bit of moisture in the air but are not as demanding as some other houseplants. If your home tends to be dry, especially during the winter months, consider placing a small humidifier nearby or grouping your spider plant with other plants to create a more humid micro-environment.
It's also helpful to mist the leaves occasionally, especially if you notice the tips browning. This can help increase the humidity around the plant and keep it looking lush and healthy. Just be sure to mist in the mornings to allow the leaves to dry before nightfall, reducing the risk of mold or fungus.
Feeding Your Spider Plant
While spider plants aren't heavy feeders, they do appreciate a little nutrient boost during the growing season. A balanced, water-soluble fertilizer, diluted to half-strength, every 4-6 weeks from spring through early fall will do the trick. This helps support their growth and encourages more of those charming little spiderettes.
Be cautious not to over-fertilize, as this can lead to more harm than good. Signs of over-fertilization include leaf burn and a buildup of salt in the soil. If you suspect this is the case, you can "flush" the soil by watering the plant thoroughly and allowing the water to drain completely to remove excess salts.
During the fall and winter months, it's best to lay off the fertilizer as the plant's growth naturally slows down. This gives the spider plant a chance to rest and prepare for the next growing season. Think of it as a well-deserved nap for your leafy friend!
Pruning and Propagating Spider Plants
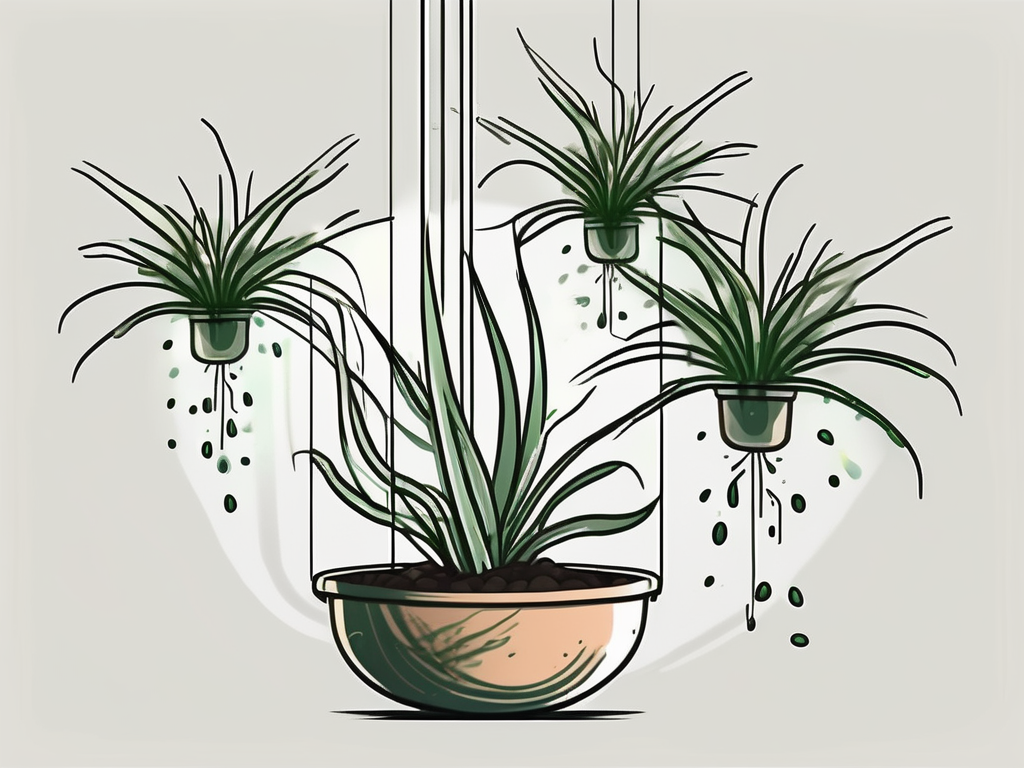
One of the joys of owning a spider plant is watching it produce those delightful baby plants or "pups." Not only do these add a charming touch, but they also provide an opportunity for propagation. You can let the pups grow on the mother plant, snip them off to start new plants, or share them with friends.
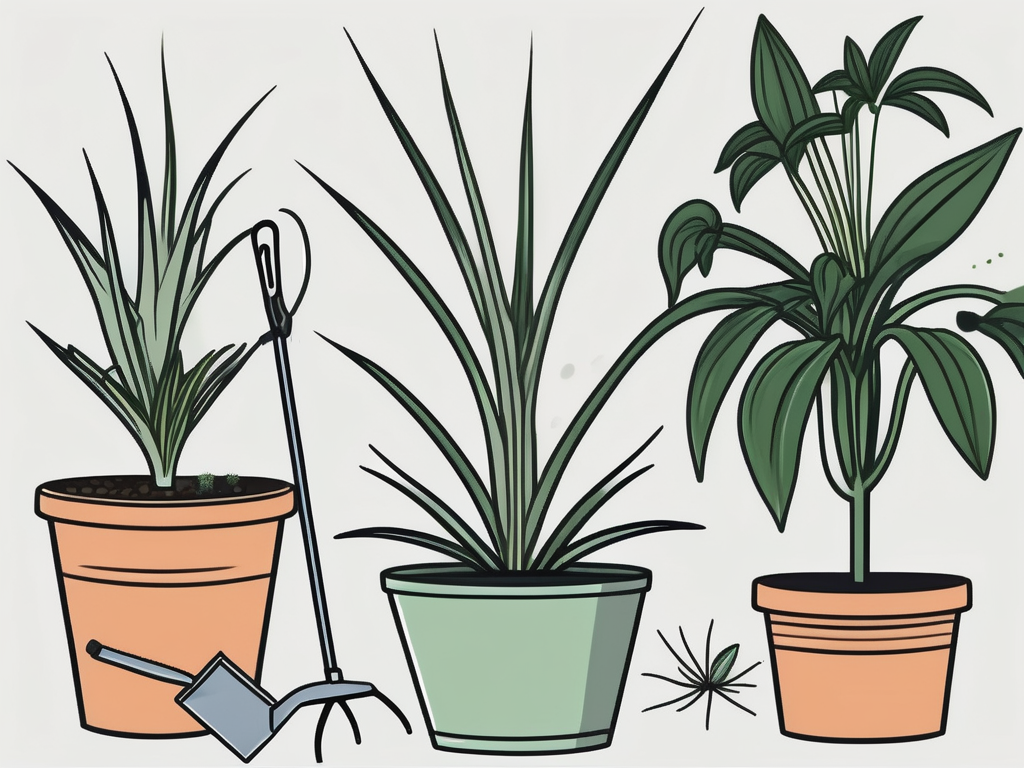
When it comes to pruning, it's mostly about keeping the plant tidy. Trim off any brown or dead leaves to allow new growth to flourish. This also helps the plant direct more energy toward healthy leaves and new pups. Use sharp, clean scissors to prevent any damage or infection.
If you decide to propagate, simply cut a pup close to the main plant. You can place it in water until roots develop or plant it directly in soil. Both methods work well, so it's really up to your personal preference. Just ensure the new plant gets the same care as the mature one to help it thrive.
Dealing with Pests and Common Problems
Like any plant, spider plants aren't completely immune to pests. However, they're generally quite resilient. The most common culprits include aphids, spider mites, and mealybugs. Regularly inspecting your plant and wiping down the leaves with a damp cloth can help keep these pests at bay.
If you do spot any unwanted visitors, a gentle spray with insecticidal soap or neem oil usually does the trick. For a more DIY approach, a mixture of water and a few drops of dish soap can also be effective. Just spray the affected areas and wipe clean.
Another issue you might encounter is the browning of leaf tips. This can be a sign of overwatering, low humidity, or fluoride sensitivity. Addressing these issues by adjusting your watering schedule, increasing humidity, or using distilled water can often resolve the problem.
Incorporating Spider Plants into Interior Design
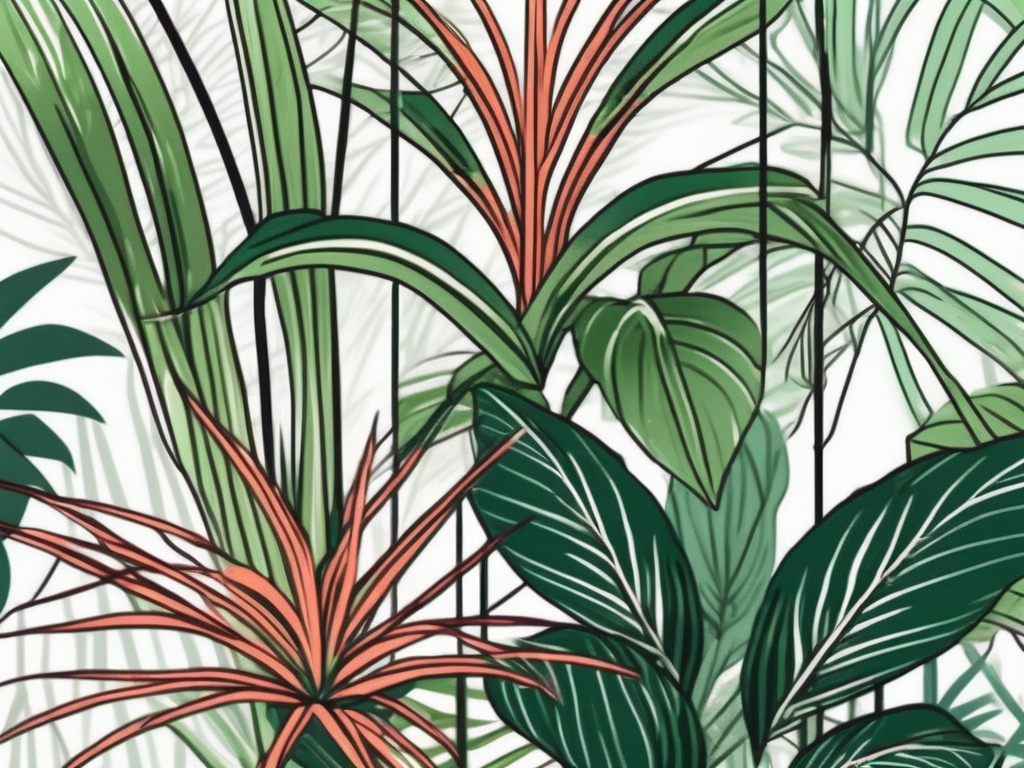
Spider plants are not just easy to care for—they're also incredibly versatile in terms of decor. Their long, arching leaves add a touch of elegance and movement to any room. Whether you're going for a minimalist aesthetic or a lush, tropical vibe, spider plants can fit right in.
Consider placing them in hanging baskets for a whimsical touch, allowing the leaves and pups to cascade down beautifully. They also work well on shelves or plant stands, where they can spill over the edge and create a dramatic effect.
For a more contemporary look, pair your spider plant with pots in neutral tones or sleek materials like metal or concrete. The contrast between the plant's organic form and the pot's modern lines can create a striking focal point in your space.
Don't be afraid to get creative! Mix and match with other houseplants to create an eye-catching arrangement. Just remember to consider each plant's light and water needs to ensure they all thrive together.
Final Thoughts
We've covered a lot about caring for spider plants, from finding the perfect spot to keeping them healthy and pest-free. With the right attention and a bit of patience, your spider plant can become a lush, lively part of your home.
At Cafe Planta, we love sharing our passion for plants with others. Whether you're looking for new green friends or need advice, we're here to help. Feel free to email us or reach out on Instagram. We believe that plants bring people together, and we're excited to help you grow your indoor oasis.