Spider plants, with their graceful arching leaves and charming little plantlets, are a favorite among plant lovers. Not only do they add a splash of green to any room, but they're also super easy to propagate. If you've ever wanted to expand your spider plant collection or share them with friends, you're in the right place!
This article walks you through the step-by-step process of propagating spider plants. From choosing the right time to potting up your new plants, we'll cover everything you need to know to grow healthy, thriving spider plants. Let's get started on this fun and rewarding journey!
Understanding Spider Plant Growth
Before we jump into propagation, it's helpful to understand a bit about how spider plants grow. This knowledge will make the whole process much smoother and more enjoyable.
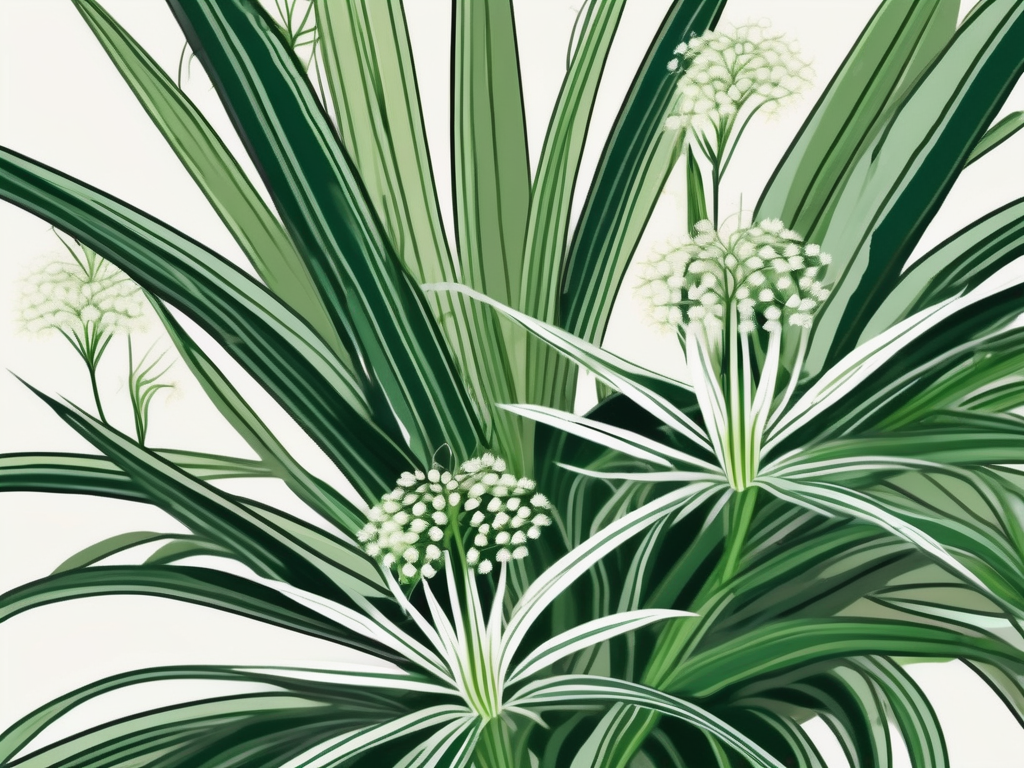
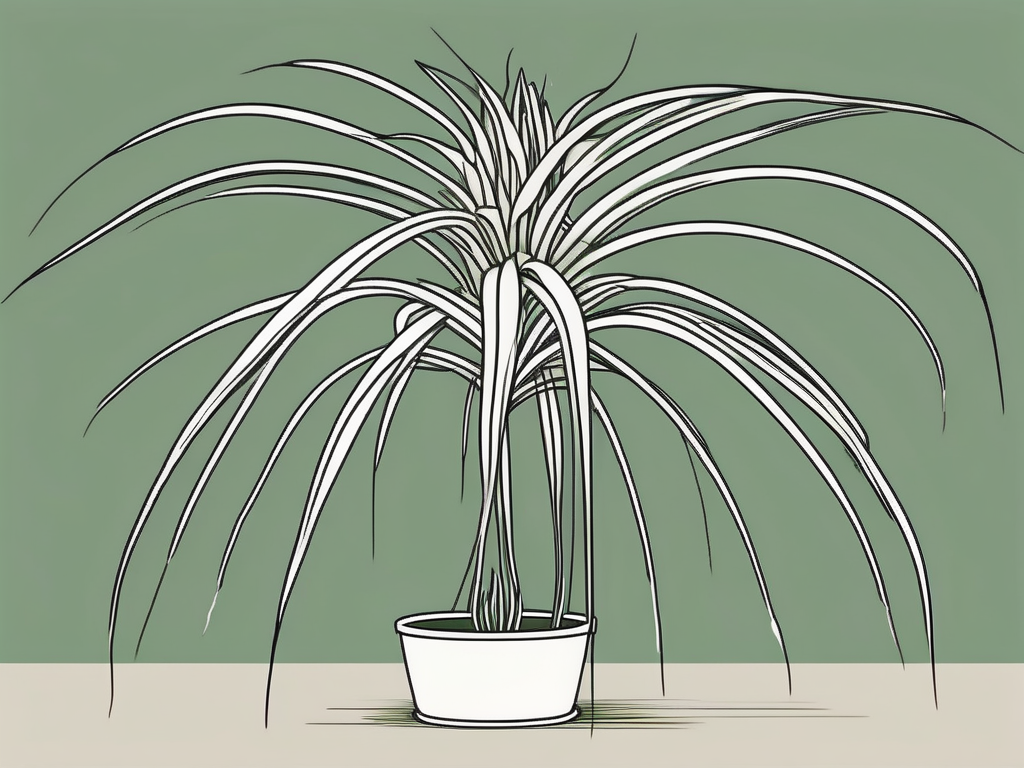
Spider plants are known for their long, arching leaves and the tiny plantlets that dangle from their stems. These plantlets, or "pups," are essentially baby spider plants just waiting for the right moment to grow roots and become independent plants.
- Growth Habit: Spider plants grow quickly, often producing several pups once they reach maturity. They're usually happiest in bright, indirect light, but can also tolerate lower light conditions.
- Water Needs: They prefer to dry out a bit between waterings. Overwatering can lead to root rot, which is something you definitely want to avoid.
- Temperature Preferences: They thrive in temperatures between 65°F to 75°F (18°C to 24°C). Keep them away from cold drafts or direct heat sources.
With these basics in mind, you're well-equipped to start propagating your spider plants.
Choosing the Right Time to Propagate
Timing can make a big difference when propagating spider plants. While these plants are pretty forgiving, choosing the right moment can boost your success rate.
Generally, spring and summer are the best times to propagate spider plants. During these seasons, the plant is actively growing, which means it's more likely to recover quickly from the stress of propagation and develop healthy roots.
- Spring and Summer: The increased sunlight and warmth stimulate growth, making it easier for new roots to form.
- Fall and Winter: While you can still propagate during these seasons, growth tends to slow down, and it may take longer for plantlets to establish themselves.
Pay attention to the health of your mother plant as well. If it's looking robust with plenty of healthy leaves and pups, it's probably a good time to start propagating. Avoid propagating if the plant is stressed, as this can reduce the chances of successful root development.
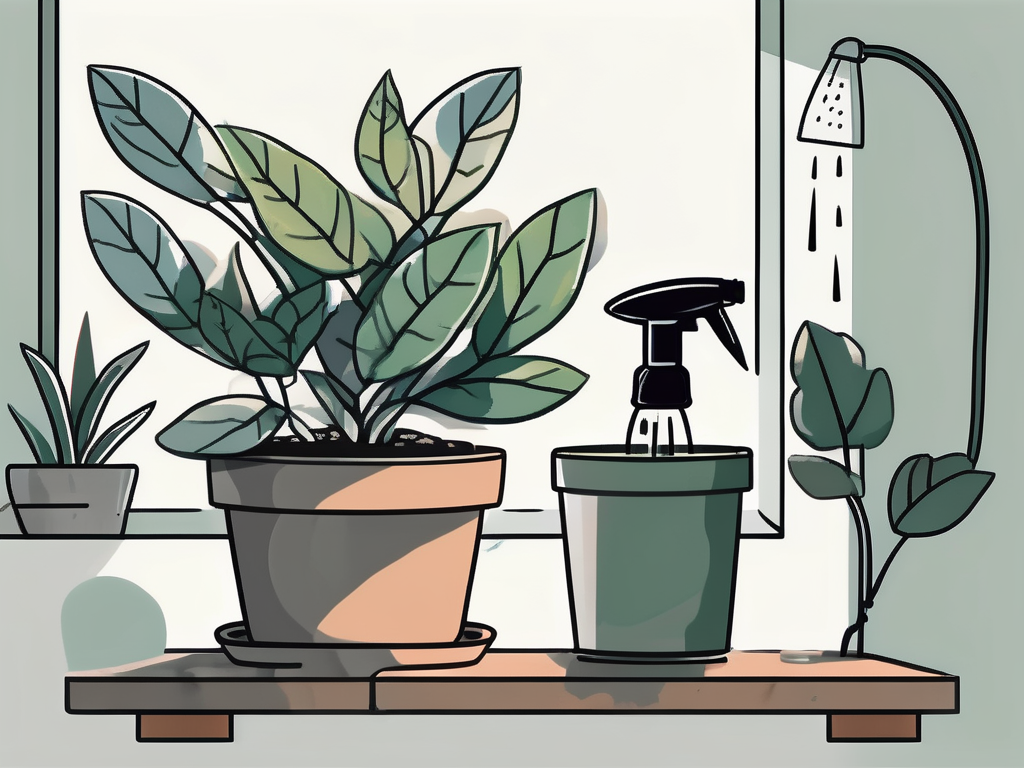
Gathering Your Supplies
Like any other project, having the right tools on hand can make the process of propagating spider plants a breeze. Let's gather everything you'll need to get started.
- Sharp Scissors or Pruning Shears: You'll need these for cutting the plantlets away from the mother plant. Make sure they're clean to prevent any transfer of diseases.
- Pots or Containers: Small pots are ideal for starting your new plants. Ensure they have drainage holes to prevent waterlogging.
- Potting Soil: A well-draining potting mix is crucial. You can use a commercial potting mix or make your own by mixing equal parts of peat moss, perlite, and sand.
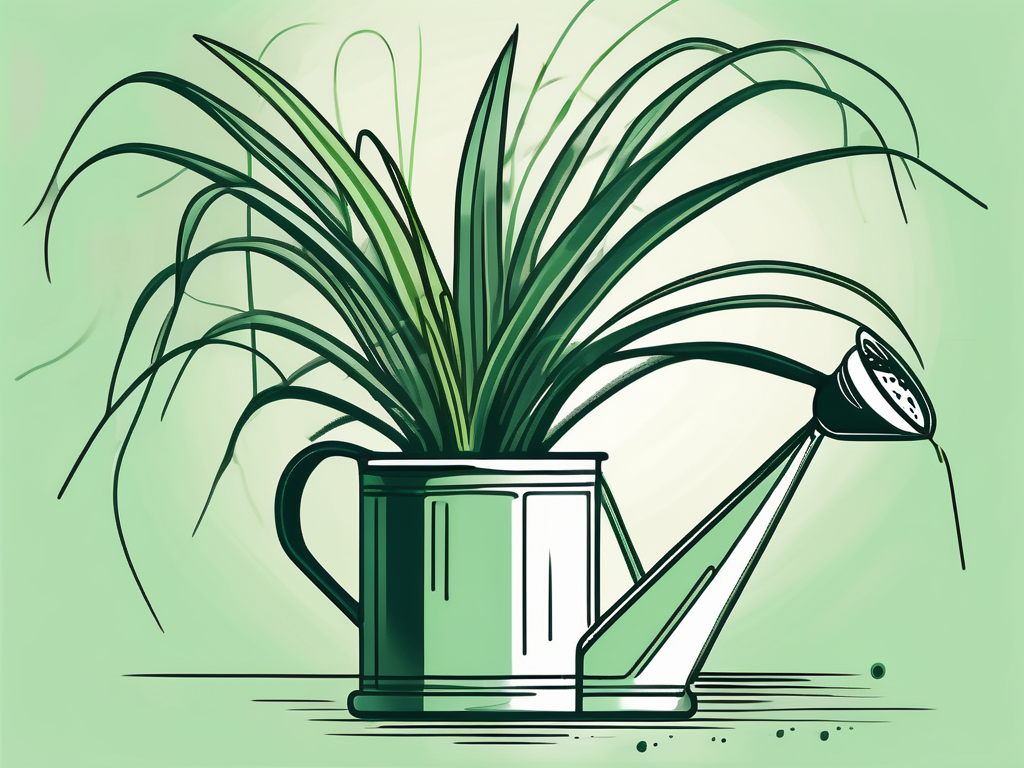
- Watering Can or Spray Bottle: You'll need to keep the soil moist but not soggy.
- Plastic Bag (optional): If you're propagating in a dry environment, you might want to cover the plantlets with a plastic bag to create a mini greenhouse effect.
With your supplies ready, you're all set to start the propagation process!
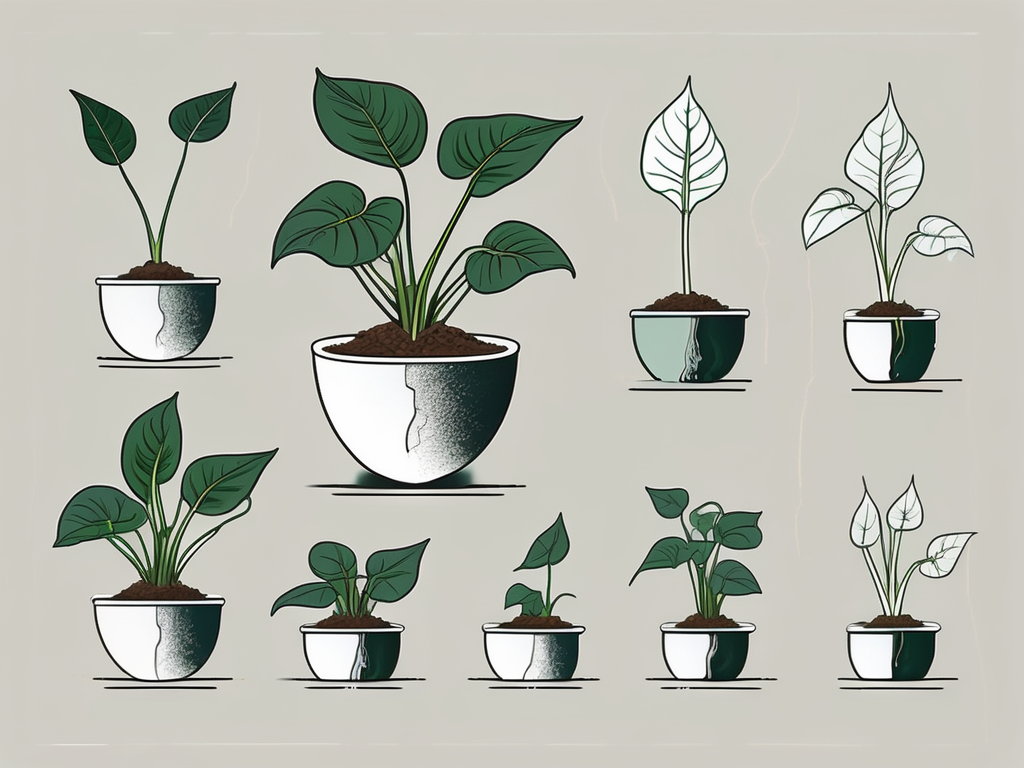
Preparing the Plantlets for Propagation
Now comes the fun part—preparing your spider plant pups for their new homes. This step is all about giving them the best chance to grow strong and healthy.
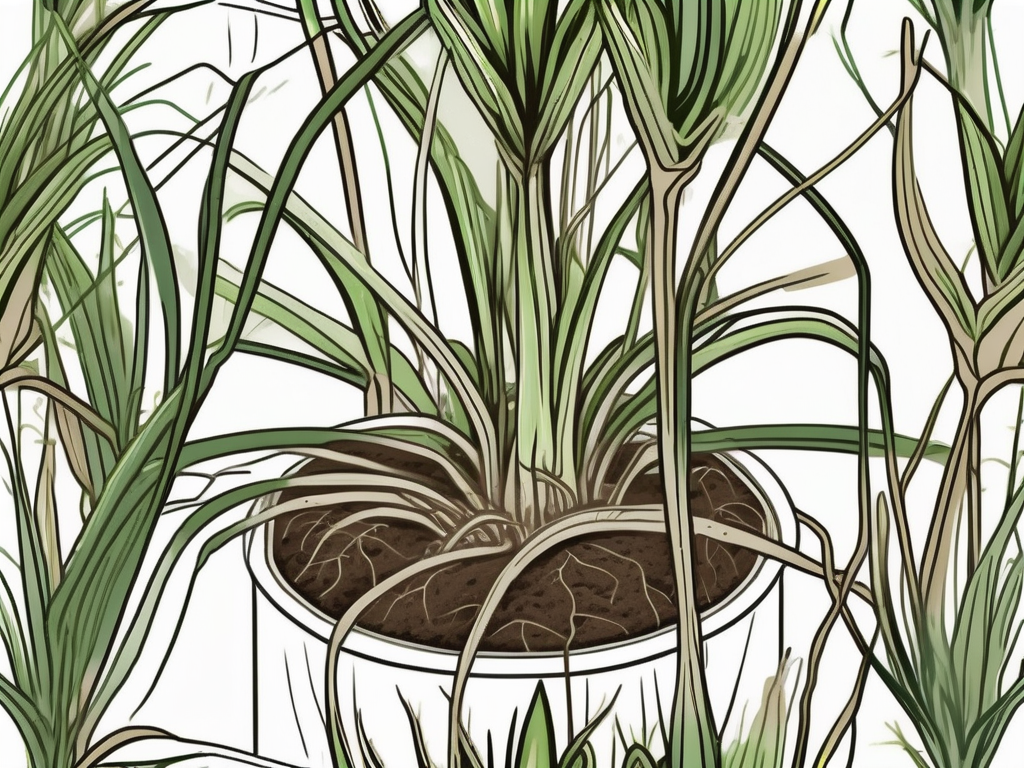
First, take a close look at the pups. They should be at least 2-3 inches long with visible roots. If the roots are not yet visible, you can still propagate them, but it might take a little longer for them to establish.
Steps to Prepare the Plantlets
- Select Healthy Pups: Look for plantlets with vibrant green color and no signs of disease or damage.
- Cut the Plantlets: Use your clean scissors or pruning shears to gently cut the pups away from the mother plant. Leave about an inch of stem attached to the plantlet.
- Remove Any Dead Leaves: Trim away any brown or yellow leaves from the plantlets to encourage healthy growth.
Once you've got your plantlets ready, it's time to move on to the next step—rooting them!
Rooting Spider Plant Cuttings
This stage is where your spider plant pups begin their journey to becoming independent plants. Rooting can be done in water or soil, and each method has its own perks.
Rooting in Water
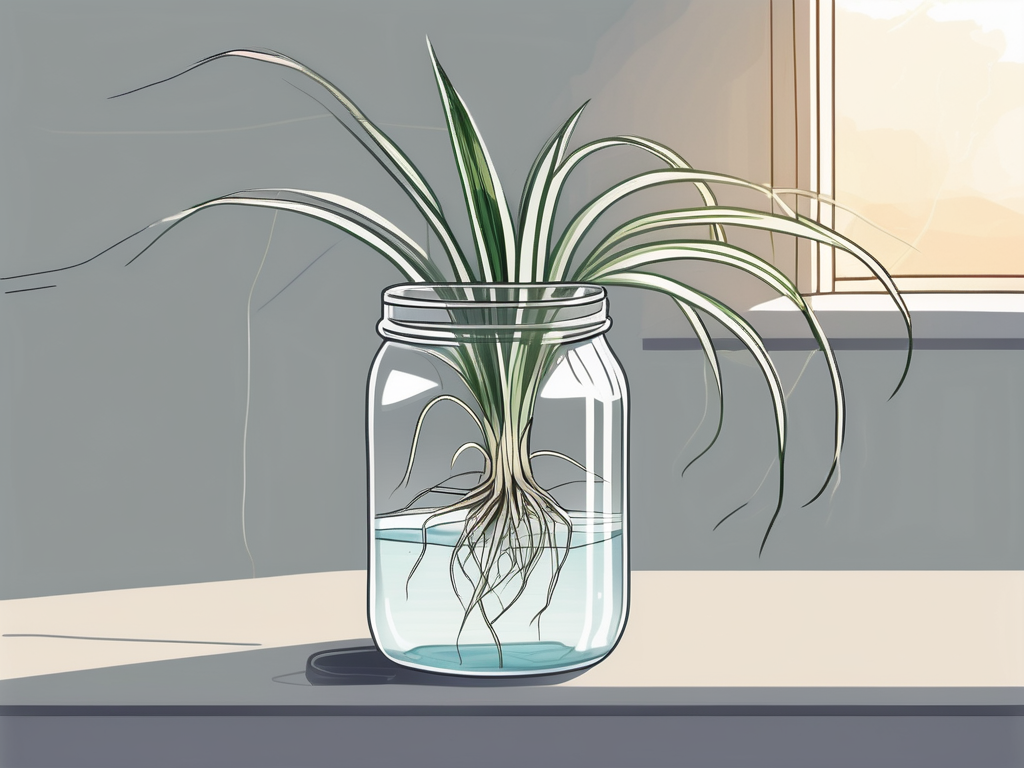
Rooting in water is a popular choice because it allows you to easily monitor root development. Plus, it's fascinating to watch the roots grow!
- Fill a Glass or Jar with Water: Use room temperature water and fill the container enough to submerge the base of the plantlet but not the leaves.
- Place the Plantlet in Water: Position the plantlet in the water, ensuring that only the roots and lower stem are submerged. You can use a toothpick to keep the leaves out of the water.
- Change the Water Regularly: Replace the water every few days to keep it fresh and oxygen-rich.
- Watch for Roots: Within a week or two, you should see roots begin to form. Wait until they're at least an inch long before planting.
Rooting in Soil
Rooting directly in soil can be a bit quicker since the plantlet doesn't have to adjust to two different environments, but it requires more patience as you can't see the roots developing.
- Fill a Pot with Potting Mix: Use your prepped potting soil, ensuring it's damp but not waterlogged.
- Make a Small Hole: Use your finger or a pencil to create a hole about an inch deep.
- Plant the Plantlet: Gently place the plantlet into the hole, covering the roots and base with soil. Press down lightly to secure it.
- Water Lightly: Give it a light watering to settle the soil around the roots.
- Monitor Growth: Keep the soil moist and place the pot in a bright spot, but out of direct sunlight.
Whether you choose to root in water or soil, patience is key. With a little time, you'll have new spider plants ready to thrive on their own.
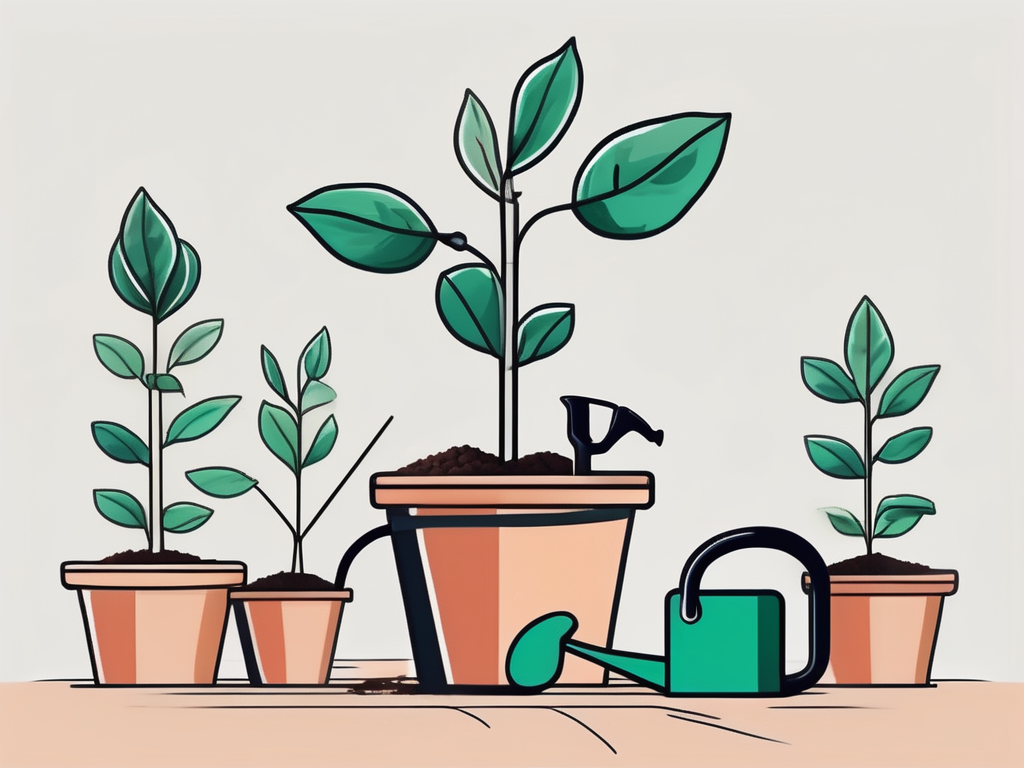
Potting Your New Spider Plants
Once your spider plant cuttings have developed a nice set of roots, it's time to pot them up! This is an exciting step as it marks the beginning of your new plants' independent lives.
Steps for Potting Up
- Choose Appropriate Pots: Select pots that are slightly larger than the root system of your new plants. Ensure they have drainage holes.
- Prepare the Potting Soil: Use a well-draining potting mix. You can add some perlite or sand to improve drainage if needed.
- Place the Plant in the Pot: Hold the plant steady and fill the pot with soil around the roots. Firmly pat down the soil to eliminate air pockets, but avoid compacting it too much.
- Water Thoroughly: Give the newly potted plant a good watering to help settle the soil.
- Find the Right Spot: Place your spider plant in a location with bright, indirect light. Avoid placing it in direct sunlight, which can scorch the leaves.
Remember to keep an eye on the moisture level in the pot. While the plant is establishing itself, it may need a little more water than usual, but be careful not to overwater.
Troubleshooting Common Problems
Like any endeavor, propagating spider plants can come with a few hiccups. But don’t worry! Most issues can be easily solved with a little attention and care.
Common Issues and Solutions
- Yellowing Leaves: This could be a sign of overwatering. Check the soil moisture level and let it dry out before watering again.
- Slow Root Growth: If your plantlets aren't developing roots, try moving them to a brighter spot or ensure that they're not too cold.
- Wilting Plantlets: Wilting can occur if the plantlet is not receiving enough water or light. Adjust these conditions as needed.
- Brown Tips: This is often a result of too much direct sunlight or fluoride in tap water. Use filtered water if possible, and move the plant out of direct sunlight.
By keeping an eye on these common issues, you can help ensure that your new spider plants grow up healthy and strong.
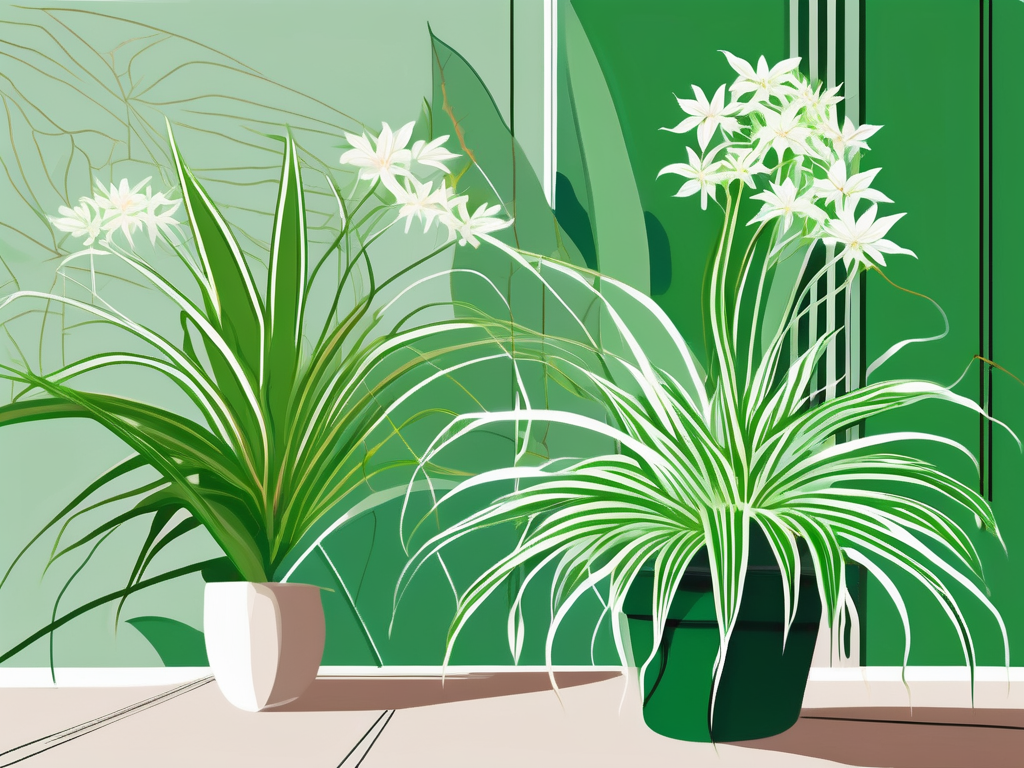
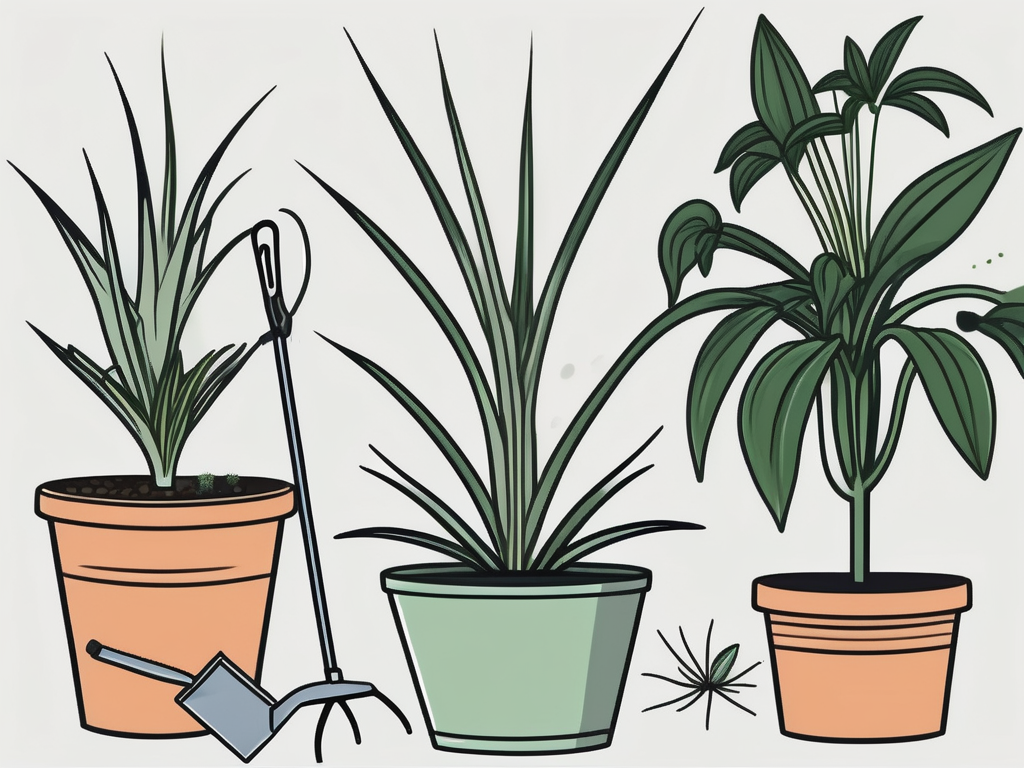
Integrating Spider Plants into Your Home Decor
Once you've successfully propagated your spider plants, you'll want to showcase them in your home. These versatile plants can fit into almost any decor style and space.
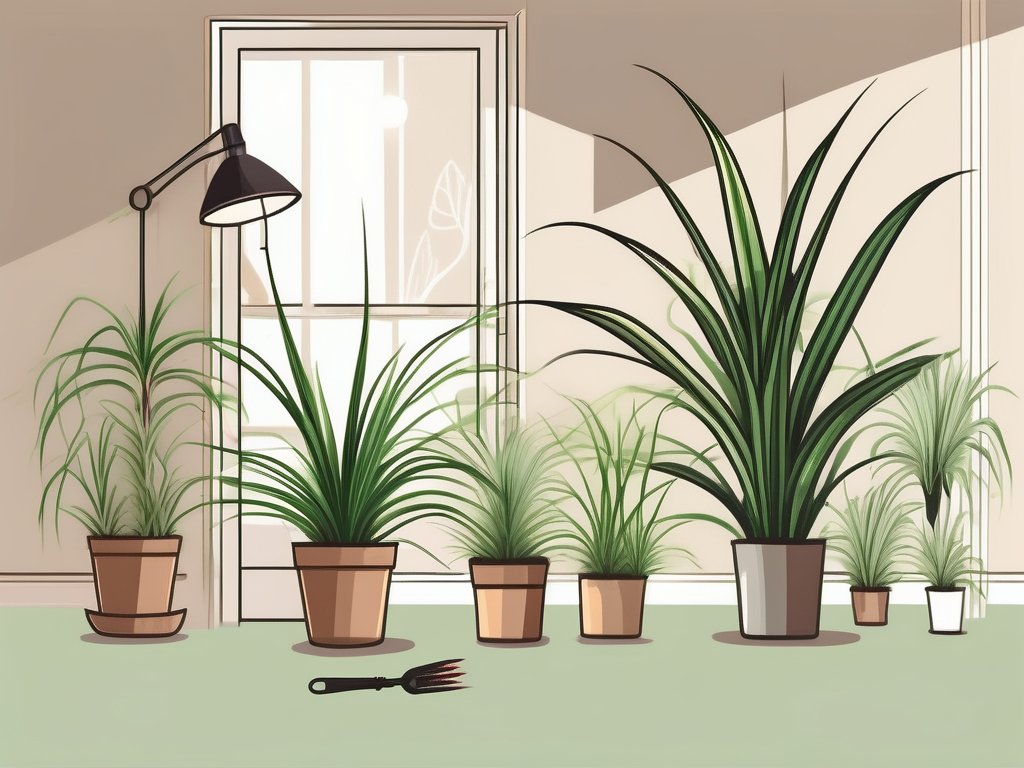
One of the simplest ways to display your spider plants is by placing them in hanging planters. Their cascading leaves create a lovely waterfall effect that can add a touch of greenery to any corner of a room. Alternatively, you can place them on a shelf where they can drape down beautifully.
- Pair with Other Plants: Spider plants look great when grouped with other houseplants. Consider pairing them with taller plants like snake plants or palms for a dynamic display.
- Use Decorative Pots: Have fun with different pot designs and colors to match your home's aesthetic.
- Create a Green Wall: If you have limited floor space, consider mounting shelves on a wall to create a green wall effect.
With a little creativity, spider plants can become a stunning focal point in your home.
Sharing Your Spider Plants with Friends
One of the joys of propagating spider plants is the ability to share them with others. Whether it's a birthday, a housewarming, or just because, giving a spider plant is a wonderful way to spread a little green love.
Consider potting your propagated plants in cute, personalized pots. You can decorate them with paint, stickers, or even wrap them with a decorative ribbon. Adding a little note with care instructions can also be a nice touch for those who are new to plant care.
- Host a Plant Swap: Invite friends over for a plant swap party. It's a fun way to trade plants and share tips.
- Use as Party Favors: If you're hosting an event, consider giving away small spider plants as party favors.
- Donate to Schools or Offices: Spider plants are great for improving air quality, so consider donating some to local schools or offices.
Sharing plants not only spreads joy but also helps others start their own plant journey.
The Benefits of Growing Spider Plants
Aside from their beauty and ease of care, spider plants offer several benefits that make them a great addition to any home.
- Air Purification: Spider plants are known for their ability to remove toxins from the air, making your home a healthier place to breathe.
- Low Maintenance: They're forgiving and adaptable, making them perfect for busy or forgetful plant parents.
- Pet-Friendly: Unlike some houseplants, spider plants are non-toxic to pets, so you don't have to worry about your furry friends getting curious.
These benefits, coupled with their attractive appearance, make spider plants a fantastic choice for any plant lover.
Final Thoughts
Propagating spider plants is a simple and enjoyable way to multiply your plant collection and share the joy of greenery with others. From understanding their growth habits to potting up new plants, each step is an opportunity to learn and connect with nature.
At Cafe Planta, we love helping plant people grow their green spaces. Whether you're looking for unique plants, plant care accessories, or just some friendly advice, we're here for you. Feel free to email us or drop a message on our Instagram. Let's grow and connect over our shared love of plants!