Spider plants are those lovely, hardy houseplants that seem to thrive on a little bit of neglect. They're the ones with the long, arching leaves that look like they're ready to burst into dance at any moment. But even these easy-going plants can encounter a few bumps along the way, especially when it comes to their leaves.
In this article, we'll chat about everything you need to know about spider plant leaves—from how to keep them healthy to troubleshooting common issues. So whether you're a seasoned plant parent or just starting out, you're in the right place. Let's get into it!
Nurturing Your Spider Plant's Leaves: The Basics
First things first, let's talk about the essentials for keeping those spider plant leaves looking their best. While these plants are pretty forgiving, they do have a few preferences. Understanding these can make all the difference in their leaf health.
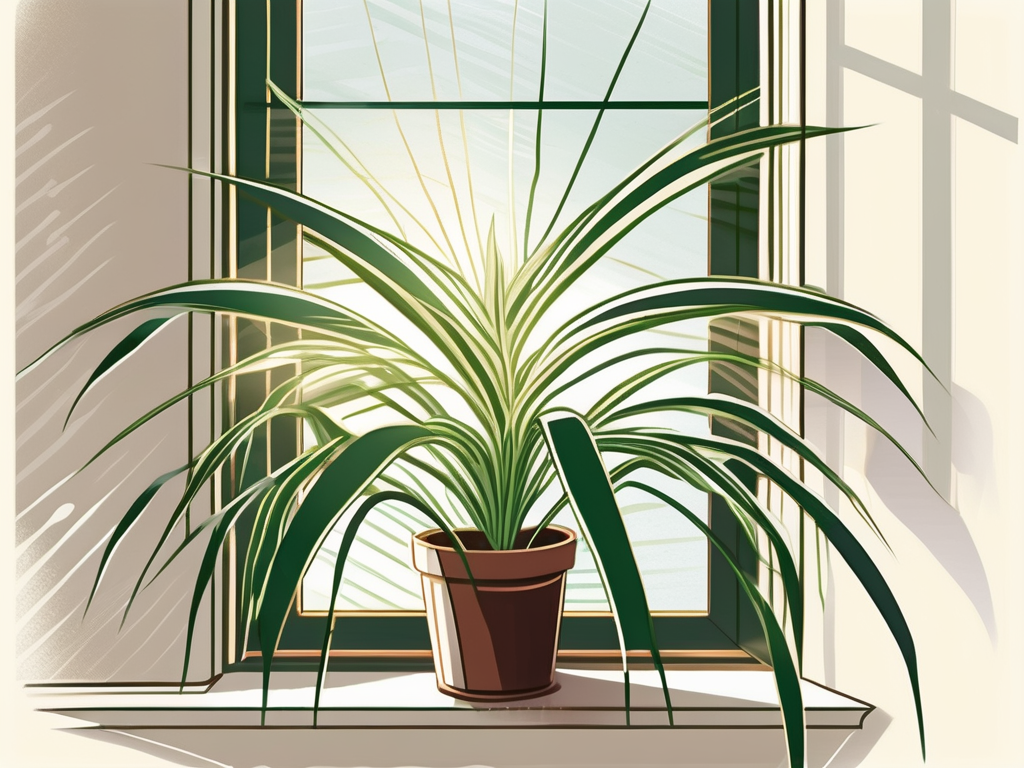
Spider plants prefer bright, indirect light. Think of it as the kind of light you'd want for reading a book without squinting. Too much direct sunlight can scorch the leaves, leaving them looking brown and crispy. On the flip side, if the light's too dim, you might notice the leaves losing their vibrant green color.
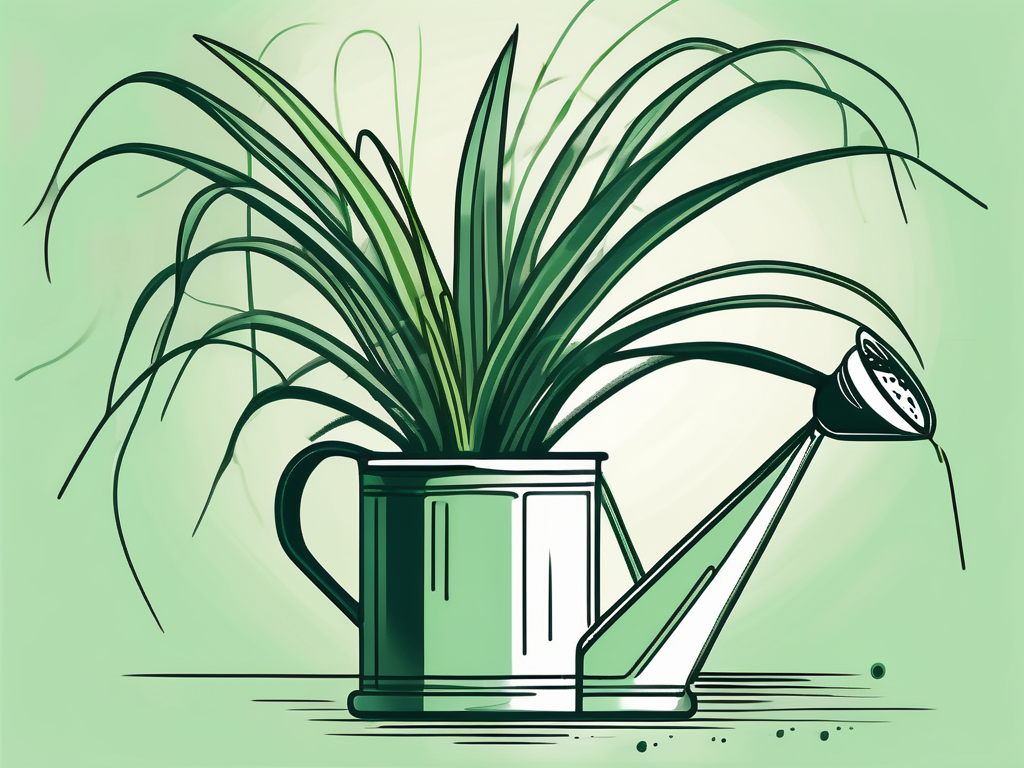
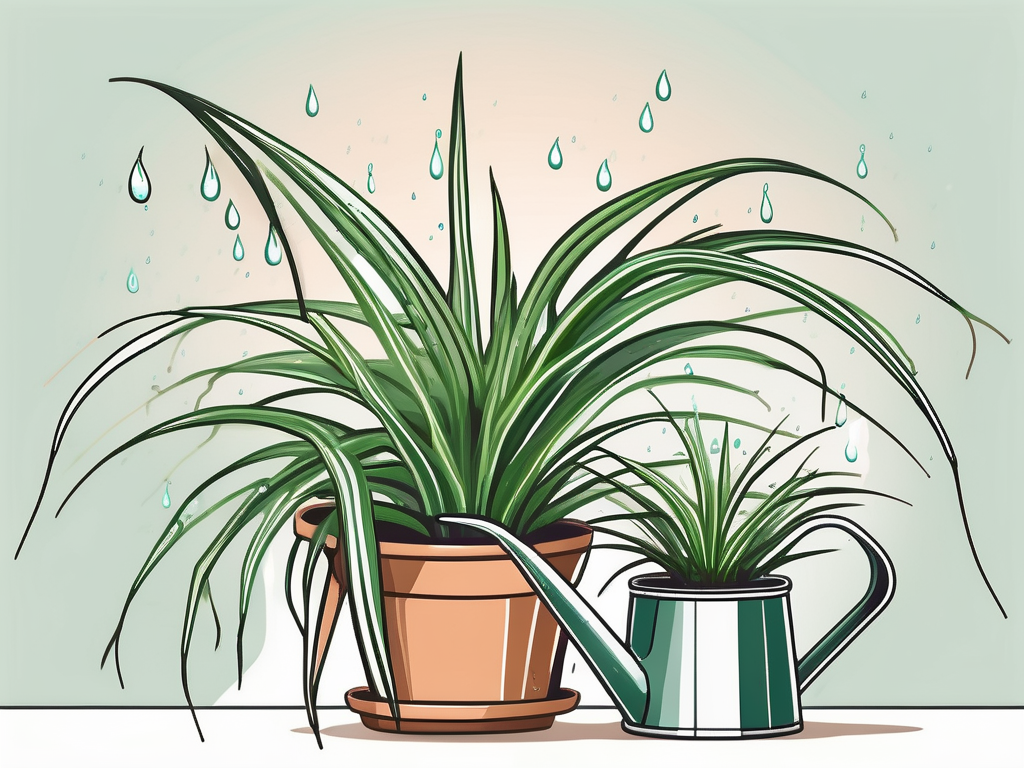
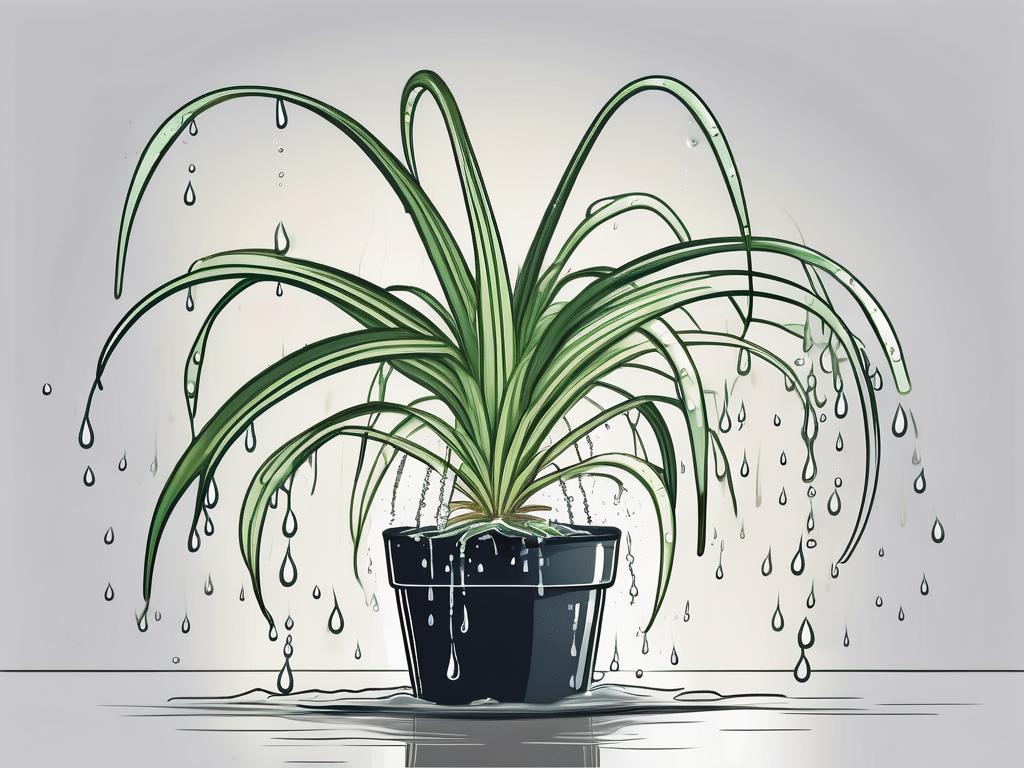
Watering is another biggie. Spider plants like their soil to dry out a bit between waterings. A good rule of thumb is to let the top inch of soil dry out before giving them a drink. Overwatering can lead to root rot, which is a whole other headache. And if you notice the tips of the leaves turning brown, it might be time to check your watering schedule or the fluoride levels in your tap water.
Finally, spider plants appreciate a little humidity. If your home is particularly dry, especially in winter, consider misting the leaves occasionally or using a pebble tray with water under the plant's pot.
Understanding Leaf Variegation
One of the coolest things about spider plants is their variegated leaves. These are the leaves with the striking green and white stripes, which can vary depending on the specific variety of spider plant you have. For example, 'Vittatum' has a white stripe down the center of the leaf, while 'Variegatum' has white edges.
Variegation isn't just about aesthetics, though—it can also give you clues about your plant's health. A sudden change in the variegation pattern, like leaves losing their white stripes, often indicates that the plant isn't getting enough light. Remember, while spider plants can tolerate lower light, they need a decent amount of indirect light to maintain those beautiful patterns.
On the other hand, if your plant is getting too much direct sunlight, the variegation might fade, and the leaves can become scorched. So if you notice changes in your plant's variegation, it's worth reassessing its lighting situation.
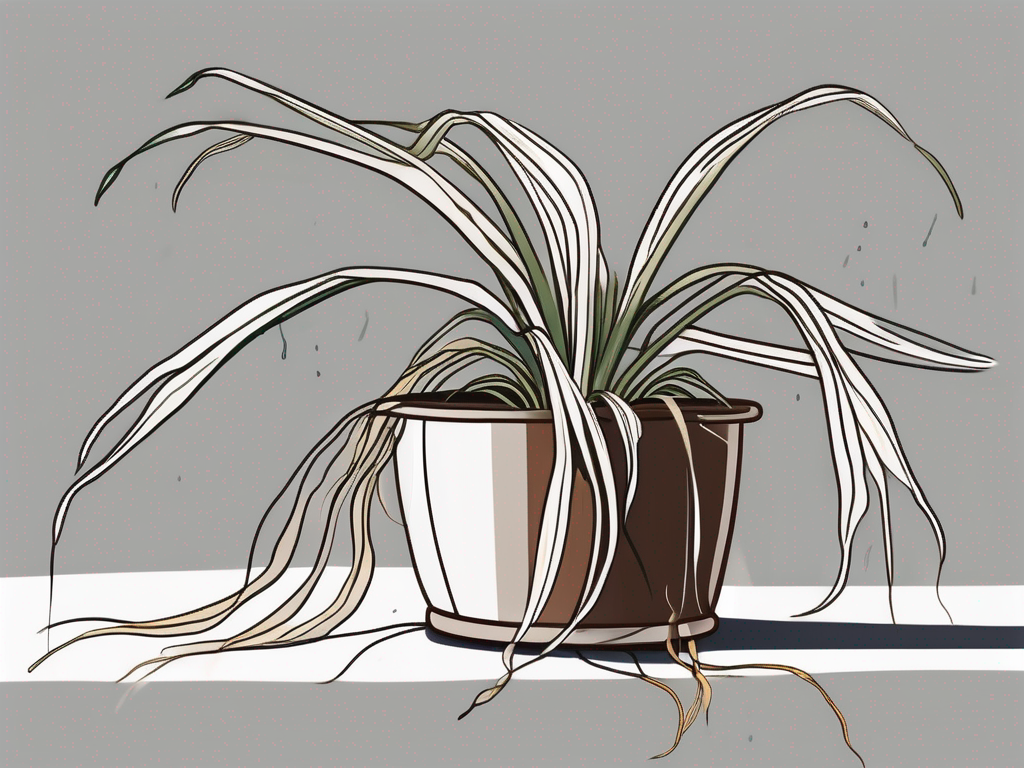
Dealing with Brown Tips on Leaves
Brown tips on spider plant leaves are one of the most common issues plant parents face. While they can be frustrating, they're usually not a sign of anything too serious. Let's look at some potential causes and solutions:
- Low Humidity: As mentioned earlier, spider plants like a bit of humidity. If your home is dry, especially during the winter months, try misting the leaves or placing a humidifier nearby.
- Fluoride in Water: Spider plants are sensitive to fluoride, which is found in many tap water supplies. Using distilled or rainwater can help prevent brown tips caused by fluoride sensitivity.
- Overwatering: If you're overwatering your plant, the roots might not be getting enough oxygen, leading to brown tips. Make sure the soil dries out between waterings.
Trimming the brown tips can also help improve the plant's appearance. Use clean, sharp scissors and cut at an angle to follow the leaf’s natural shape.
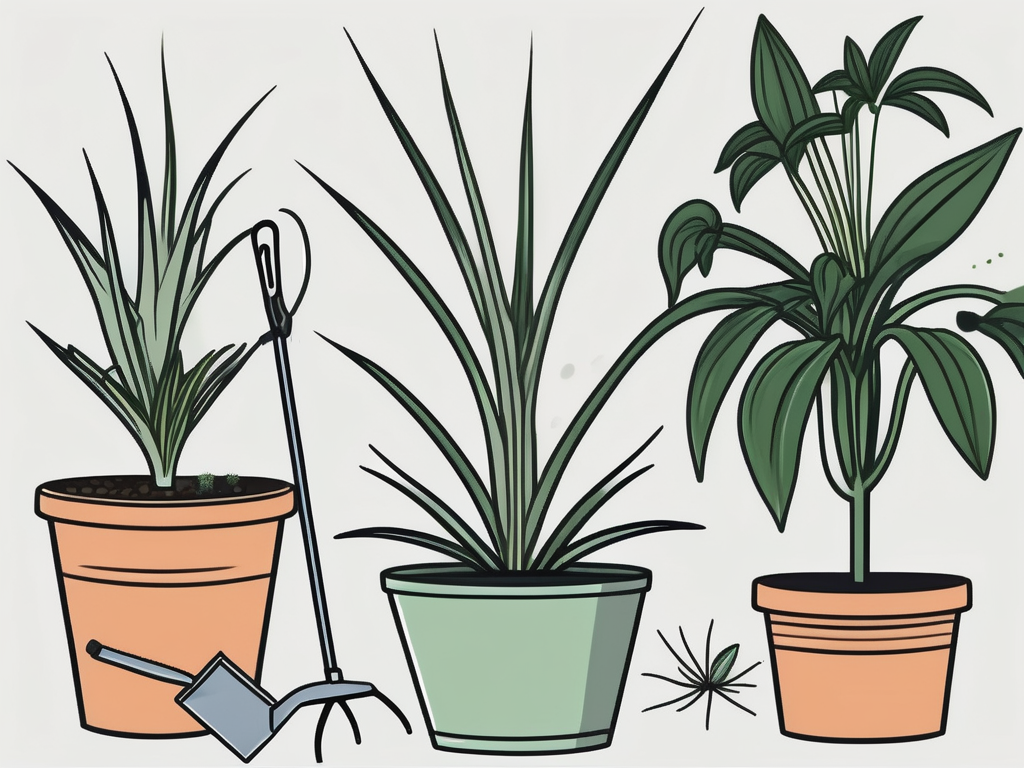
Pest Management for Spider Plant Leaves
Spider plants are generally pretty resistant to pests, but like any plant, they're not completely immune. A few common pests might decide to make your spider plant their home, so let's go over how to identify and deal with them.
Aphids are small, soft-bodied insects that can cluster on the undersides of leaves. They can cause leaves to curl or become discolored. A simple solution is to spray the leaves with a mixture of water and a few drops of dish soap.
Spider mites are tiny and often hard to see, but they leave behind telltale webbing. If you notice fine webs on your plant, it's time to take action. Increase humidity around the plant, as spider mites thrive in dry conditions. You can also wipe the leaves with a damp cloth to remove the little critters.
If your plant's under attack, you can also consider neem oil as a natural pesticide. Just be sure to follow the instructions on the product label to avoid any damage to your plant.
Rejuvenating Yellowing Leaves
If you notice your spider plant leaves turning yellow, it's time to play detective. Yellowing can be caused by several factors, and figuring out the root cause is key to getting your plant back on track.
First, check your watering habits. Overwatering is a common culprit, as it can suffocate the roots and lead to yellowing leaves. Make sure your plant's pot has drainage holes, and let the soil dry out between waterings.
Next, consider lighting. If your spider plant isn't getting enough light, the leaves can start to yellow. Move it to a brighter spot with indirect sunlight and see if that helps.
If neither of these seems to be the issue, nutrient deficiencies might be to blame. Spider plants aren't heavy feeders, but they do appreciate a balanced liquid fertilizer during the growing season. Just be sure not to over-fertilize, as this can cause more harm than good.
Propagating Spider Plantlets
One of the joys of owning a spider plant is its natural inclination to produce little plantlets, or "spiderettes." These mini plants dangle from the mother plant like charming little ornaments. If you want to expand your plant family, propagation is the way to go!
Start by identifying a healthy plantlet with several leaves and roots. You can leave the plantlet attached to the mother plant until it develops a strong root system, or you can snip it off and plant it directly in soil.
To propagate, fill a small pot with a well-draining potting mix. Make a small hole in the soil, place the plantlet's roots into the hole, and gently press the soil around it. Water lightly and place the new plant in bright, indirect light.
Keep an eye on the soil moisture levels, and soon enough, you'll have a thriving new spider plant to add to your collection or share with friends!
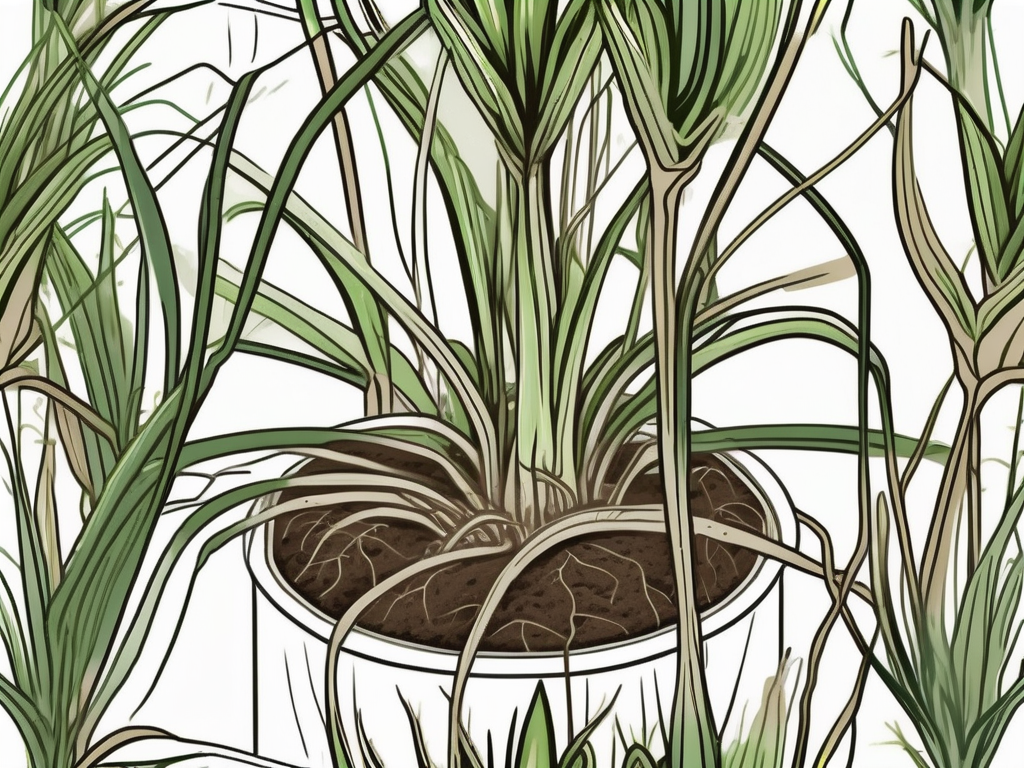
Repotting for Healthy Growth
Spider plants are relatively low-maintenance, but they do need to be repotted every couple of years to promote healthy growth. Over time, the roots can become cramped in their pot, leading to stunted growth or root-bound conditions.
When you notice roots growing out of the drainage holes or the plant becoming top-heavy, it's time to repot. Choose a pot that's one size larger than the current one and has good drainage.
Gently remove the plant from its pot and tease apart any circling roots. Trim any dead or damaged roots before placing the plant in its new home. Fill the pot with fresh potting mix, ensuring the plant is at the same depth it was in its previous pot.
Water the plant well after repotting, and place it back in its usual bright, indirect light location. Your spider plant will thank you with lush new growth!
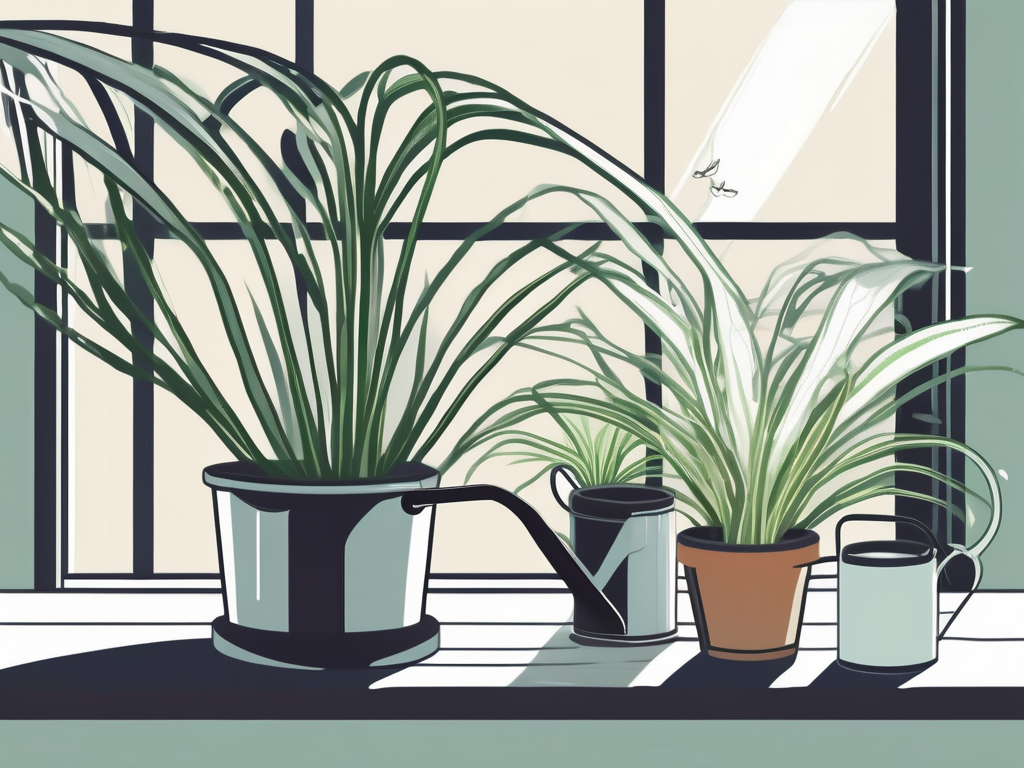
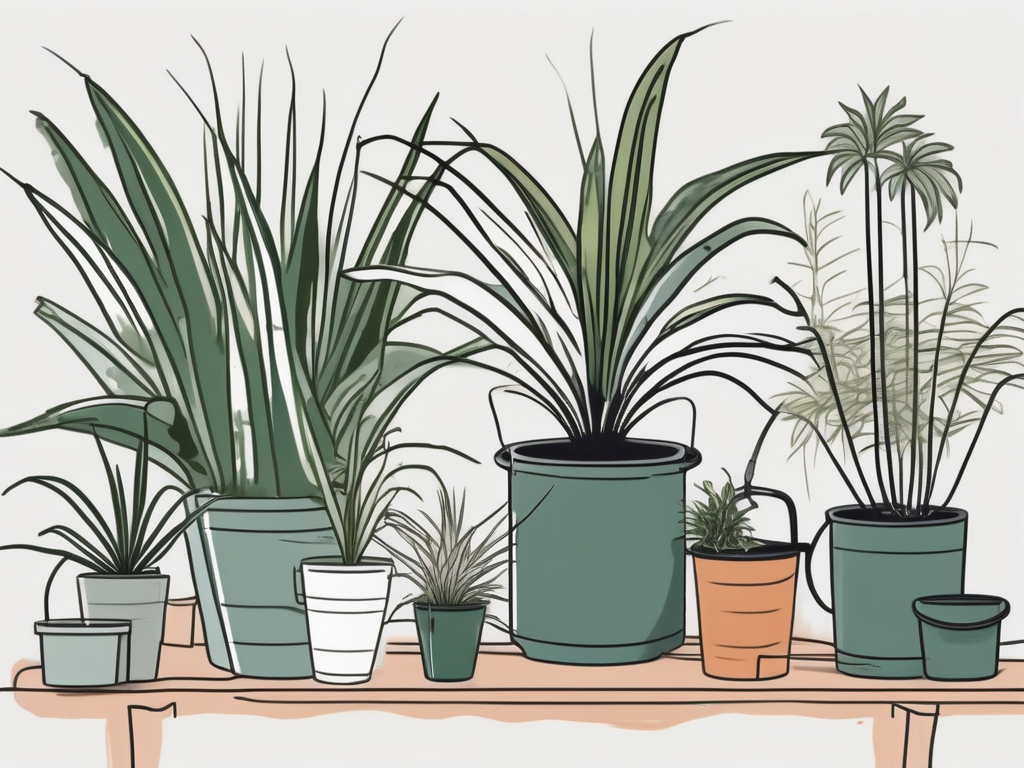
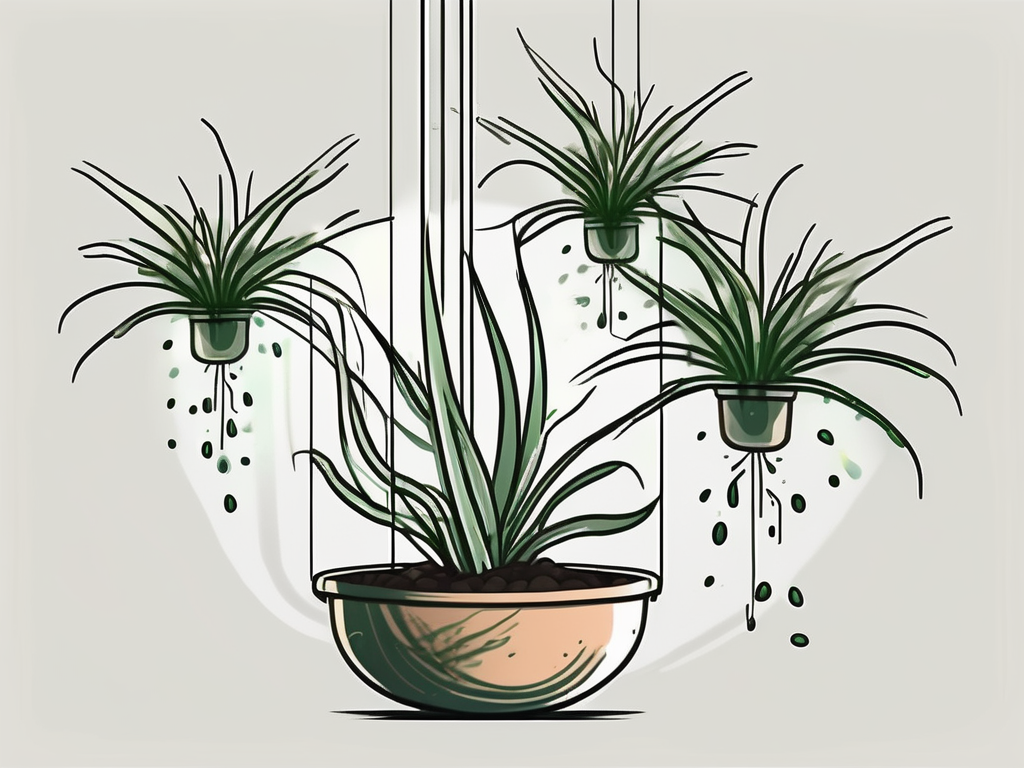
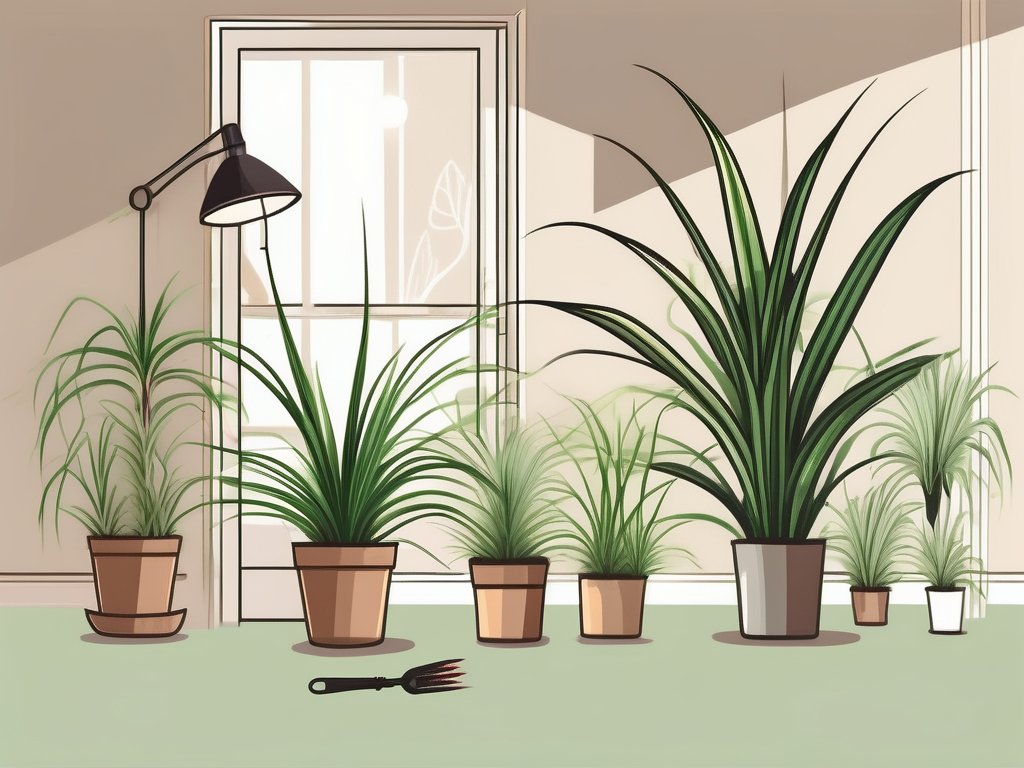
Creating a Spider Plant Display
Spider plants are not only easy to care for but also versatile in their display options. You can create a stunning visual by grouping several spider plants together or combining them with other houseplants.
Consider using hanging baskets to showcase the plant's arching leaves and cascading plantlets. This not only saves space but also adds a dynamic element to your decor.
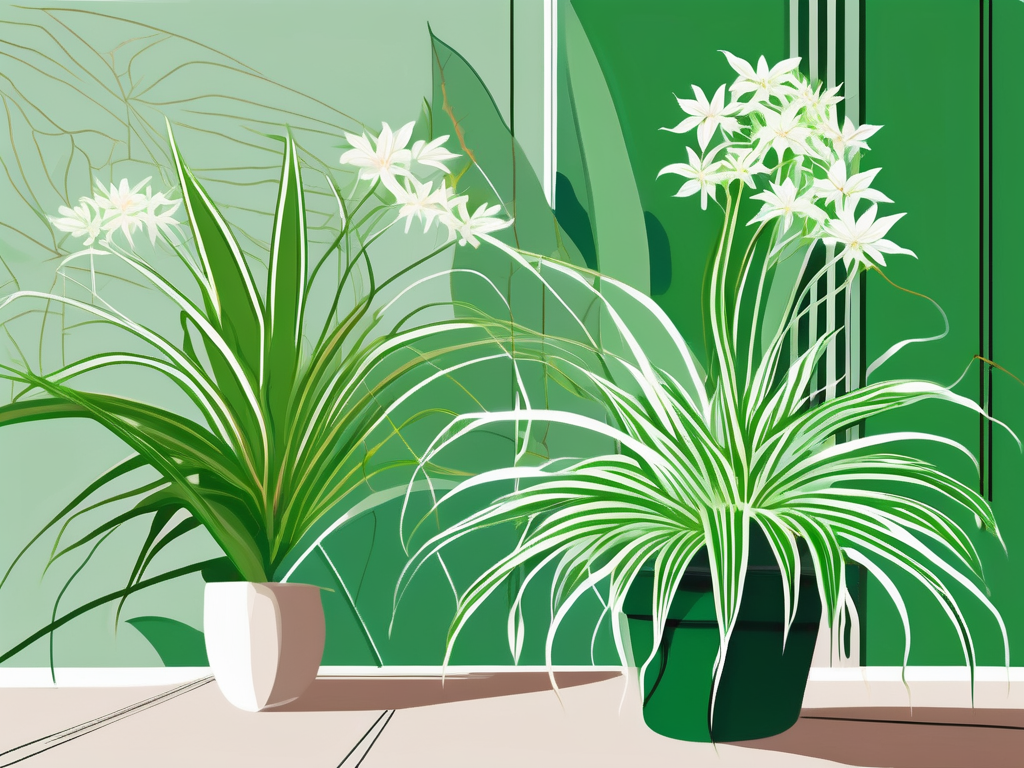
For a more grounded look, pair spider plants with other greenery in a large pot. The contrast between the spider plant's variegated leaves and solid green plants can create a visually appealing display.
Don't be afraid to get creative. Spider plants can adapt to various styles, whether you're going for a boho vibe with macramé hangers or a sleek modern look with minimalist pots.
Finding the Right Spot for Your Spider Plant
Where you place your spider plant plays a big role in its leaf health and overall well-being. As we've discussed, lighting is crucial, but there are other factors to consider when finding the perfect spot.
Temperature is one of them. Spider plants prefer temperatures between 65°F and 75°F. Avoid placing them near radiators or in drafty areas, as extreme temperatures can stress the plant and affect leaf health.
Air circulation is another consideration. While spider plants enjoy humidity, they also need good air circulation to prevent fungal diseases. Make sure the plant isn't crowded by other objects or plants, which can restrict airflow.
Finally, consider the aesthetic aspect. Spider plants bring a touch of nature to any room, so think about where they'll have the most visual impact. Whether it's on a shelf, in a hanging basket, or as a centerpiece, choose a spot where you and your spider plant can enjoy each other's company.
Final Thoughts
Spider plants are a delightful addition to any home, with their graceful leaves and easy-going nature. By understanding their needs and addressing any leaf issues that arise, you can keep your spider plant thriving and looking its best.
At Cafe Planta, we're all about helping you make the most of your plant journey. Whether you're looking for new plant buddies, care accessories, or just some plant-themed apparel, we've got you covered. And if you ever have questions about your plant care routine, feel free to email us or reach out on Instagram. We believe plants have the power to connect us all, and we're excited to share this journey with you!