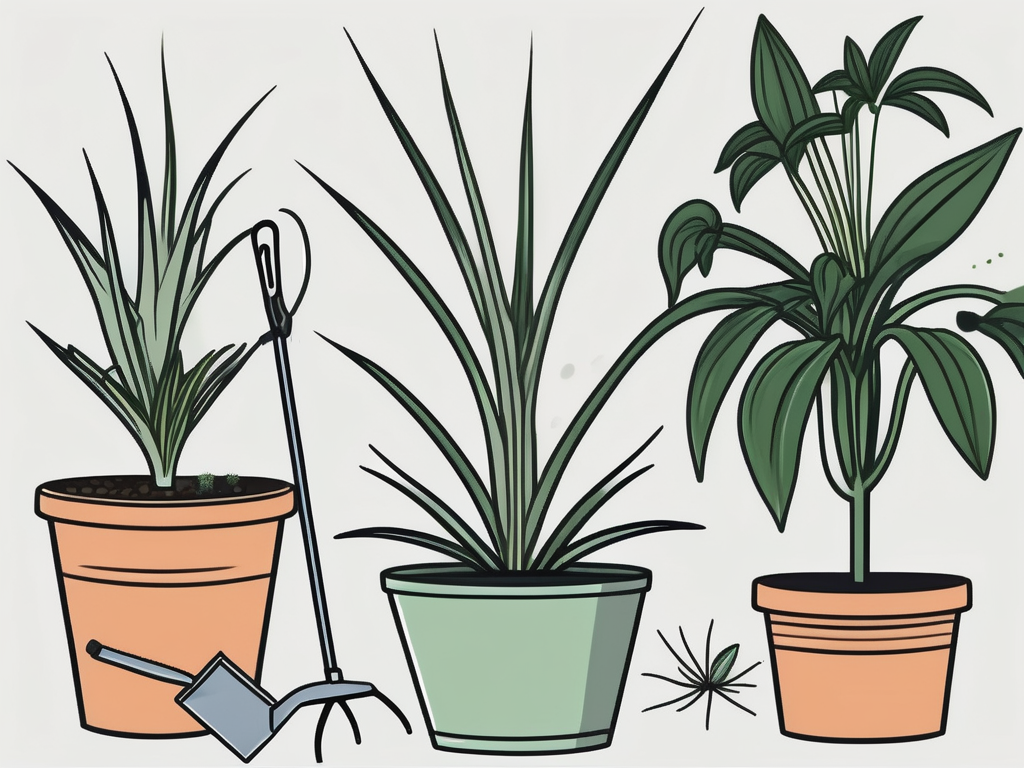
There's something special about growing plants from seeds. Watching them sprout and flourish feels like witnessing a tiny miracle. If you're a fan of spider plants, you're in for a treat because growing these beauties from seeds can be a fun and rewarding experience. Spider plants, with their charming arching leaves and little plantlets, are popular among plant lovers for their easygoing nature and air-purifying qualities.
In this article, we'll dive deep into the nitty-gritty of spider plant seeds. From where to find them to how to plant and nurture them into mature plants, we've got you covered. So, whether you're a seasoned plant parent or just starting your journey, let's get started on this exciting adventure of growing spider plants from seeds.
Understanding Spider Plant Seeds
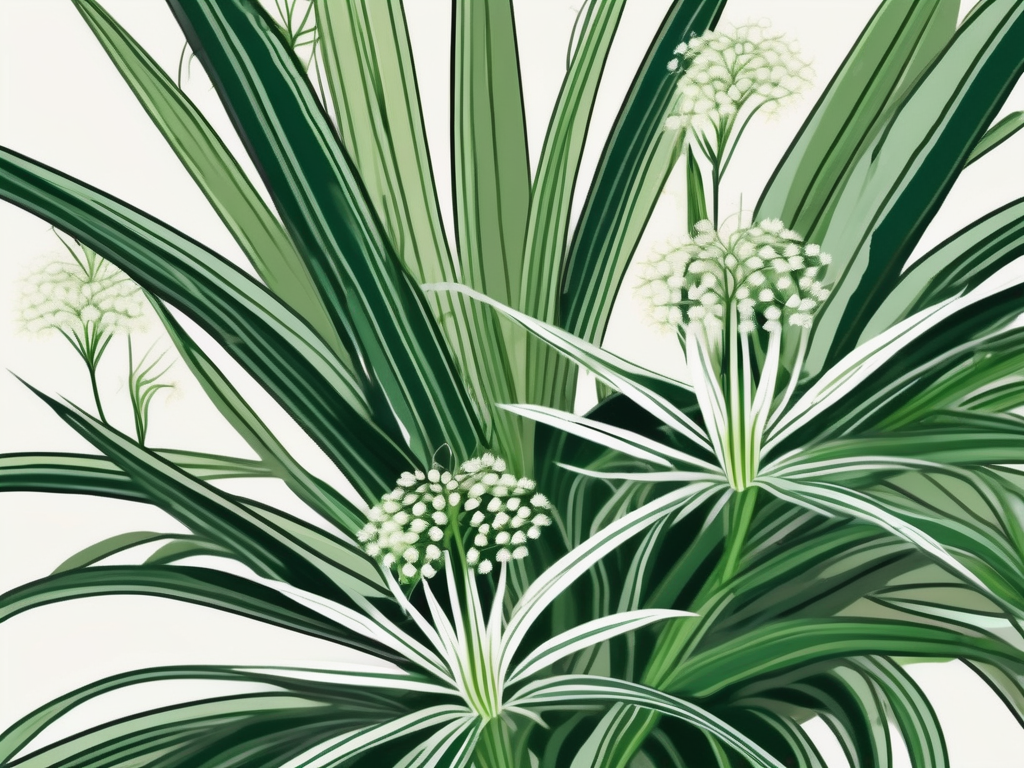
Spider plants, scientifically known as Chlorophytum comosum, are often grown from plantlets, also called "pups," which sprout from the mother plant. However, if you're feeling adventurous, you might want to try starting them from seeds. This method is less common but can be quite rewarding if you love a good challenge.
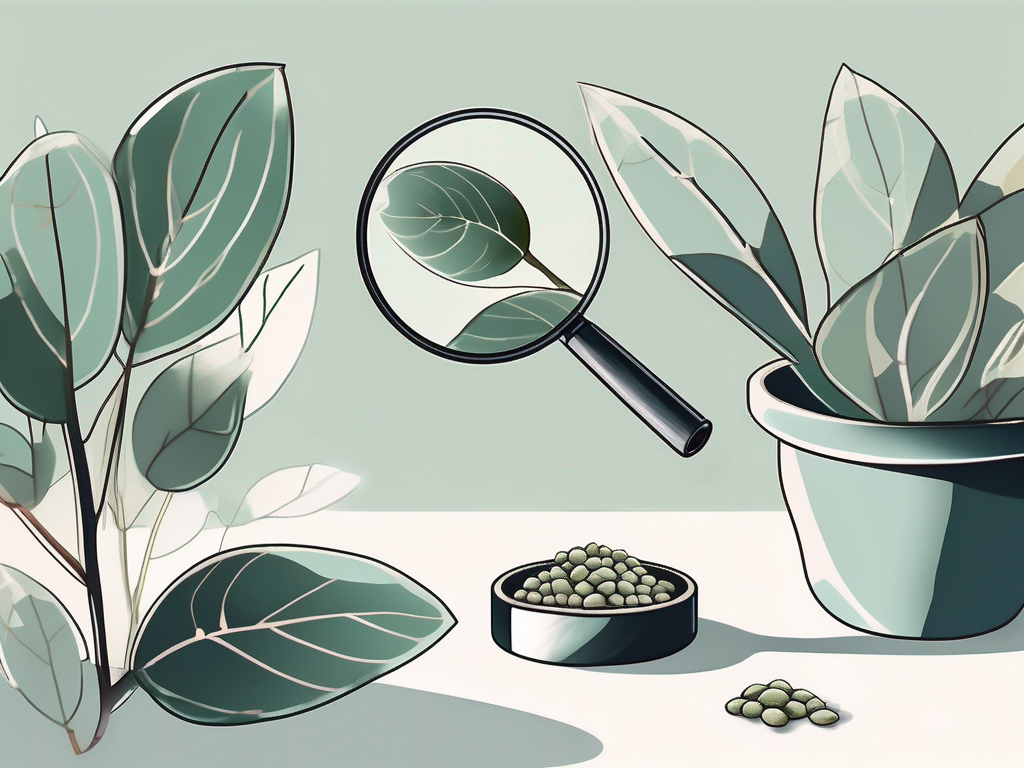
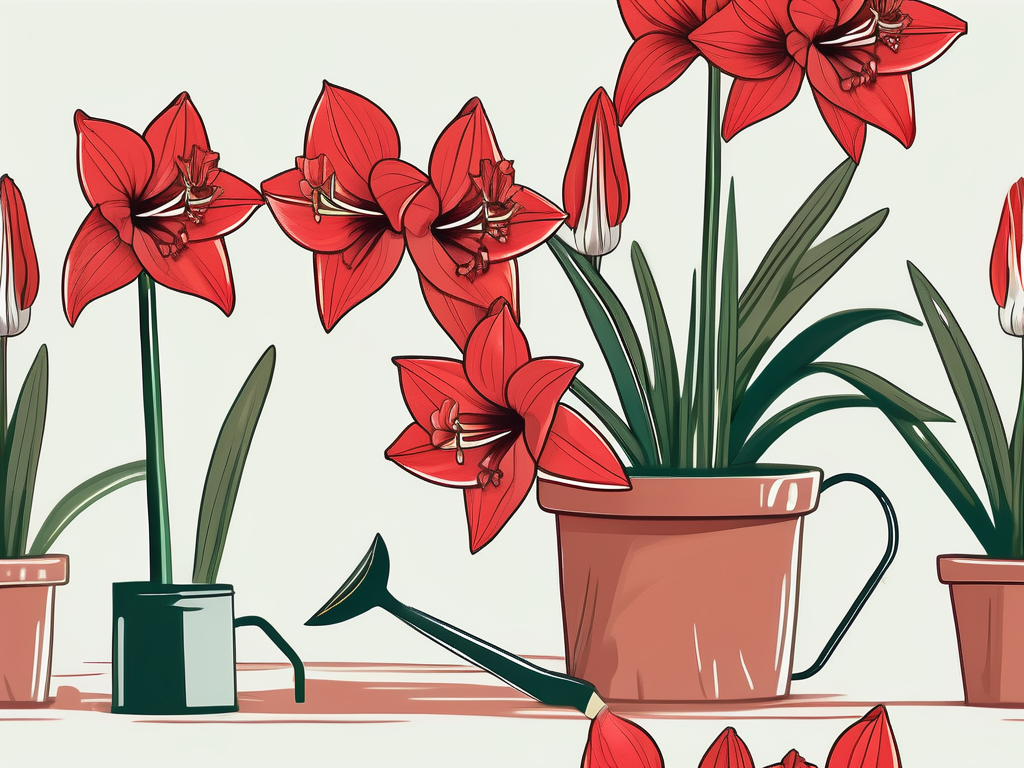
The seeds of a spider plant are tiny, black, and slightly oval-shaped. They're typically found in the pods that form after the plant flowers. While spider plants are not particularly known for their flowers, they do produce small white blooms that can eventually turn into seed pods. If you're lucky enough to have a flowering spider plant, you can collect these seeds yourself.
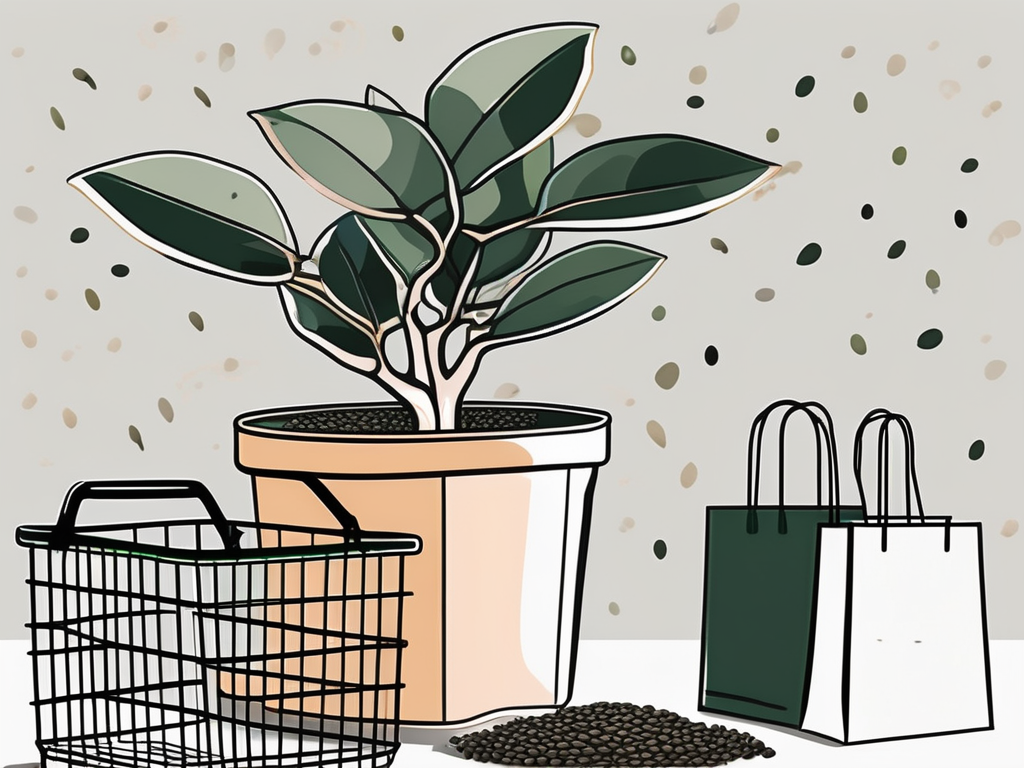
If your spider plant hasn't been generous with flowers, don't worry! You can always purchase spider plant seeds from reputable online sellers or local nurseries. Make sure to check the reviews and ratings to ensure you're getting good quality seeds. This will set you up for success when it comes to germination.
Preparing to Plant Spider Plant Seeds
Before you start planting, it's crucial to gather all the necessary materials. Here's a handy checklist to get you started:
- Seeds: Gather your spider plant seeds, either harvested or purchased.
- Containers: Small pots or seed trays with drainage holes.
- Potting Mix: A well-draining, peat-based potting mix is ideal.
- Watering Can or Spray Bottle: For gentle watering without disturbing the seeds.
- Plastic Wrap or Dome: To create a mini greenhouse effect and retain moisture.
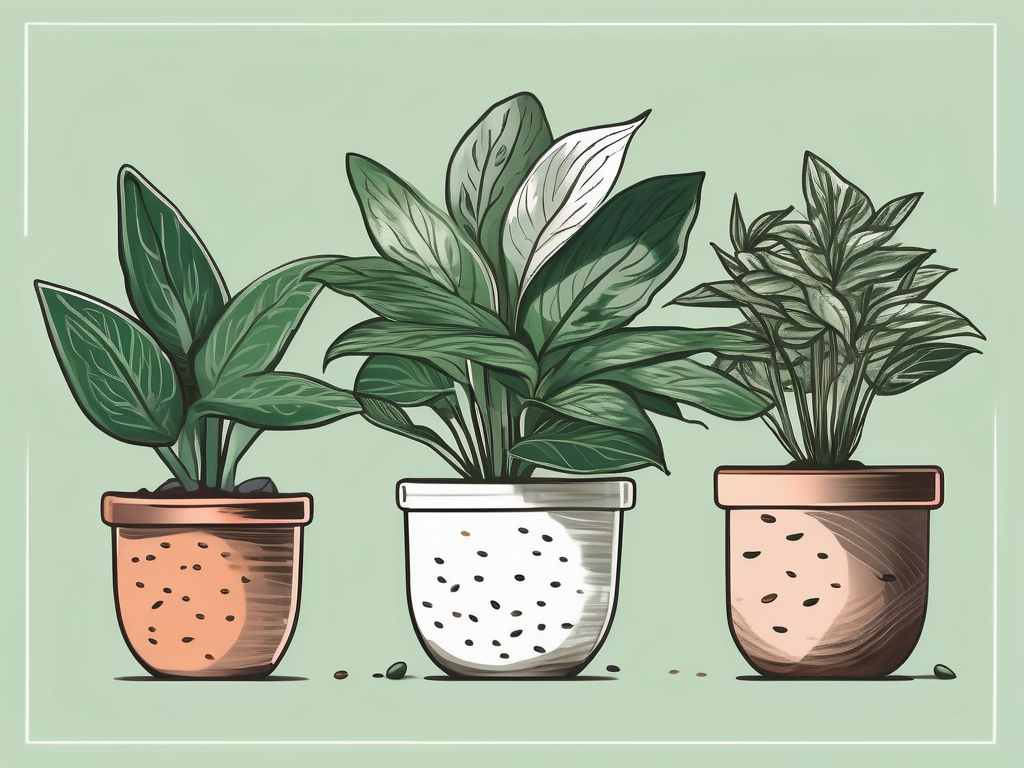
Once you've got your materials, it's time to prepare the potting mix. Spider plants prefer well-drained soil, so ensure your mix meets this requirement. If you're mixing your own, consider using equal parts of peat, perlite, and vermiculite. This combination keeps the soil light and airy, perfect for encouraging seed growth.
Fill your containers with the potting mix, leaving about half an inch at the top. Lightly moisten the soil to create a welcoming environment for the seeds. Be careful not to overwater, as soggy soil can lead to mold growth and seed rot.
Planting Spider Plant Seeds
Now that everything's set up, it's time to plant those seeds. Here's how you can do it step by step:
- Sow the Seeds: Gently place the spider plant seeds on the surface of the soil, ensuring they're evenly spaced. You can use a toothpick or the tip of a pencil to push them slightly into the soil, just enough to cover them lightly.
- Cover and Moisten: Lightly cover the seeds with a thin layer of the potting mix. Mist the surface with water to moisten it further, ensuring the seeds are snug in their new home.
- Create a Greenhouse Effect: Cover the containers with plastic wrap or a clear dome to maintain humidity, which is crucial for germination. This cover will help retain moisture and create a warm environment.
- Provide Light: Place the containers in a bright spot with indirect sunlight. Spider plant seeds need light to germinate, but direct sunlight can be too harsh and may dry out the soil.
Patience is key here. Germination can take anywhere from a few weeks to a couple of months. Keep an eye on the soil's moisture level, misting it when it starts to dry out. This ensures the seeds have the best chance of sprouting into healthy seedlings.
Caring for Spider Plant Seedlings
Once your seeds have germinated and you see those tiny green shoots peeking through the soil, it's time to transition to the next stage: caring for your spider plant seedlings. This period is critical for their development, so attention to detail is important.
First things first, remove the plastic wrap or dome to allow air circulation. This helps prevent mold and gives the seedlings a chance to acclimate to their environment. At this stage, providing adequate light is essential. A sunny windowsill with filtered sunlight works wonders, or consider using a grow light if natural light is scarce.
Watering is another crucial aspect. Spider plant seedlings prefer moist but not waterlogged soil. Check the moisture level regularly by sticking your finger into the soil. If the top inch feels dry, it's time to water. Use a gentle approach, like a spray bottle, to avoid displacing the seedlings.
Avoid fertilizing the seedlings too early. Wait until they develop a few sets of true leaves before introducing a diluted, balanced liquid fertilizer. This will give them a gentle nutrient boost without overwhelming their delicate roots.
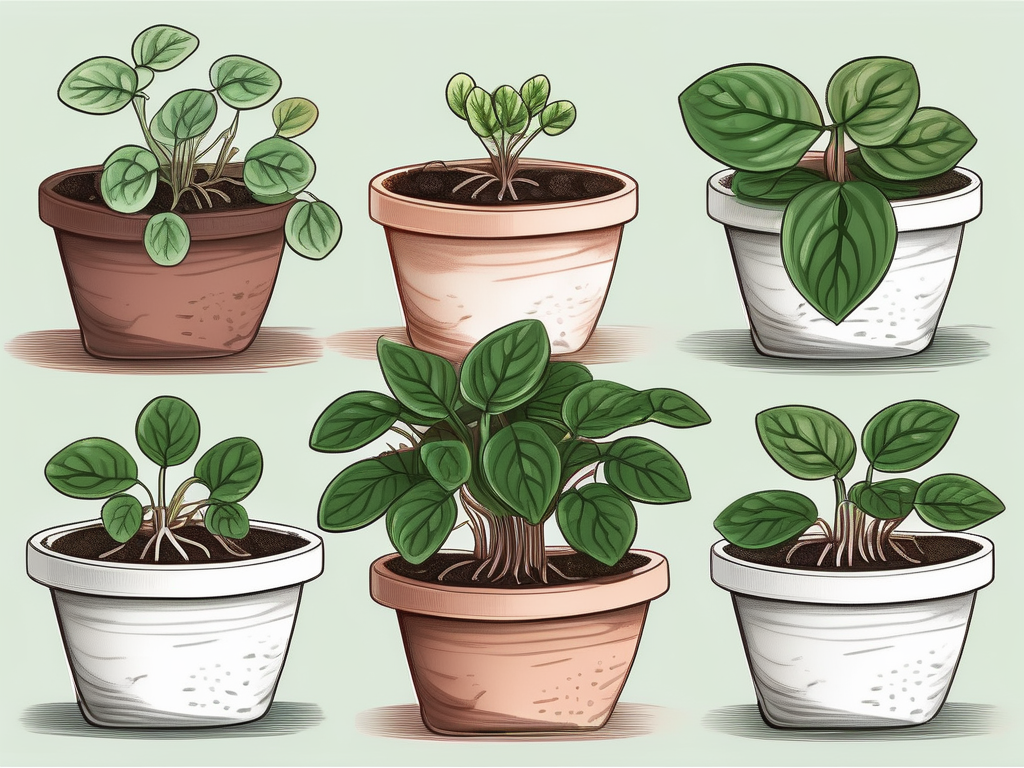
Transplanting Spider Plant Seedlings
Once your seedlings are a couple of inches tall and have developed strong root systems, it's time to think about transplanting them into larger pots. This process allows them to continue growing and spreading their roots comfortably.
Choose pots that are a couple of inches larger in diameter than the current containers. Make sure the pots have drainage holes to prevent water from accumulating. Fill the new pots with the same well-draining potting mix you used before.
To transplant, gently loosen the soil around each seedling and lift them out using a small spoon or your fingers. Be careful not to damage the roots. Place each seedling into its new pot, ensuring the root ball is covered with soil. Lightly press down to secure the plant and water thoroughly.
After transplanting, give the plants a few days to adjust to their new homes. Keep them in a shaded area initially, gradually introducing them to brighter light to prevent transplant shock. With the right care, your transplanted seedlings will thrive and grow into healthy spider plants.
Common Challenges and Solutions
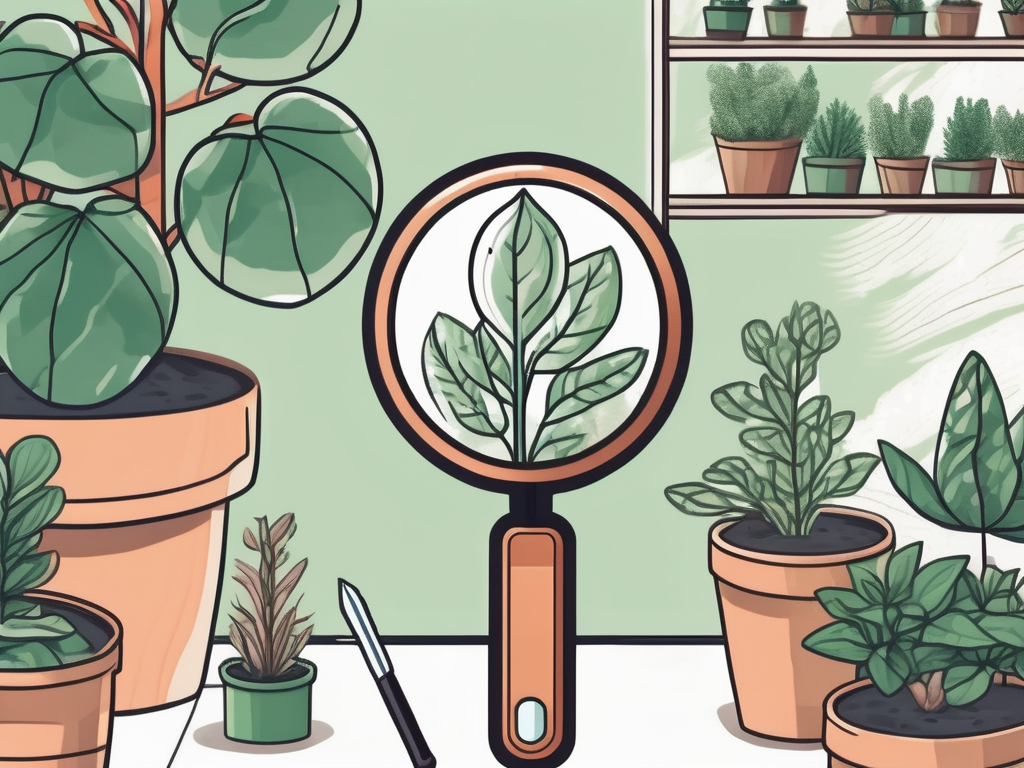
Growing spider plants from seeds is generally straightforward, but like any gardening endeavor, it can come with challenges. Here are some common issues you might encounter and how to address them:
Poor Germination
If your seeds aren't sprouting, it could be due to a variety of factors. Check these potential culprits:
- Seed Quality: Make sure you're using fresh, viable seeds from a reputable source.
- Soil Moisture: Seeds need consistent moisture to germinate. Ensure the soil isn't drying out.
- Temperature: Spider plant seeds prefer warm temperatures for germination. Keep them in a room that's consistently warm.
Seedling Damping Off
This fungal disease can affect young seedlings, causing them to wilt and collapse. To prevent it:
- Proper Air Circulation: Remove covers once seedlings emerge and ensure good airflow.
- Moderate Watering: Avoid overwatering, as damp conditions encourage fungal growth.
- Clean Equipment: Use clean pots and tools to minimize the risk of introducing pathogens.
Leggy Seedlings
If your seedlings are growing tall and spindly, they might be stretching for light. Here's how to fix it:
- Increase Light: Move them to a brighter spot or use a grow light if natural light is insufficient.
- Avoid Crowding: Ensure seedlings have enough space to grow without competition.
By being proactive and attentive, you can overcome these challenges and enjoy the process of growing spider plants from seeds.
Incorporating Spider Plants into Your Home
Once your spider plants have matured, it's time to think about how to incorporate them into your home decor. These plants are versatile and can complement various styles, adding a touch of nature and tranquility to any space.
Spider plants are perfect for hanging baskets due to their cascading nature. Hang them in a sunny corner or near a window to create a lush green curtain. If you're short on space, consider placing them on shelves where their leaves can gracefully drape down.
For a modern touch, use decorative pots that match your interior style. Spider plants can thrive in containers of different materials, from ceramic to terracotta. Experiment with colors and textures to create a cohesive look.
Incorporate spider plants into groupings of other houseplants for a dynamic display. Their bright green leaves provide a lovely contrast to darker foliage, adding depth to your plant collection.
Benefits of Growing Spider Plants
Aside from their aesthetic appeal, spider plants offer several benefits that make them a fantastic addition to your home:
Air Purification
Spider plants are known for their air-purifying abilities. They can remove pollutants like formaldehyde and xylene from the air, creating a healthier indoor environment. Place them in rooms where you spend a lot of time to enjoy cleaner air.
Low Maintenance
Spider plants are incredibly forgiving and require minimal care. They thrive in a range of light conditions, from bright indirect light to partial shade. They don't demand frequent watering, making them perfect for busy individuals or those new to plant care.
Pet-Friendly
Good news for pet owners: spider plants are non-toxic to cats and dogs. You can enjoy their beauty without worrying about your furry friends getting into trouble.
With these benefits in mind, it's no wonder spider plants are a favorite among plant lovers.
Sharing Spider Plant Love
One of the joys of growing spider plants is sharing their charm with others. As your plants mature, they'll produce plantlets, or "babies," which you can propagate and share with friends and family. Here's how to do it:
- Identify Plantlets: Look for small plantlets growing at the end of long stems.
- Detach Plantlets: Once they're a few inches long, gently detach them from the mother plant.
- Plant in Soil: Place the plantlets in small pots with the same potting mix used for seedlings.
- Water and Care: Water them lightly and provide the same care as you would for young plants.
By sharing these plantlets, you not only spread greenery but also introduce others to the joy of caring for spider plants. It's a wonderful way to connect with fellow plant lovers and create a sense of community.
Final Thoughts
Growing spider plants from seeds can be a delightful journey filled with learning and growth. From sowing the seeds to watching them flourish into mature plants, each step offers a sense of accomplishment and connection to nature. Whether you choose to keep them all or share them with friends, spider plants bring a touch of green joy to any home.
At Cafe Planta, we're passionate about all things plant-related. We offer a variety of houseplants, plant care accessories, and plant-themed apparel to celebrate your love for greenery. If you have questions or need advice, don't hesitate to email us or drop us a message on Instagram. We believe in the power of plants to bring people together and inspire us to connect with nature and each other. Happy planting!