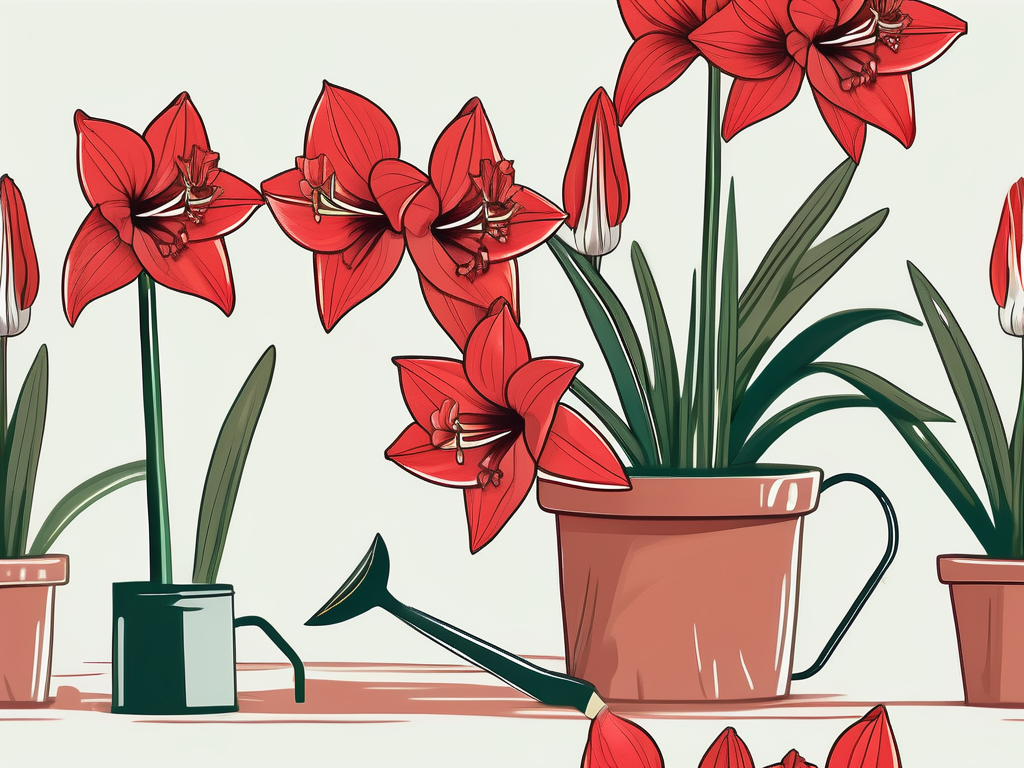
Growing amaryllis from seeds can be a delightful journey. These beautiful plants, known for their large, vibrant blooms, are usually propagated from bulbs, but starting them from seeds offers a unique experience. If you love watching things grow from scratch, you're in the right place!
This article will walk you through the entire process of growing amaryllis from seeds, from gathering and planting to caring for your seedlings. We'll also cover some tips and tricks to ensure your amaryllis thrives indoors, making your home feel more alive and inviting.
Understanding Amaryllis Seeds
Before we get into the how-to, let's talk a bit about what you're working with. Amaryllis seeds are small, flat, and black, typically found in a papery capsule once the flower has finished blooming. These seeds are the starting point for your new plants, and while they might look a bit unassuming, they're packed with potential.
One thing to keep in mind is that growing amaryllis from seeds requires patience. Unlike planting a bulb, which can bloom in a matter of weeks, seeds take much longer to develop into flowering plants. It might take three to five years before you see the first bloom, but the process is rewarding and teaches the value of patience and care.
It's also important to note that amaryllis grown from seeds may not look exactly like the parent plant. This is due to the genetic diversity in seeds, which can lead to variations in color, size, and even the number of blooms. So, each plant can be a pleasant surprise, adding to the excitement of growing from seed.
Collecting and Preparing Seeds
The first step in your amaryllis seed journey is collecting the seeds. Once your amaryllis flowers start to fade, you'll notice a seed pod forming at the base of the bloom. This pod will swell as it matures, and when it's dry and brown, it's ready for harvest.
Gently remove the pod and carefully open it over a piece of paper or a shallow dish to catch the seeds. You'll find thin, papery seeds inside. It's a good idea to let these seeds dry for a few days before planting to ensure they're ready to sprout.
Here are a few tips for preparing your seeds:
- Drying: Lay the seeds out in a single layer on a paper towel or a piece of newspaper in a cool, dry place. This helps prevent mold and prepares them for germination.
- Storage: If you're not planting right away, store the seeds in a paper envelope in a cool, dry location. Avoid plastic bags as they can trap moisture and lead to rot.
- Labeling: If you're collecting seeds from multiple plants, label them. This helps you track which parent plants produced which seedlings, especially if you're interested in the resulting variations.
Planting Amaryllis Seeds
Once your seeds are dry and you're ready to plant, you'll need a few supplies: a shallow seed tray or small pots, some seed-starting mix, and a spray bottle for watering. You can find seed-starting mixes at most garden centers, or you can make your own with a mix of peat moss and perlite.
Follow these steps to plant your amaryllis seeds:
- Fill your tray or pots: Add seed-starting mix to your containers, leaving about half an inch of space at the top.
- Water the soil: Lightly moisten the soil with a spray bottle until it's damp but not soggy.
- Place the seeds: Lay the seeds flat on the surface of the soil, spacing them about an inch apart. You don't need to bury them; just press them gently into the soil.
- Cover lightly: Add a thin layer of seed-starting mix over the seeds, just enough to cover them.
- Water again: Give the soil another light misting to settle the seeds in place.
Amaryllis seeds need warmth and light to germinate, so place your tray in a warm spot with indirect sunlight. A temperature of around 70°F (21°C) is ideal. Keep the soil consistently moist by misting it regularly, but be careful not to overwater.
Germination and Early Growth
After planting, patience becomes your best friend. Amaryllis seeds can take anywhere from two to six weeks to germinate, depending on the conditions. You'll start to see tiny green shoots poking through the soil when they're ready.
During this phase, consistency is crucial. Keep the soil moist and ensure the seedlings get enough light. You might consider using a grow light if your indoor space doesn't get enough natural sunlight. Remember, seedlings are delicate, so handle them with care.
Once your seedlings have a couple of true leaves, you can start thinking about transplanting them into individual pots. This gives them more room to grow and develop their root systems.
Transplanting Seedlings
When your amaryllis seedlings have grown a bit and developed a few leaves, it's time to give them more space. Transplanting can feel intimidating, but with a gentle touch, you'll be just fine.
Here's how to go about it:
- Choose the right pots: Select small pots with drainage holes. A 4-inch pot is usually a good size for amaryllis seedlings.
- Prepare the pots: Fill them with a well-draining potting mix, ideally one formulated for bulbs or a mix of regular potting soil with added perlite or sand.
- Transplant carefully: Gently lift each seedling from the seed tray, taking care not to damage the roots. You might use a small spoon or your fingers to do this.
- Plant the seedling: Create a small hole in the new pot's soil, place the seedling in it, and lightly press the soil around the roots.
- Water thoroughly: Give the newly potted seedlings a good drink to help them settle in.
After transplanting, keep the seedlings in a bright spot with indirect sunlight. Continue to water them regularly, but allow the top inch of soil to dry out between waterings. This helps prevent root rot and encourages healthy growth.
Long-term Care for Amaryllis
As your amaryllis seedlings grow, they'll need ongoing care to thrive. While they won't bloom for a few years, proper maintenance now sets the stage for beautiful flowers later.
Here are some care tips for your growing amaryllis:
- Light: Amaryllis plants love bright, indirect light. If you notice your seedlings stretching or leaning, they might be reaching for more light, so adjust their position as needed.
- Watering: Keep the soil consistently moist but not waterlogged. Overwatering can lead to root rot, a common issue with bulb plants.
- Temperature: Amaryllis prefer temperatures between 60°F and 75°F (15°C and 24°C). Avoid placing them near drafts or heat sources like radiators.
- Fertilizing: Once your seedlings are a few months old, start feeding them with a balanced liquid fertilizer every four to six weeks. This encourages robust growth.
Remember, every plant is different, so keep an eye on how your amaryllis reacts to its environment and adjust care as needed. Healthy foliage is a good sign, even if blooms are years away.
Dealing with Common Issues
Like any plant, amaryllis seedlings can face a few challenges. Knowing what to look out for helps you take action before issues become serious.
Here are some common problems and solutions:
- Yellowing leaves: This can be a sign of overwatering. Check your watering schedule and let the top inch of soil dry out between waterings.
- Stunted growth: If your seedlings aren't growing, they might not be getting enough light or nutrients. Try moving them to a brighter spot or increasing their fertilizer.
- Pests: While not common, amaryllis can attract pests like spider mites or aphids. Remove them by wiping the leaves with a damp cloth or using insecticidal soap.
Keeping a close watch on your plants and addressing issues early can make a big difference in their health and growth.
Creating a Beautiful Indoor Display
Once your amaryllis seedlings mature, they're ready to become part of your home's decor. The trick is to create a display that highlights their beauty while fitting your style.
Consider these ideas for showcasing your amaryllis:
- Grouping: Plant several amaryllis in a single, large container for a striking display. Use different varieties for a mix of colors and heights.
- Pot choices: Choose pots that complement your home's decor. Modern, minimal pots work well in contemporary settings, while rustic or ceramic pots fit a more traditional vibe.
- Location: Place your amaryllis where they'll get plenty of light, like near a window. They make great centerpieces on tables or accents on shelves.
Remember to rotate your plants occasionally to ensure even growth and prevent them from leaning toward the light.
Patience and Enjoyment in the Process
Growing amaryllis from seeds is as much about the journey as the destination. While it takes time and care, watching your plants grow from tiny seeds to mature, flowering beauties is a wonderful experience.
As you nurture your amaryllis, take time to appreciate each stage of growth. Celebrate the small victories, like the first true leaves or the first signs of a bloom. These moments make the process worthwhile.
Whether you're a seasoned plant parent or new to gardening, growing amaryllis from seeds offers a rewarding challenge. Embrace the ups and downs, and don't hesitate to adjust your approach as you learn what works best for your plants.
Final Thoughts
Growing amaryllis from seeds is a delightful and rewarding experience that requires patience and care. From collecting and preparing seeds to nurturing seedlings into mature plants, each step brings its own joys and challenges. With time and attention, you'll be rewarded with beautiful blooms that brighten your home.
At Cafe Planta, we’re here to support your plant journey. Whether you're seeking plant care advice or looking for the perfect addition to your collection, we're eager to help. Contact us via email or Instagram. We believe in the power of plants to connect and inspire. Let's grow together!


