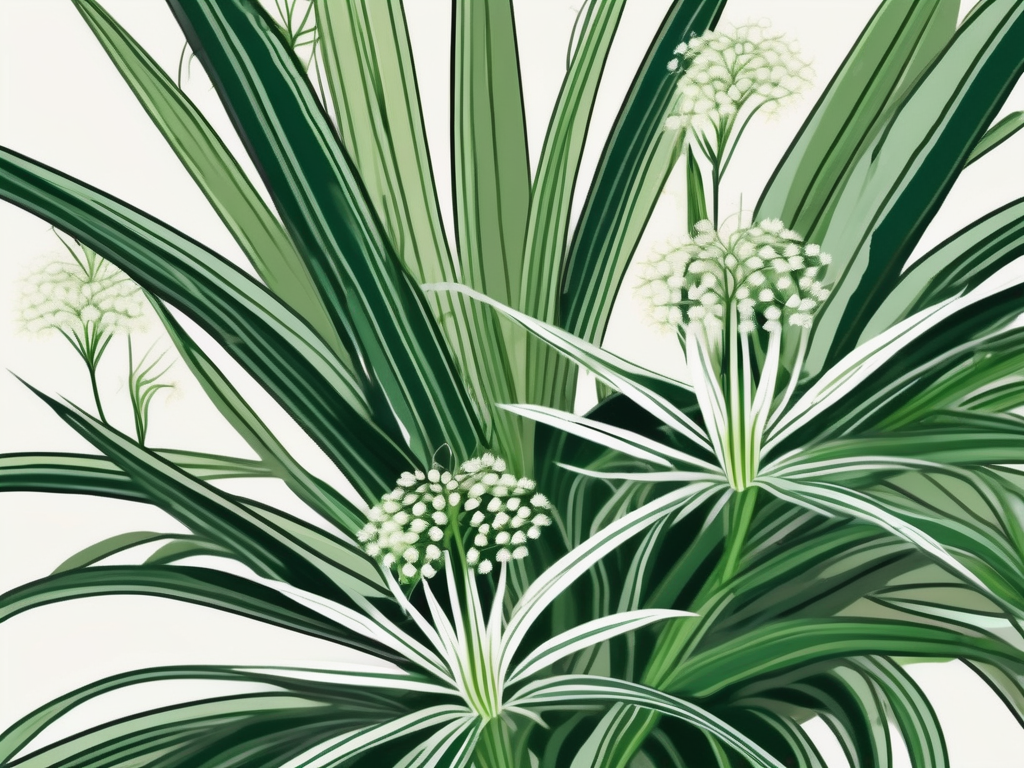
Spider plants are like the cool, laid-back friends of the plant world. They're easygoing and versatile, which makes them perfect for anyone trying to add a touch of green to their home without diving into the deep end of plant care. One of the neatest things about spider plants is their ability to thrive in water, which is a fun and easy way to grow them if you're not quite ready for soil-based gardening.
This article will guide you through the entire process of growing a spider plant in water, from choosing the right plantlet to setting it up for success. We'll cover everything you need to know, including tips and tricks to ensure your spider plant stays happy and healthy. Whether you're a seasoned plant parent or just dipping your toes into the world of plant care, you'll find this guide both informative and entertaining. So, let's get started!
Choosing the Right Spider Plantlet
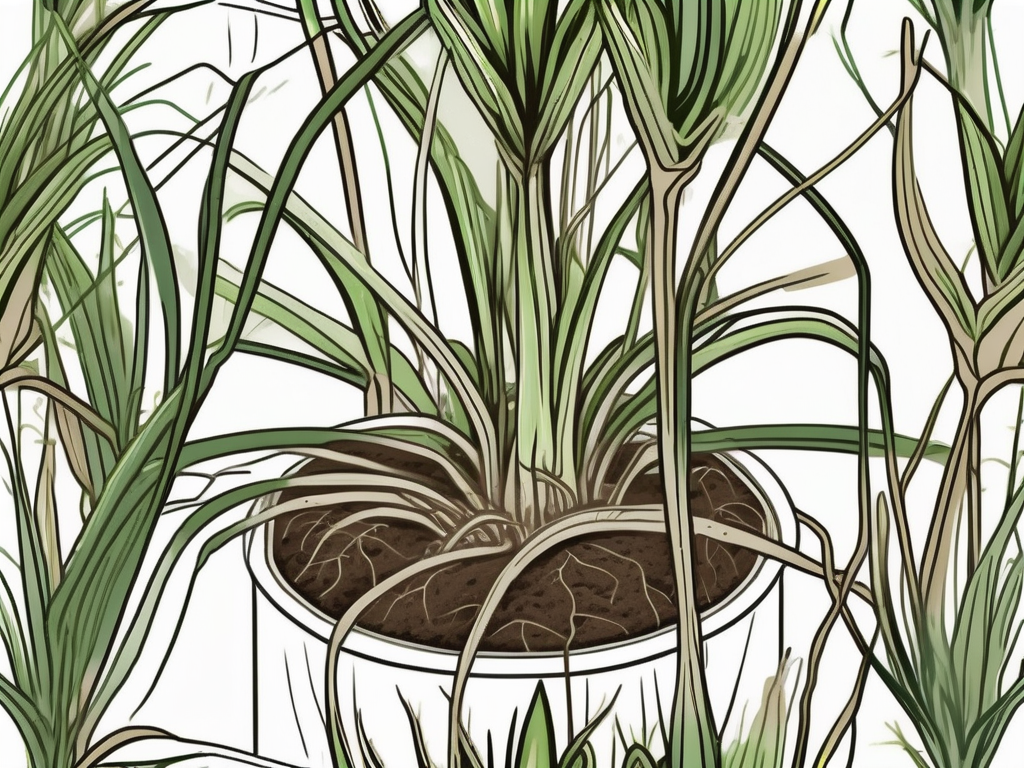
Growing a spider plant in water starts with selecting the right plantlet, often referred to as a "baby" or "pup." These little offshoots sprout from the main plant and are typically ready to be detached and grown on their own. But how do you know which plantlet is ready for its solo adventure?
Look for plantlets that have a few small roots already sprouting. These roots will make it easier for the plantlet to transition into water-based growth. If you don't see any roots, don't worry. You can still use these plantlets; it just might take a bit longer for them to adjust.
Once you've identified a suitable plantlet, gently cut it from the mother plant. Use a sharp pair of scissors or pruning shears to ensure a clean cut, which helps prevent damage to both the plantlet and the mother plant. After detaching the plantlet, you can remove any excess leaves that might be submerged in water. This prevents them from rotting and keeps your water clean.
Choosing the right plantlet sets the stage for successful water propagation. With a little care and attention, you'll soon have a thriving spider plant ready to show off its beauty.
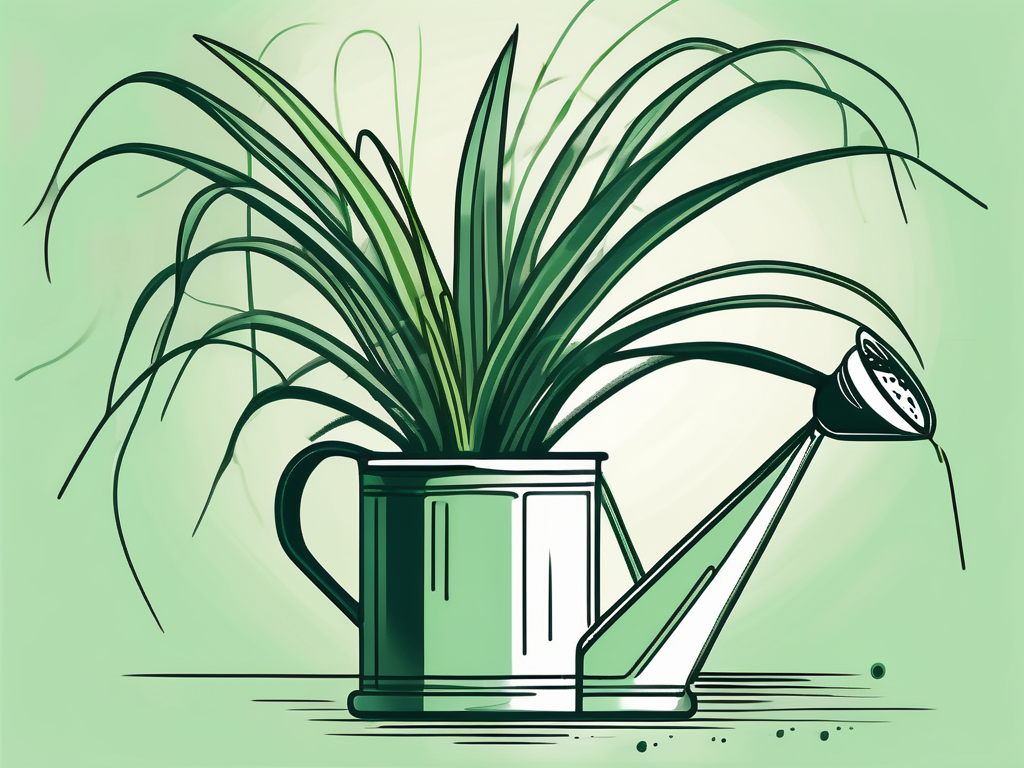
Setting Up Your Watering Station
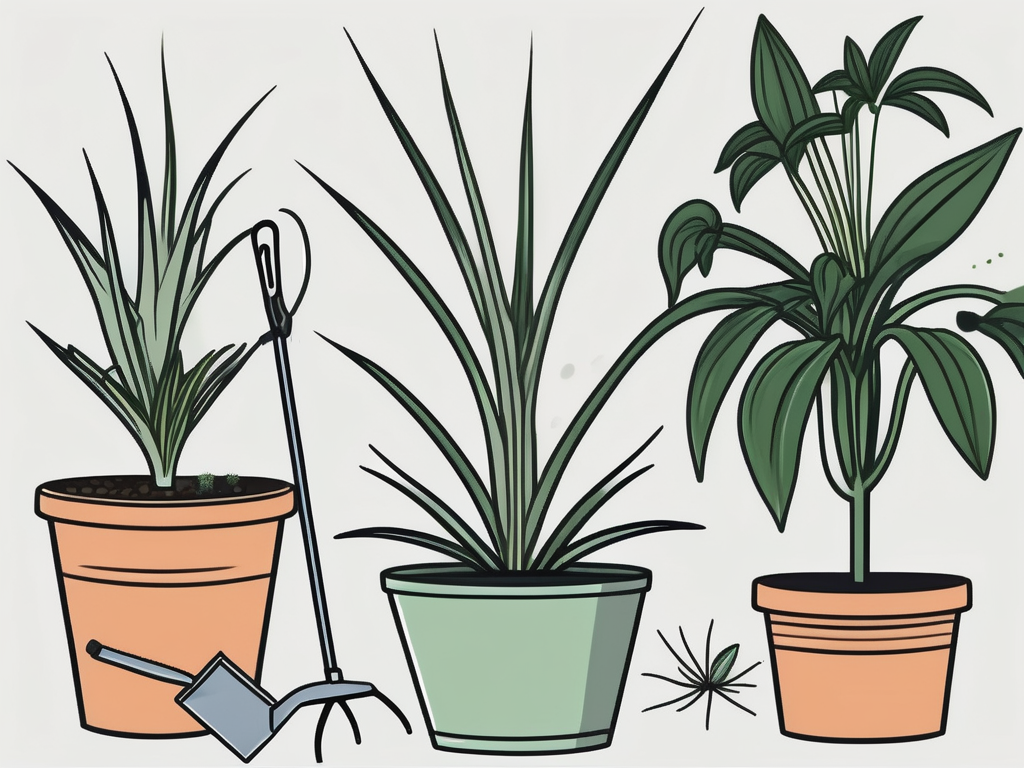
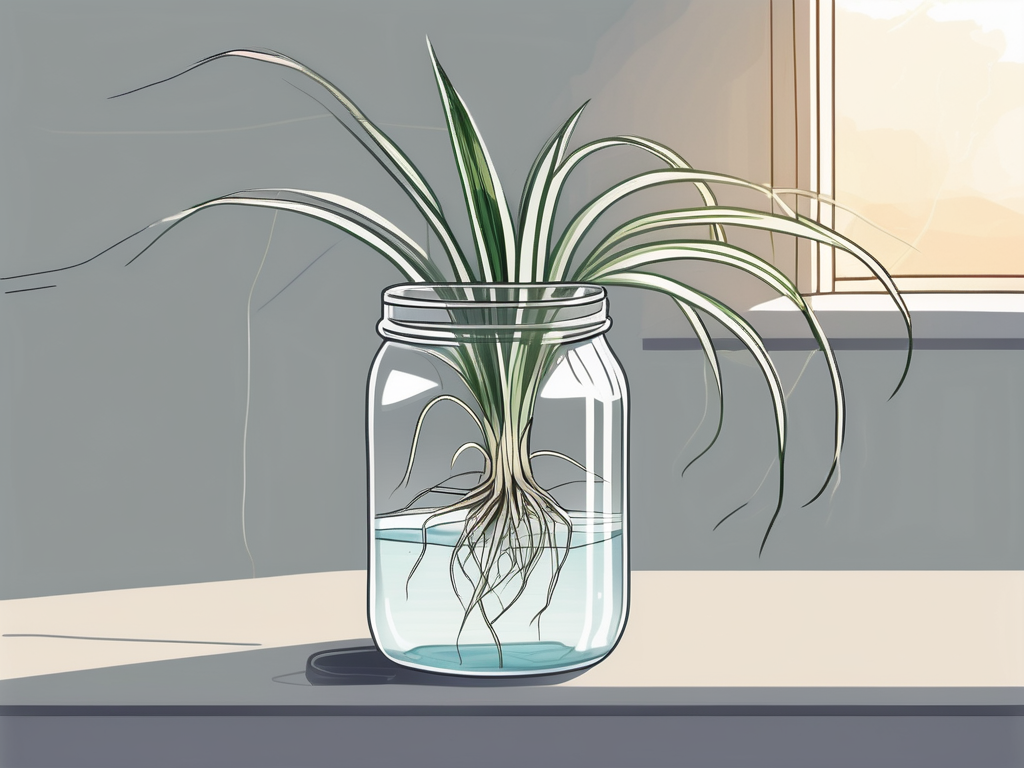
Now that you have your plantlet, it's time to create a cozy home for it in water. You'll need a few basic supplies to get started: a container, water, and maybe some decorative stones or marbles if you're feeling fancy.
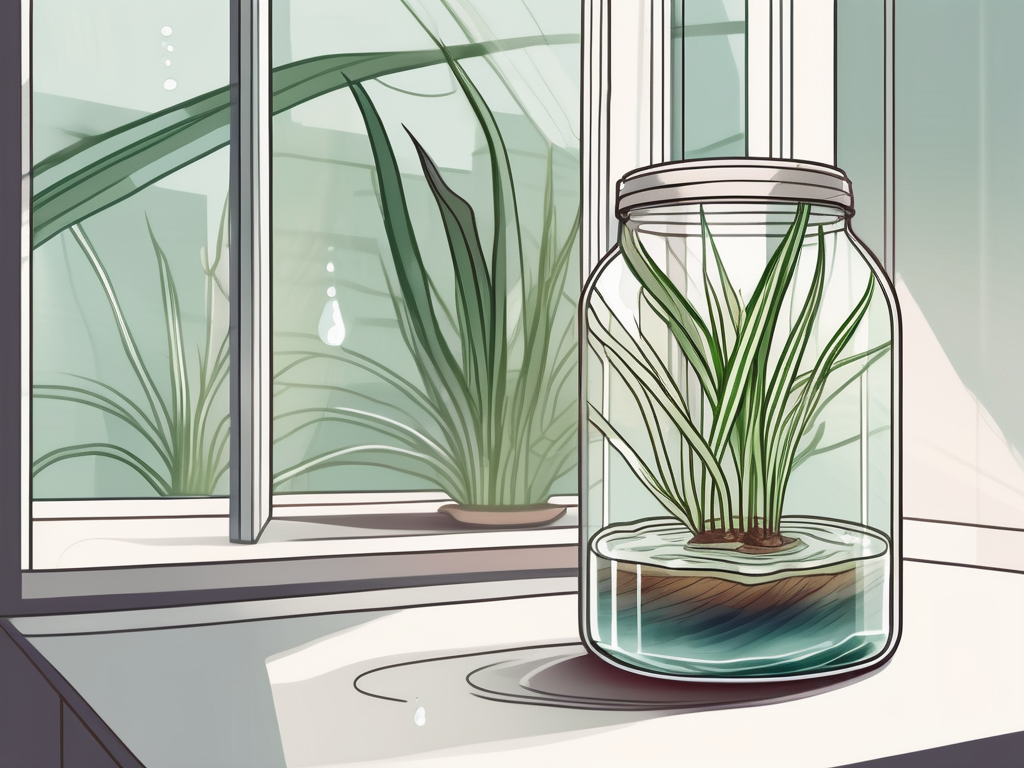
First, choose a container that will support your plantlet and keep it upright. A clear glass container works well because it allows you to easily monitor the water level and root growth. Make sure the container is wide enough to hold the plantlet without it tipping over but not so large that the plantlet is swimming in a sea of water.
Fill the container with room-temperature water. Tap water is usually fine, but if you're concerned about chlorine or other chemicals, you can let the water sit out for 24 hours to allow them to evaporate. Alternatively, distilled or filtered water can be used.
If you'd like to add a decorative touch, place some stones, marbles, or beads at the bottom of the container. These can help stabilize the plantlet and add a bit of flair to your setup. Just be sure the materials you use are clean and won't affect the water quality.
Positioning Your Spider Plantlet
With your container ready, it's time to introduce your spider plantlet to its new aquatic home. Positioning the plantlet correctly is key to ensuring it grows strong and healthy roots.
Carefully place the plantlet in the container, ensuring that the roots are submerged in water. If your plantlet doesn't have visible roots yet, just make sure the base of the plantlet is touching the water. The plant will eventually develop roots in response to the moisture.
It's important to avoid submerging the leaves in water, as this can lead to rot. If the plantlet is too low in the container, you can use stones or marbles to prop it up. This keeps the leaves above water while the roots remain submerged.
Once your plantlet is properly positioned, place the container in a spot where it will receive bright, indirect light. Spider plants aren't fans of direct sunlight, which can scorch their leaves. Instead, opt for a windowsill with filtered light or a spot a few feet away from a sunny window.
Maintaining Water Quality
Keeping the water fresh and clean is crucial for the health of your spider plant. Stagnant or dirty water can lead to root rot and other problems, so regular maintenance is necessary.
Change the water in your container every week or two. This helps replenish essential nutrients and oxygen that the plant needs. When changing the water, take the opportunity to rinse the plant's roots and the container to remove any residue or buildup that might have occurred.
If you're using tap water, allowing it to sit out for a day before adding it to the container can help eliminate any chlorine. Alternatively, consider using filtered or distilled water to avoid chemical buildup.
Occasionally, you might notice a film or algae developing in the container. This is common in water propagation setups and can be managed by cleaning the container and replacing the water more frequently. Ensuring the container is not exposed to direct sunlight can also help reduce algae growth.
Monitoring Root and Leaf Health
As your spider plant grows in water, keeping an eye on its roots and leaves can help you catch any potential issues early. Healthy roots are essential for nutrient uptake and overall plant health.
Look for roots that are white or light tan in color and firm to the touch. If you notice any roots that appear brown, mushy, or slimy, it's a sign of root rot. Remove these affected roots promptly to prevent further damage.
Leaf health is equally important. Spider plants should have green, vibrant leaves. If you notice any browning or yellowing, it might be due to a lack of nutrients or water quality issues. In such cases, consider adding a diluted liquid fertilizer to the water to provide additional nutrients. Be cautious not to over-fertilize, as this can damage the plant.
Regularly inspecting your plant and addressing any issues promptly will ensure it remains healthy and continues to thrive.
Encouraging Growth and Propagation
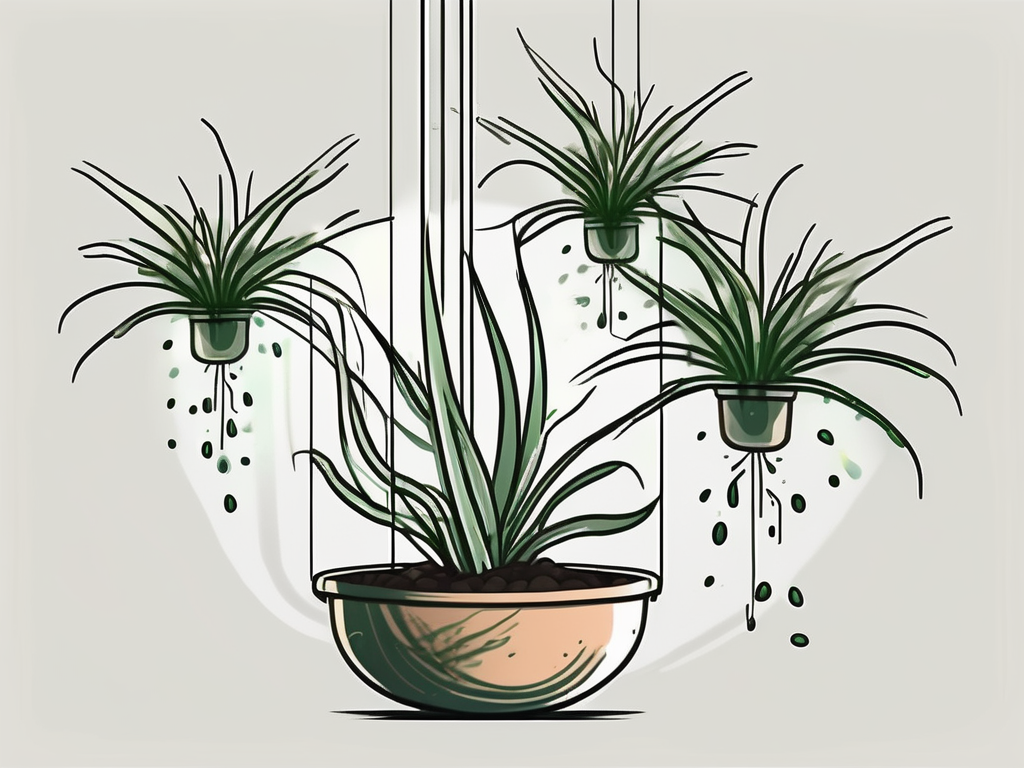
Once your spider plant is settled and growing well in water, you might want to encourage it to produce more plantlets. Spider plants are known for their prolific reproduction, and with a little encouragement, you can have a whole family of spider plants in no time.
To promote new growth, ensure your plant is receiving adequate light. While it doesn't need direct sunlight, a consistent supply of bright, indirect light will encourage it to produce more offshoots.
Additionally, you can occasionally use a diluted liquid fertilizer to provide extra nutrients. This can help stimulate growth and support the development of new plantlets. However, be careful not to overdo it, as too much fertilizer can harm the plant.
Once your spider plant starts producing new plantlets, you can repeat the process of cutting and propagating them in water. This cycle can continue indefinitely, allowing you to expand your plant collection or share with friends and family.
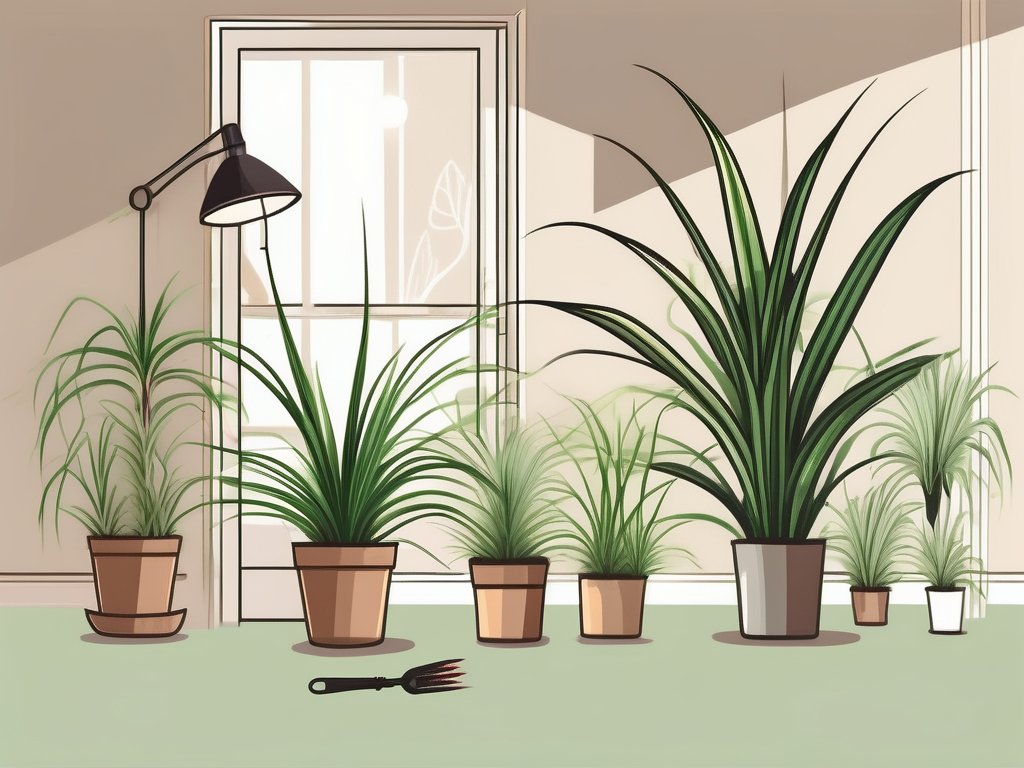
Integrating Spider Plants into Your Home Decor
Growing spider plants in water isn't just practical—it's also a stylish way to incorporate greenery into your home decor. The clear containers and visible roots offer a unique aesthetic that can complement a variety of interior styles.
Consider placing your water-grown spider plant on a windowsill, shelf, or coffee table where it can be admired. Grouping several containers together can create an eye-catching display, especially if you use different shapes and sizes of containers.
If you're feeling creative, you can even incorporate other decorative elements like colored stones, shells, or small figurines into the container. Just make sure these additions don't interfere with the plant's growth or water quality.
Spider plants can also be used as part of a larger plant arrangement. Mix and match different types of plants and containers to create a personalized green space that enhances your home environment. The versatility and adaptability of spider plants make them a great choice for any decor style.
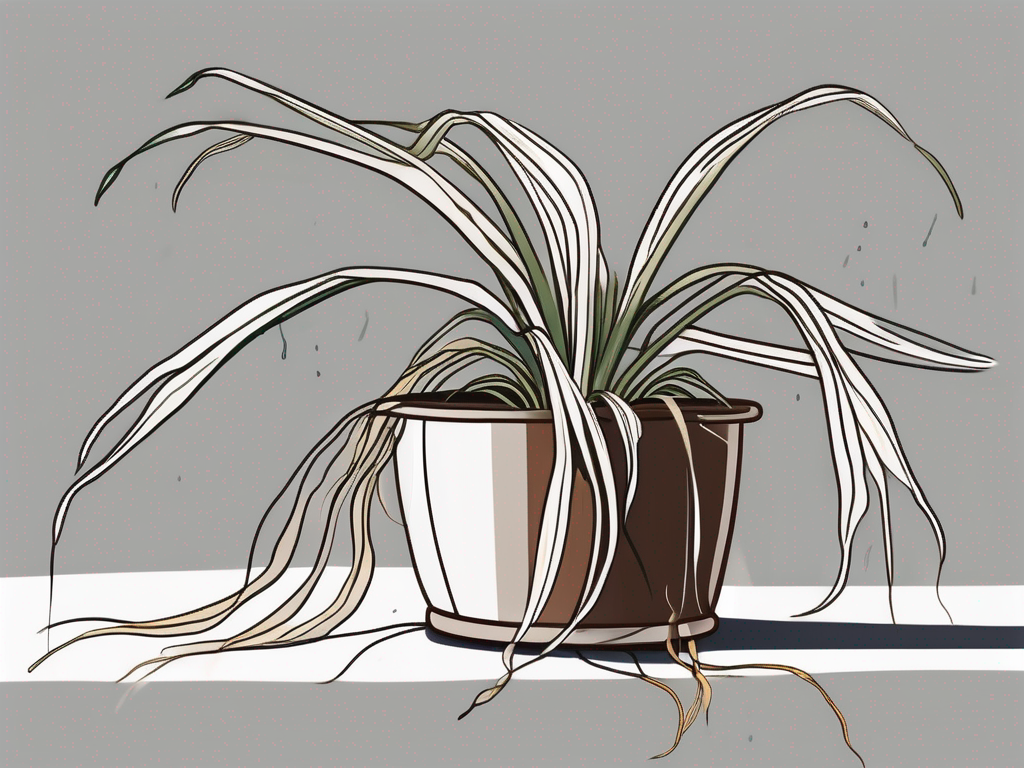
Troubleshooting Common Issues
Even with the best care, you might encounter some challenges while growing spider plants in water. Here are a few common issues and how to address them:
- Yellowing Leaves: This often indicates a nutrient deficiency or poor water quality. Try changing the water more frequently and consider adding a diluted fertilizer.
- Root Rot: Brown, mushy roots are a sign of rot. Trim away any affected roots and ensure the plant is not sitting in stagnant water.
- Slow Growth: If your plant isn't growing as expected, it might need more light or nutrients. Ensure it's receiving bright, indirect light and consider a small amount of fertilizer.
- Algae Growth: Algae can develop in containers exposed to too much light. Clean the container regularly and keep it out of direct sunlight.
By staying attentive to these potential issues, you can quickly address them and ensure your spider plant continues to thrive.
Final Thoughts
Growing a spider plant in water is an enjoyable and rewarding endeavor that brings a touch of nature into your home. By following the steps and tips outlined in this guide, you'll be well on your way to nurturing a healthy, thriving plant.
At Cafe Planta, we love helping people connect with plants and nature. Whether you're a seasoned pro or a budding plant parent, we're here to support you on your journey. If you have questions or need advice, feel free to email us or drop us a message on Instagram. We're excited to be a part of your plant adventure!