Houseplants have a way of transforming spaces, and the ZZ plant, with its glossy, dark green leaves, is a particular favorite among plant lovers. Not only is it low-maintenance, but it's also a champion when it comes to indoor air purification. But what if you want to multiply your ZZ plant collection? Propagating ZZ plant cuttings is an excellent way to do just that.
In this article, we're going to take a friendly stroll through the process of propagating ZZ plants. We'll cover everything from selecting the right cutting to nurturing your new plantlets. Whether you've got a green thumb or you're just getting started, you'll find plenty of tips and tricks to guide you along the way.
Understanding the ZZ Plant
Before we jump into propagation, let's take a closer look at the ZZ plant itself. Its full name is Zamioculcas zamiifolia, but most people just call it the ZZ plant. Originating from Eastern Africa, this plant has adapted to thrive in low-light conditions, making it ideal for indoor environments. Plus, it’s drought-tolerant, so if you forget to water it occasionally, it won't hold a grudge.
The ZZ plant is unique due to its rhizomes, which are thick, bulb-like structures that store water. This makes it incredibly resilient and a great choice for anyone who might not have the time to care for more demanding plants. It's also worth noting that while the ZZ plant is generally hardy, it’s still important to provide it with the right conditions for propagation.
When you're ready to propagate, you'll mainly focus on its leaves and stems. These parts can develop roots and eventually form new plants. So, understanding the structure and growth habits of the ZZ plant helps you know exactly where to make your cuts and how to nurture the new growth.
Choosing the Right Time for Propagation
Timing can make a big difference in the success of your ZZ plant propagation. Ideally, you want to start the process during the growing season, which is typically in the spring or summer. During this time, the plant is actively growing, and the chances of successful rooting are much higher.
That being said, if you find yourself itching to propagate your ZZ plant during the off-season, don’t worry too much. ZZ plants are pretty forgiving, and you can still attempt propagation. Just be aware that the process might take a bit longer, and you might need to provide a little extra care and attention.
In terms of plant health, make sure your ZZ plant is well-watered and not showing any signs of stress before you start. A healthy plant will have more energy to dedicate to rooting and growing new shoots, giving you a head start on successful propagation.
Gathering Your Supplies
Before you start snipping away, it’s important to gather all the supplies you’ll need. Here’s a quick list to get you started:
- Sharp, clean scissors or pruning shears: These are essential for making clean cuts without damaging the plant.
- Containers: Small pots or containers with drainage holes are perfect for rooting your cuttings.
- Potting mix: A well-draining soil mix, like cactus or succulent soil, works best for ZZ plants.
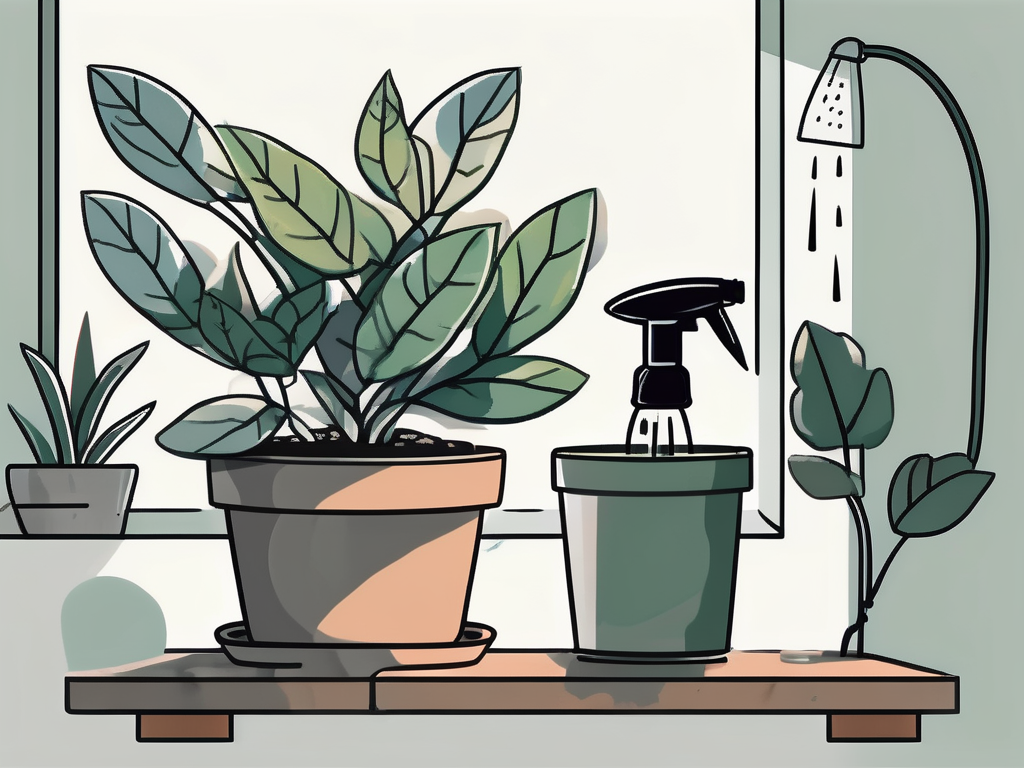
- Water: A spray bottle or small watering can will help keep your cuttings hydrated.
- Rooting hormone (optional): This can help promote rooting, though it’s not strictly necessary for ZZ plants.
Having everything ready to go means you won't be scrambling around looking for supplies in the middle of the process. Plus, it gives you a chance to inspect your tools and containers, ensuring everything is clean and ready for action.
Taking Cuttings from Your ZZ Plant
Once you've got everything prepared, it's time to take your cuttings. Look for healthy, mature leaves or stems. You want to avoid any parts of the plant that look damaged or diseased, as this could affect the success of your propagation.
For leaf cuttings, select a leaf that’s mature and healthy. Using your scissors or pruning shears, make a clean cut at the base of the leaf, ensuring you have a small section of the stem attached. If you're opting for stem cuttings, choose a stem that’s at least a few inches long and has several leaves. Cut the stem just above a node, which is where a leaf attaches to the stem.
Once you've made your cuts, it's a good idea to let the cut ends dry and callous over for a day or two. This reduces the risk of rot when you place the cuttings in soil, which is especially important for succulents and plants like the ZZ plant.
Rooting ZZ Plant Cuttings
Now that you have your cuttings, it's time to encourage them to grow roots. There are a couple of methods you can use for this: water rooting and soil rooting.
Water Rooting
Water rooting is a popular method because it allows you to see the roots as they develop. Simply fill a container with water and place the cut end of your cutting in it. Change the water every week or so to keep it fresh and prevent bacteria from building up. Once you see roots that are a few inches long, you can transfer the cutting to soil.
Soil Rooting
With soil rooting, you plant the cutting directly into a well-draining potting mix. Make a small hole in the soil with your finger or a stick, and gently insert the cutting. Water the soil lightly to settle it around the cutting, and then place the pot in a warm, bright spot out of direct sunlight.
Whichever method you choose, patience is key. It can take several weeks, or even months, for ZZ plant cuttings to develop roots, so don’t be discouraged if you don’t see immediate results.
Caring for Your New ZZ Plantlets
Once your cuttings have developed roots and you’ve potted them up, it’s time to shift your focus to caring for your new plantlets. They’ll need a little extra TLC as they establish themselves and begin to grow.
Water your new ZZ plants sparingly. Overwatering is one of the most common mistakes with ZZ plants, as their rhizomes store water and make them susceptible to root rot. Allow the top inch of soil to dry out before watering again.
Place your ZZ plantlets in a bright, indirect light. Too much direct sunlight can scorch the leaves, but too little light can slow growth. A north or east-facing window is often ideal.
Fertilizing isn’t necessary during the early stages, as the plantlets focus on root development. Once they’re established, you can feed them with a balanced houseplant fertilizer every few months during the growing season to support their development.
Common Challenges and Solutions
Propagating ZZ plants is usually straightforward, but like any plant project, there can be hiccups along the way. Here are some common challenges you might encounter, along with solutions to keep things on track:
- Cuttings not rooting: If it seems like your cuttings aren’t developing roots, ensure they’re in a warm, humid environment. Covering them with a plastic bag or placing them in a humidity dome can help.
- Yellowing leaves: This can be a sign of overwatering. Check that your potting mix is well-draining and that you’re allowing the soil to dry out between waterings.
- Rotting cuttings: Letting the cut ends callous before planting can prevent rot. Also, avoid waterlogging the soil, as excess moisture can lead to rot.
Remember, practice makes perfect. Don’t be disheartened by setbacks; each one is a learning opportunity that brings you closer to success.
Creating a Plant-Filled Space with Your ZZ Plants
With your new ZZ plants thriving, the fun really begins—integrating them into your home’s decor. These plants are incredibly versatile and can adapt to a variety of spaces, from minimalist modern to cozy bohemian.
Consider placing your ZZ plants on shelves, mantels, or side tables where their glossy leaves can catch the light. They also make excellent floor plants, especially when placed in decorative pots that complement your interior style.
For a cohesive look, group your ZZ plants with other houseplants that have similar light and water requirements. This not only makes care easier but also creates a lush, tropical vibe in your home. Mixing ZZ plants with trailing vines or taller plants can add depth and interest to your plant arrangements.
Conclusion: Embrace the Process
Propagating ZZ plants is a rewarding project that allows you to expand your plant collection and share with friends. From selecting the perfect cutting to nurturing your new plantlets, each step brings you closer to a thriving indoor garden.
At Cafe Planta, we're passionate about helping you care for your plants. We offer a range of houseplants, plant care accessories, and even plant-themed apparel. If you have any questions about plant care, feel free to email us or reach out via Instagram. We believe in the power of plants to connect us with nature and each other, and we're excited to be part of your plant journey.


