Have you noticed that your pineapple bromeliad isn't looking as lively as it once did? Maybe its roots are peeking out from the pot, or the soil isn't holding moisture like it used to. It might be time to consider repotting your plant. Repotting can breathe new life into your bromeliad, giving it more room to grow and thrive.
In this article, we’ll walk you through everything you need to know about repotting your pineapple bromeliad. Whether you're a seasoned plant parent or a newbie just starting out, these tips and tricks will help you ensure your plant is healthy and happy.
Understanding When to Repot Your Pineapple Bromeliad
First things first, let’s talk about timing. Unlike some plants that demand frequent repotting, bromeliads are pretty laid-back. They generally need repotting every two to three years. However, the actual timing can depend on several factors.
So, how do you know when it's time? Here are some telltale signs:
- Roots are visible: If you see roots growing out of the drainage holes, it's a clear sign that your bromeliad needs more room.
- Water isn’t absorbing well: Is water sitting on top of the soil instead of soaking in? This might mean the soil has compacted and needs replacing.
- Stunted growth: If your plant seems to have stopped growing, it may be due to a lack of nutrients or space.
Remember, while spring is often the best time for repotting because plants are naturally more active, your bromeliad will let you know when it’s ready regardless of the season.
Gathering Your Supplies
Now that you’ve established the need for a new pot, let’s discuss what you’ll need. Being prepared can make the process much smoother and less stressful for both you and your plant.
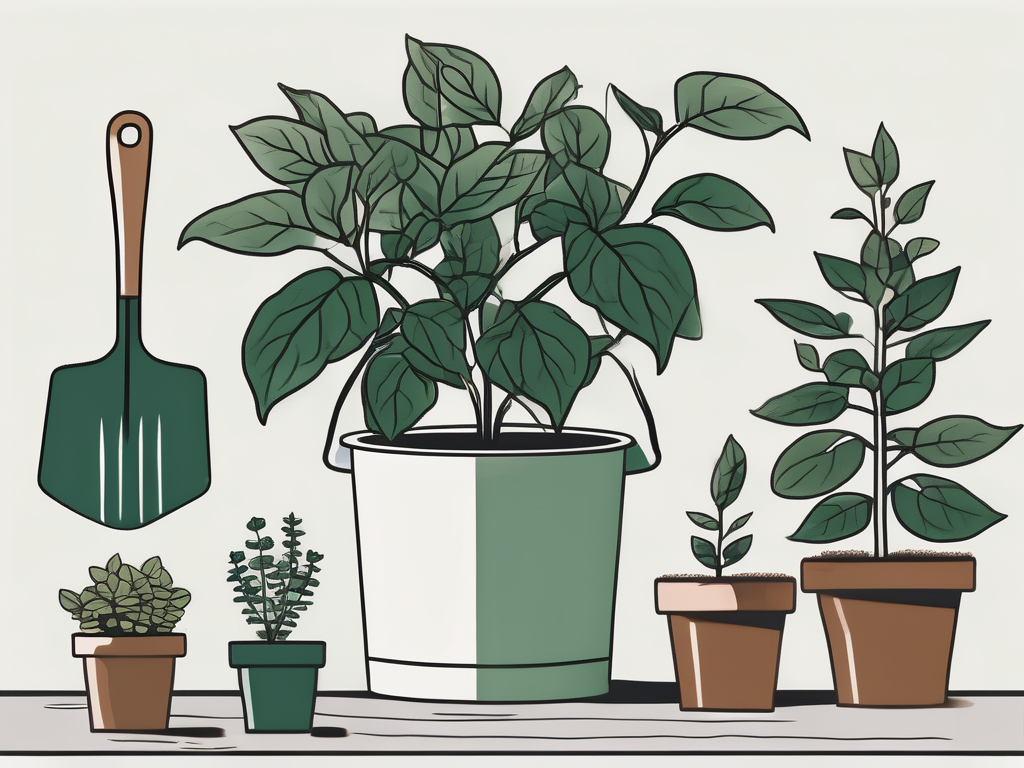
Here’s a checklist of what you’ll need:
- A new pot: Choose one that's just a couple of inches larger in diameter than the current pot. Going too big can lead to overwatering.
- Potting mix: Opt for a well-draining mix. Bromeliads prefer a loose substrate, often a mix of orchid bark, perlite, and peat moss works well.
- Gardening gloves: These are optional, but they can protect your hands from any sharp edges on the plant or pot.
- Water: Have some water handy to moisten the new soil and clean any dust off the leaves.
It might be tempting to use any old potting soil, but taking the time to get the right blend will pay off in healthier growth and fewer issues down the road.
Preparing the New Pot
With your supplies ready, it’s time to prep the new home for your bromeliad. Trust me, a little upfront preparation can make the transition much smoother for your plant.
Here’s what you need to do:
- Check the drainage: Ensure your new pot has suitable drainage holes. If it doesn’t, you might want to drill some yourself.
- Add a base layer: Place a few rocks or broken pottery at the bottom of the pot. This helps improve drainage and prevents soil from escaping.
- Moisten the new soil: Mix a small amount of water with your potting mix to make it slightly damp. This helps the roots settle in more easily.
Once your pot is prepped, you’re ready for the main event—moving your bromeliad to its new digs!
Removing the Bromeliad from Its Current Pot
This step can be a bit tricky, so take your time. The goal is to move your bromeliad with minimal stress to the plant, and yourself!
Follow these steps:
- Loosen the plant: Gently squeeze the sides of the current pot to loosen the root ball. If it's stubborn, a gentle tap on the bottom can help.
- Free the roots: Turn the pot on its side and slowly slide the plant out. Be careful not to yank it by the leaves.
- Inspect the roots: Check for any dead or rotting roots and trim them with a clean pair of scissors.
Ideally, you want to preserve as much of the root system as possible. Healthy roots are firm and white, so keep an eye out for those.
Transplanting Your Bromeliad
With your bromeliad freed, it’s time to introduce it to its new pot. This part is pretty straightforward, but a little care goes a long way.
Here’s how to do it:
- Place the plant: Position your bromeliad in the center of the new pot.
- Fill with soil: Carefully add the moistened potting mix around the root ball, pressing gently to remove air pockets.
- Leave some space: Aim to leave about an inch of space at the top of the pot. This makes watering easier.
Your bromeliad should now be firmly in place, but not so tight that the roots can’t breathe. A good fit allows the plant to stay upright and stable.
Caring for Your Bromeliad Post-Repotting
Now that your bromeliad has a new home, it's essential to give it some extra care. Think of it like moving into a new house—you need some time to adjust.
Here are a few tips:
- Location: Place your plant in a spot with bright, indirect light. Direct sunlight can scorch the leaves.
- Watering: Keep the soil slightly moist but not soggy. Remember, bromeliads also absorb moisture through their leaves, so misting can be beneficial.
- Humidity: Bromeliads love humidity. Consider placing a humidifier nearby or grouping it with other plants to boost the humidity level.
These extra steps can help your bromeliad settle in quicker, reducing the chance of transplant shock.
Common Mistakes to Avoid
Even the most experienced plant people can make mistakes, so don’t worry if things don’t go perfectly. Here are some common pitfalls to watch out for:
- Overwatering: Bromeliads are prone to root rot, so avoid keeping the soil too wet.
- Using the wrong soil: A dense potting mix can suffocate roots. Always use a well-draining mix.
- Too much sunlight: While they love light, direct sun can be too intense. Keep them in a bright but indirect light setting.
Everyone makes mistakes, but with awareness and care, you can easily prevent these common issues.
Repotting Young Offsets
If your bromeliad has produced pups, or offsets, you're in for a treat. These are like little bonus plants that you can propagate for even more greenery around your home.
Here's how to repot them:
- Wait for maturity: Let pups grow to about one-third the size of the mother plant before separating.
- Gentle separation: Use a clean knife to carefully cut the pup away from the mother plant.
- Pot individually: Place the pup in a small pot with the same potting mix as the mother plant.
Having more bromeliads around can brighten up your home, and it's quite satisfying to see these little ones grow into full plants.
Repotting as a Part of Interior Design
Did you know that repotting can also be a fun way to freshen up your interior design? Plants are natural décor items that can change the whole vibe of a room.
Consider these ideas:
- Color coordination: Choose pots that match or complement your room’s color scheme.
- Grouping plants: Combine different bromeliads and other plants for a lush display.
- Height variation: Use stands or hanging pots to vary the height of your plants for a dynamic look.
Playing with plant placement and pot styles can transform your living space into a cozy, green haven.
Final Thoughts
Repotting your pineapple bromeliad doesn’t have to be daunting. By understanding when and how to repot, you can ensure your plant continues to thrive and add beauty to your home. Remember, preparation is key, and a little post-repotting care goes a long way.
At Cafe Planta, we're all about helping you care for your plant babies. Whether you're looking for the perfect pot or need advice on plant care, we’ve got you covered. Feel free to reach out to us via email or connect with us on Instagram. We love hearing from fellow plant lovers and are excited to help you create your own green oasis.