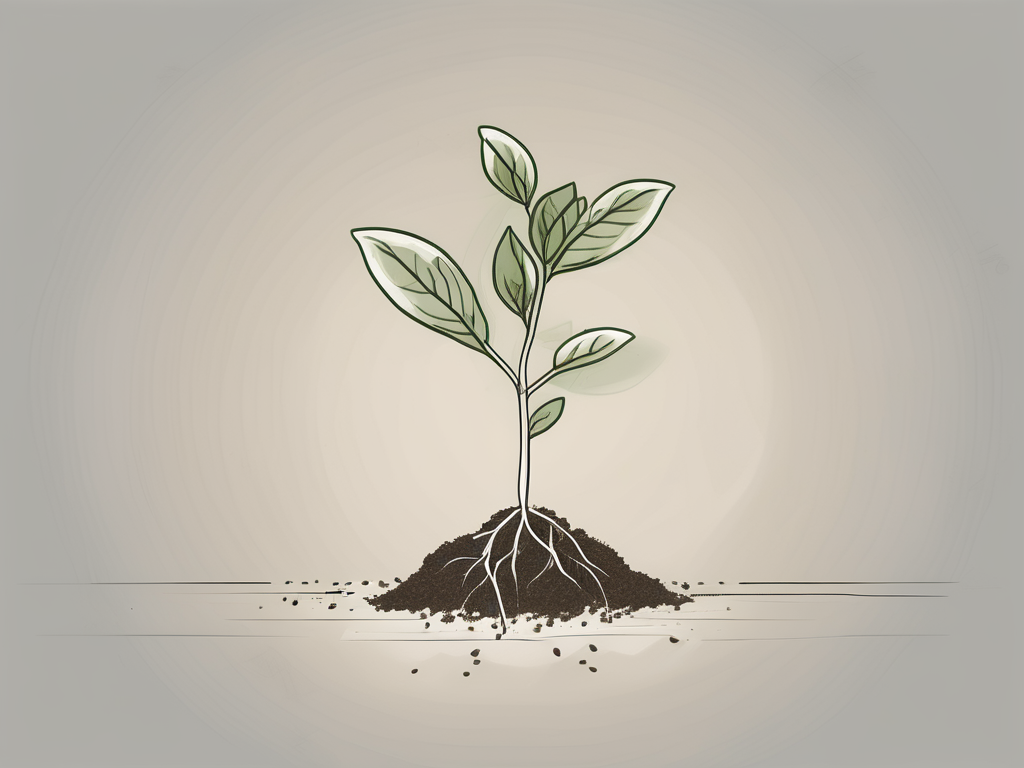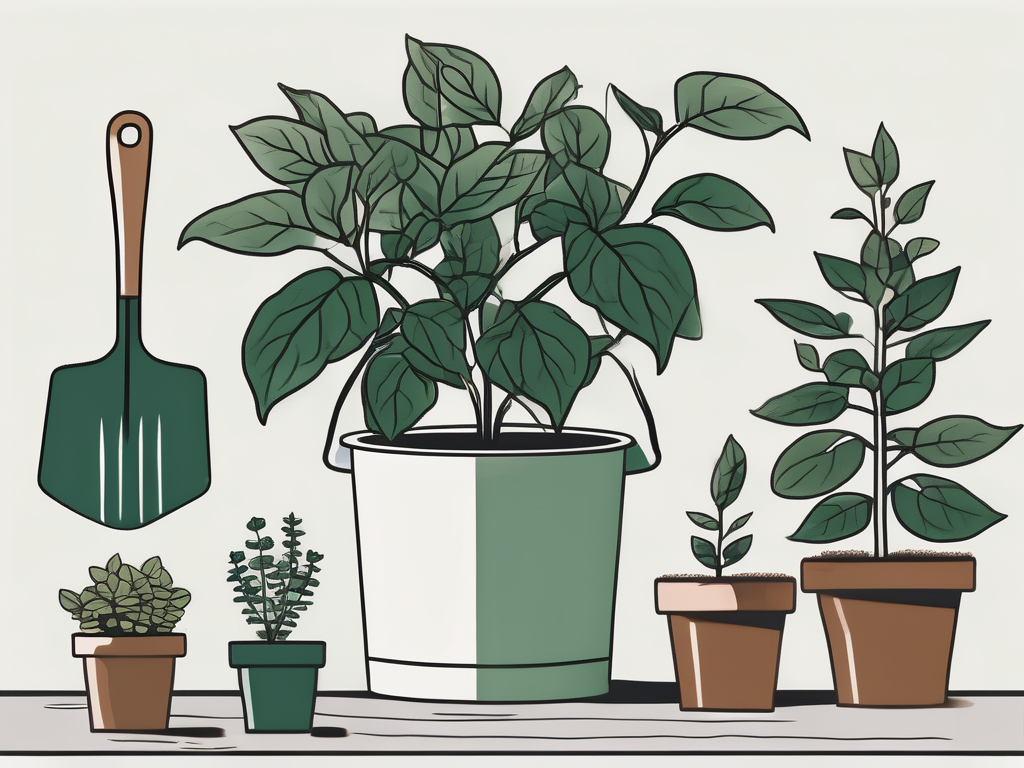
If you're a fan of the sensitive plant, also known as Mimosa pudica, you know how fascinating these little guys can be. Their leaves fold up as soon as you touch them, like they're shy or maybe just a bit dramatic. But beyond their quirky charm, these plants need a bit of care and attention, especially when it comes to repotting.
Today, we're going to chat about everything you need to know about repotting your sensitive plant. From when to do it, right down to the soil, pot, and handling techniques, this guide will help you keep your Mimosa pudica thriving and happy. So, let's get started!
Understanding When to Repot
First things first—timing is everything. Repotting your sensitive plant at the right time can make a world of difference in its growth and health. But how do you know when it's time?
Typically, you'll want to consider repotting your plant every one to two years. A good rule of thumb is to check the roots. If they're starting to peek out of the drainage holes at the bottom of the pot, it's probably time for a new home. Other signs include stunted growth, yellowing leaves, or if the soil seems to dry out much quicker than usual.
Spring is generally the best time to repot your sensitive plant. The plant is emerging from its dormant phase and is ready to put on some new growth. However, if you notice any of the signs mentioned earlier, don't hesitate to repot even if it's not spring. The health of your plant should always come first.
Choosing the Right Pot
Picking the right pot is a bit like choosing the perfect pair of shoes—fit and style both matter. When it comes to sensitive plants, you should look for a pot that's about 1-2 inches larger in diameter than the current one. This gives the roots more room to grow without overwhelming them with too much space.
Drainage is crucial. Always opt for a pot with drainage holes to prevent water from pooling at the bottom. This helps avoid root rot, which can be a real plant killer. If your heart is set on a decorative pot without drainage, consider using it as a cover pot and place your plant in a smaller, well-draining pot inside it.
Material-wise, terracotta pots are often recommended because they allow the soil to breathe. This can be particularly beneficial for sensitive plants, as it helps regulate moisture levels. But feel free to choose a pot that suits your style—just ensure it meets the plant's needs first.
Preparing the Soil
Sensitive plants aren't too fussy when it comes to soil, but they do have their preferences. The ideal soil mix is light, well-draining, and rich in organic matter. You can buy a pre-made potting mix, but making your own can be just as easy and often more satisfying.
Here's a simple soil mix you can make at home:
- 2 parts potting soil
- 1 part perlite or sand
- 1 part peat moss or coconut coir
This combination ensures good drainage while retaining enough moisture to keep the sensitive plant content. Remember, you want the soil to hold some water but not become soggy. Soggy soil is a big no-no for these plants, as it can lead to root rot.
Before you start repotting, make sure the soil is slightly moist. This will help the plant settle into its new pot more comfortably.
Gathering Your Tools
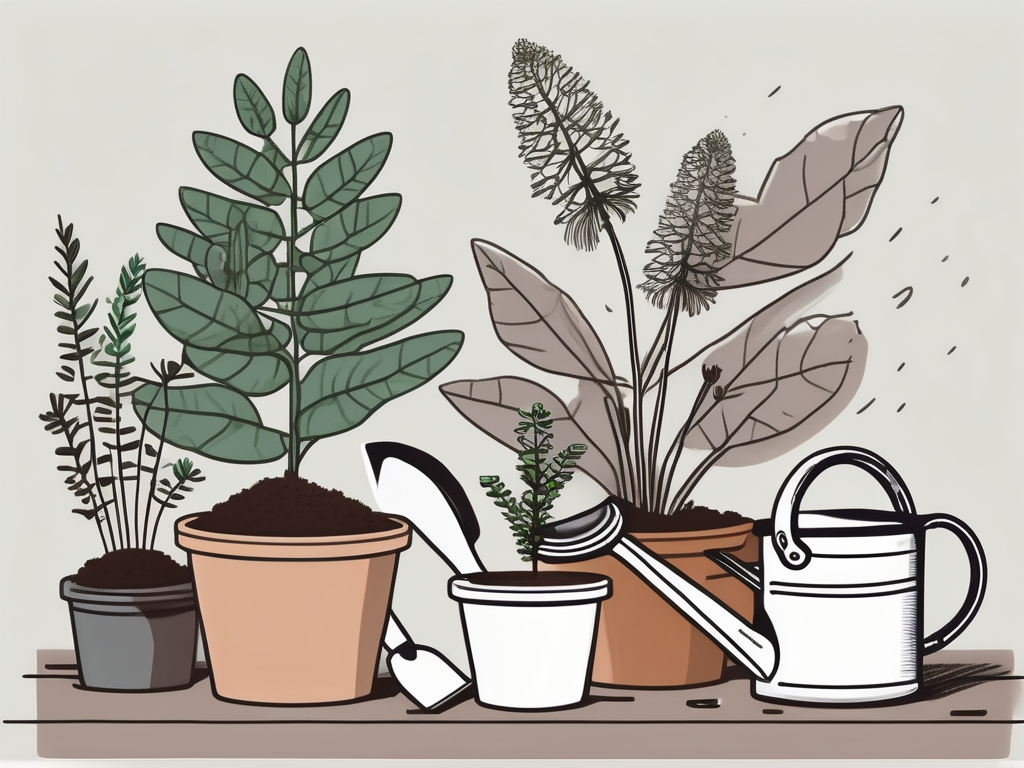
Having the right tools on hand can make repotting a breeze. Here's a quick list of what you'll need:
- A new pot with drainage holes
- Fresh potting soil, as per the mix we discussed
- Gardening gloves to protect your hands
- A small trowel or spoon for scooping soil
- Pruning shears or scissors for trimming roots if necessary
- Watering can or spray bottle
It might seem like a lot, but these tools will make the process smoother and more efficient. Plus, once you have them, you're set for any future plant projects!
Repotting Step-by-Step
Alright, let's get down to the nitty-gritty of repotting your sensitive plant. Here's a step-by-step guide to help you through the process:
- Prepare the new pot: Place a layer of fresh soil at the bottom of the new pot. This provides a nice cushion for the roots.
- Remove the plant from its current pot: Gently tap the sides of the pot to loosen the soil. Carefully tip the plant out, supporting the base with your other hand.
- Examine the roots: Check for any signs of root rot or damage. Trim away any black or mushy roots with your pruning shears.
- Place the plant in the new pot: Hold the plant in the center of the pot and start filling in around it with fresh soil. Be sure not to bury the plant deeper than it was in its previous pot.
- Settle the soil: Gently tap the pot on a flat surface to settle the soil. Add more soil if needed to ensure the plant is stable.
- Water thoroughly: Give your newly repotted plant a good watering until water drains out of the bottom. This helps the soil settle.
- Find the perfect spot: Place your plant in a location with bright, indirect light to help it recover from the move.
Repotting can be a bit messy, but it's also a great opportunity to bond with your plant. Plus, there's something very satisfying about seeing your plant settled in its new home.
Post-Repotting Care
After repotting, your sensitive plant may need a little extra TLC to adjust to its new surroundings. Here's how you can help it settle in:
Watering: Keep the soil consistently moist but not waterlogged. Sensitive plants can be a bit dramatic when it comes to watering needs, so try to find a happy medium. Water when the top inch of soil feels dry to the touch.
Lighting: These plants prefer bright, indirect light. Avoid direct sunlight as it can scorch the leaves. If you notice the leaves turning yellow, it could be a sign of too much light.
Feeding: After about a month, you can start feeding your sensitive plant with a balanced, water-soluble fertilizer. Once a month should suffice during the growing season. Be cautious not to over-fertilize, as this can harm the plant.
By keeping an eye on these factors, you'll help your plant thrive in its new pot. It's like moving to a new house—everything's a bit unfamiliar at first, but soon it feels just like home.
Common Repotting Mistakes
Everyone makes mistakes, especially when learning something new. Here are a few common repotting pitfalls and how to avoid them:
Choosing the wrong pot size: Going too big can lead to overwatering issues, while too small might restrict root growth. Aim for a pot that's 1-2 inches larger than the current one.
Not using the right soil mix: Heavy or compacted soil can suffocate the roots. Stick to a light, well-draining mix to encourage healthy root growth.
Overwatering after repotting: It's tempting to douse the plant with water, but remember to let the soil dry out slightly between waterings to avoid root rot.
If you find yourself in one of these situations, don't worry. Plants are resilient and can often bounce back with a little care and attention.
Troubleshooting Post-Repotting Issues
Occasionally, your plant might show signs of stress after repotting. It's not uncommon, but it's important to address any issues promptly:
Wilting or droopy leaves: This might mean the plant is adjusting to its new environment. Ensure it's not overwatered and is getting adequate light.
Yellowing leaves: This could be a sign of overwatering or too much light. Check your watering schedule and move the plant to a spot with filtered light if necessary.
Leaf drop: If your plant is shedding leaves, it could be due to stress. Ensure you're not overwatering or underwatering and that it's not exposed to drafts or temperature extremes.
Remember, patience is key. Give your plant some time to adjust and continue providing the best care you can.
Benefits of Regular Repotting
Repotting might seem like a chore, but it brings several benefits to your plant's overall well-being:
Promotes healthy growth: Fresh soil provides new nutrients and better drainage, encouraging robust growth.
Prevents root-bound issues: A new pot gives the roots room to grow, preventing them from becoming tangled and restricted.
Opportunity for a health check: Repotting allows you to inspect the roots for any signs of disease or rot, ensuring your plant stays healthy.
Think of repotting as a spa day for your plant. It might be a bit disruptive, but the benefits far outweigh any temporary stress.
Integrating Your Plant into Home Decor
Once your sensitive plant is happily repotted, it's time to think about how it fits into your home decor. These plants can add a touch of green to any room, creating a lively and inviting atmosphere.
Consider placing your plant in areas that need a splash of color. The sensitive plant's delicate leaves can add texture and interest to your decor. You might place it on a shelf, a windowsill, or even hang it in a macramé holder for a boho touch.
Pair your plant with complementary decor items like colorful pots, decorative stones, or plant stands to create a cohesive look. The key is to allow your plant to shine as a natural focal point in your home.
Final Thoughts
Repotting your sensitive plant doesn't have to be a daunting task. With the right timing, tools, and techniques, you can ensure your Mimosa pudica continues to thrive and delight you with its unique touch-sensitive charm. Remember, it's all about providing the best environment for your plant to grow and flourish.
At Cafe Planta, we're passionate about helping you care for your plants. Whether you're looking for new additions to your collection or need advice on plant care, we're here to help. Feel free to email us or send us a DM on Instagram. We believe plants bring people together, and we're excited to share this journey with you. Happy planting!