Boston ferns are among the most popular houseplants, admired for their lush, green foliage and ability to thrive indoors. But did you know you can propagate these beauties in water? It’s a fun and straightforward way to expand your plant collection without spending a dime!
This article will guide you through the entire process of propagating Boston ferns in water, from selecting the right cuttings to ensuring they grow into healthy plants. Whether you're a seasoned plant parent or just starting out, you'll find useful tips and insights to make the propagation journey a success.
Choosing the Right Boston Fern Cutting
Before you start propagating, it’s crucial to choose the right cutting. Not all parts of the fern will root successfully in water, so selecting a healthy section is key. Look for a portion of the plant that is vibrant and disease-free. Ideally, you want a section that includes both the leafy part and some of the root ball, as this increases the likelihood of successful propagation.
Here’s a simple way to identify a good cutting:
- Inspect the plant thoroughly. Look for sections that are green and full of life.
- Avoid any areas with brown spots or damaged leaves, as these may not root well.
- If possible, choose a part of the plant that already has some visible roots. This isn’t mandatory, but it can speed up the propagation process.
- Ensure the cutting is long enough to be submerged in water with some foliage above the surface.
Once you’ve selected your cutting, gently separate it from the parent plant using a clean pair of scissors or pruning shears. A clean cut is essential to prevent any potential disease from spreading. Be sure to sanitize your tools before and after use!
Preparing Your Cutting for Water Propagation
Now that you have your cutting, it’s time to prepare it for its watery home. This step is important as it sets the stage for healthy growth.
Start by trimming off any leaves or parts of the cutting that might sit below the waterline. Leaves submerged in water can rot and cause bacterial growth, which is something you definitely want to avoid. Keep the lower part of the stem bare, but leave enough leaves above to allow photosynthesis, which fuels the plant's growth.
Next, consider using rooting hormone. While Boston ferns can root without it, a little rooting hormone can give your cutting a helpful boost. Simply dip the cut end in the hormone before placing it in water. This step isn’t strictly necessary, but it can increase your chances of success, especially if you’re new to propagation.
Selecting the Right Container
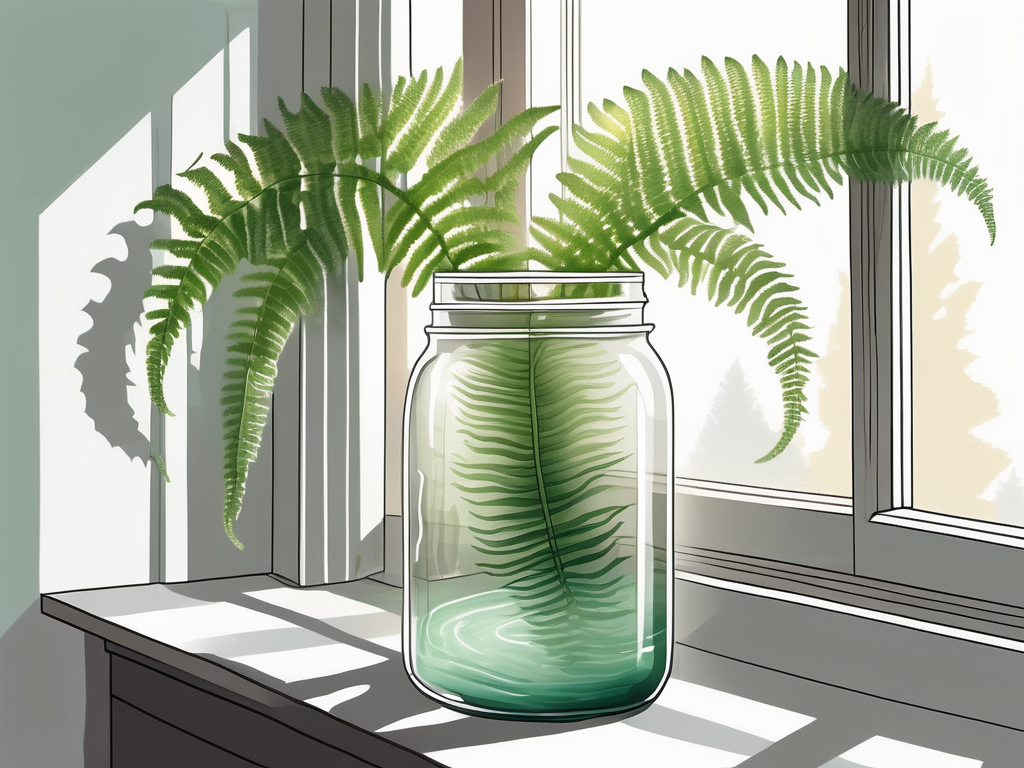
Choosing the right container can make a big difference in the propagation process. You want a container that will support your cutting while allowing you to monitor the root development. Glass jars or vases are ideal because they’re easy to clean and let you see exactly what’s going on beneath the surface.
Here’s what to keep in mind when selecting a container:
- Size: The container should be large enough to hold the cutting comfortably without crowding. The roots need space to grow.
- Material: Glass is a great choice because it’s non-reactive and won’t leach chemicals into the water.
- Shape: A narrow neck can help support the cutting and keep it upright, but ensure the opening is wide enough for easy removal when it’s time to plant.
Once you’ve selected your container, give it a good wash to remove any residue or bacteria. Cleanliness is vital to prevent any potential disease from affecting your cutting.
Setting Up Your Water Propagation Station
Now that your cutting and container are ready, it’s time to set up your propagation station. This is where your cutting will live for the next few weeks or even months, so it’s important to create an environment that supports healthy growth.
Fill your container with water, ideally rainwater or distilled water, as tap water can contain chemicals that might harm the plant. You’ll want to change the water every week or so to keep it fresh and free from bacteria.
Next, place your cutting in the container, ensuring that the base of the cutting is submerged but the leaves are above the waterline. If you’ve chosen a container with a narrow neck, the cutting should stay in place on its own. Otherwise, you can use a support, like a small piece of mesh or a few pebbles, to help hold the cutting upright.
Finding the Perfect Spot for Your Cutting
The location of your propagation station plays a crucial role in the success of the process. Boston ferns prefer indirect light, so find a spot with plenty of bright, filtered light. Direct sunlight can be too harsh and may cause the leaves to burn.
A windowsill with a sheer curtain can be perfect, or you might choose a spot a few feet away from a bright window. The key is to mimic the dappled light of a forest floor, which is the natural habitat of ferns.
Temperature is another factor to consider. Boston ferns thrive in temperatures between 65°F and 75°F (18°C to 24°C). Avoid placing your propagation station near drafts, heaters, or air conditioning vents, as sudden temperature changes can stress the plant.
Monitoring Growth and Health
As your cutting sits in water, you’ll want to keep an eye on its progress. This is the exciting part! Seeing roots begin to grow can be incredibly rewarding and is a sure sign that your propagation efforts are paying off.
Here’s what to look for:
- Roots: You should start to see roots forming within a few weeks. They’ll appear as small, white tendrils growing from the base of the cutting.
- New Growth: While roots are growing, you might also see new leaves beginning to unfurl. This is a great sign that your cutting is thriving.
- Water Quality: Keep the water clear and fresh. If it becomes cloudy, change it more frequently to prevent bacterial growth.
If you notice any browning or drooping leaves, it might indicate that the cutting isn’t happy. In this case, reassess the light and temperature conditions, and make sure the water is clean. Sometimes, a little tweak can make all the difference.
Transplanting Your New Fern
Once your cutting has developed a healthy root system, it’s time to think about transplanting it into soil. This is an exciting step, as it means your propagation efforts have been successful!
Here’s how to make the transition:
- Choose a pot with good drainage. This will help prevent root rot, which can be a common issue for ferns.
- Select a potting mix that is rich in organic matter. You can use a standard houseplant mix, or add some peat moss to improve moisture retention.
- Gently remove the cutting from the water and place it in the soil. Be careful not to damage the new roots.
- Water the plant thoroughly and place it in a suitable location with indirect light.
It’s normal for the plant to go through a bit of shock after transplanting, so don’t worry if it appears droopy for a few days. With proper care, it should bounce back quickly.
Maintaining Your Boston Fern
Now that your fern is potted, regular care is essential to ensure it continues to thrive. Boston ferns are relatively low-maintenance, but they do have some specific needs.
Watering is crucial. These plants prefer consistently moist soil, but not waterlogged conditions. A good rule of thumb is to water when the top inch of soil feels dry. Be mindful of the humidity as well. Boston ferns love humidity, so consider misting the leaves or placing a humidifier nearby.
Fertilizing can also help your fern grow strong and healthy. Use a balanced, water-soluble fertilizer every few months during the growing season. Be sure to follow the instructions on the package to avoid over-fertilizing, which can damage the plant.
Common Challenges and Troubleshooting
Even with the best care, you might encounter some challenges when propagating or maintaining your Boston fern. Here are a few common issues and how to address them:
Browning Leaves: This can result from low humidity or underwatering. Increase the humidity around the plant and ensure it’s getting enough water.
Yellowing Leaves: This might be a sign of overwatering. Let the soil dry out slightly between waterings, and make sure the pot has good drainage.
Pests: While Boston ferns aren’t particularly prone to pests, they can occasionally attract mites or aphids. If you notice any bugs, rinse the leaves with water or use an insecticidal soap.
By staying vigilant and addressing issues early, you can keep your fern healthy and vibrant.
Final Thoughts
Propagating Boston ferns in water is a delightful way to grow your plant collection and enjoy the beauty of these lovely houseplants. By following these steps, you can successfully propagate and nurture your ferns, adding a touch of greenery to any space.
At Cafe Planta, we're passionate about helping you care for your plants. Whether you're looking for new additions to your collection or need advice on plant care, we're here to help. Feel free to reach out via email or drop us a DM on Instagram. We're excited to share our love of plants and help you create a thriving indoor garden!


