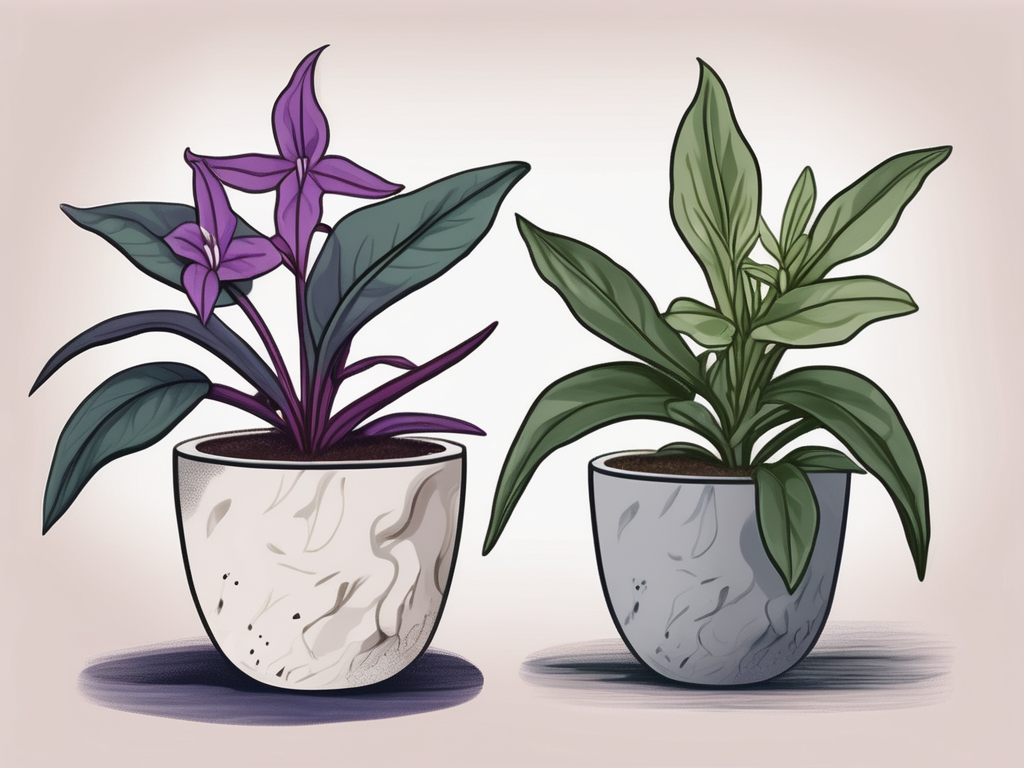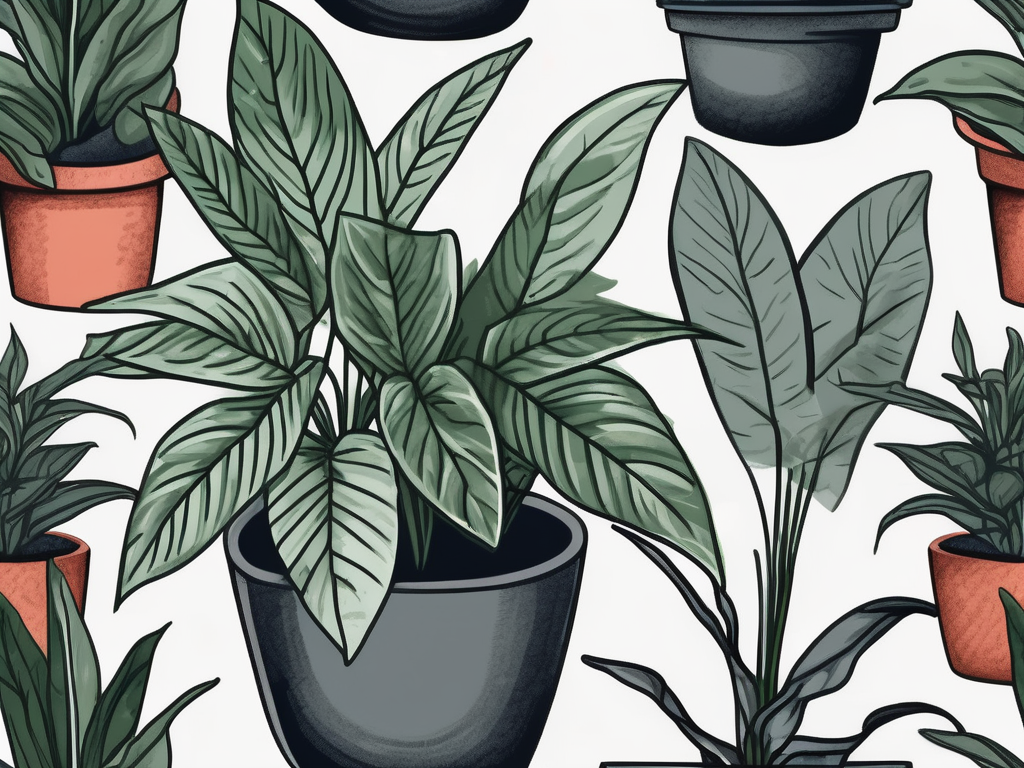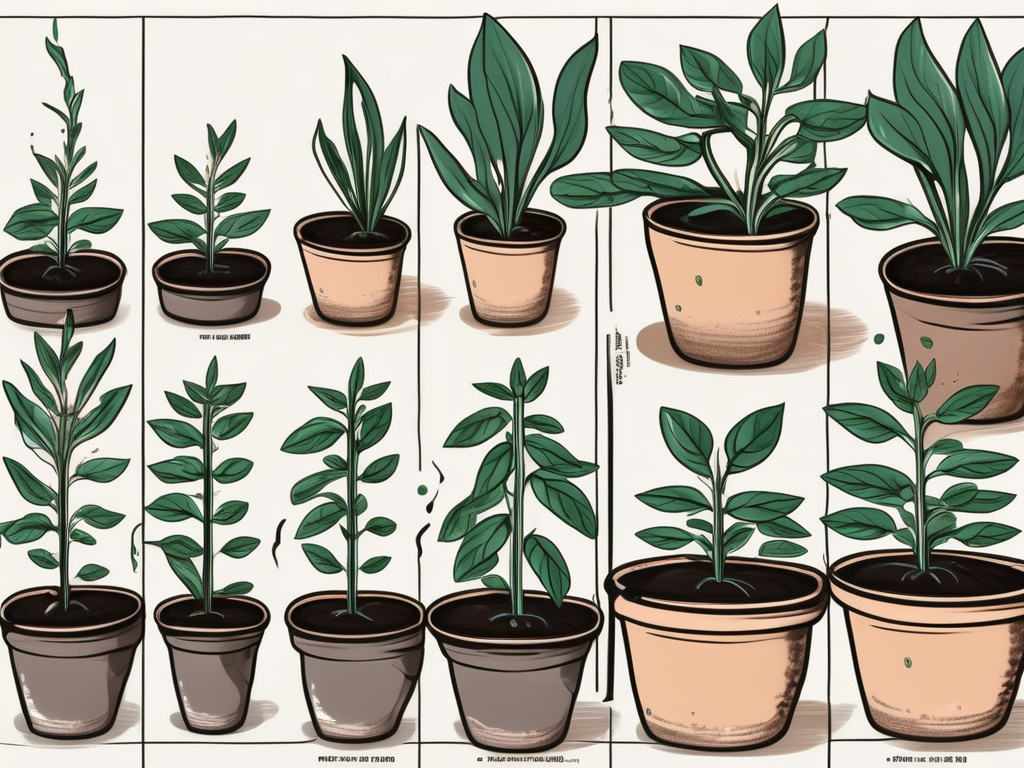
Rhoeo Oyster, also known as Moses-in-the-Cradle or Tradescantia spathacea, is a striking plant that can brighten up any space with its vibrant colors. Its leaves, with deep green on top and purple underneath, offer a unique, two-toned appearance that's both eye-catching and elegant. If you're looking to add a splash of color to your indoor garden, Rhoeo Oyster might just be the perfect fit for you.
In this article, we'll walk you through the journey of growing Rhoeo Oyster from seeds, covering everything from planting tips to caring for your budding plants. Whether you're a seasoned plant parent or just starting out, you'll find helpful advice to nurture your Rhoeo Oyster and help it thrive in your home.
Getting to Know Rhoeo Oyster
Before diving into planting, let's take a closer look at the Rhoeo Oyster and why it's such a popular choice among plant lovers. Originating from Central America, this plant is well-known for its resilience and adaptability. It's often used in both indoor and outdoor settings, making it a versatile addition to any plant collection.
The Rhoeo Oyster's charm lies in its foliage, which is not only beautiful but also durable. This plant can tolerate a range of conditions, though it prefers bright, indirect light and well-draining soil. Its compact size makes it ideal for small spaces, and it's a great option for hanging planters or decorative pots.
One of the reasons plant people love the Rhoeo Oyster is its low-maintenance nature. It's an excellent choice for those who might not have a green thumb but are eager to bring some greenery into their lives. With a little care and attention, this plant can flourish and add a touch of vibrancy to your home.
Preparing to Plant Rhoeo Oyster Seeds
Ready to plant your Rhoeo Oyster seeds? Start by gathering the necessary materials. You'll need a few basic supplies to get started:
- Rhoeo Oyster seeds
- Seed-starting trays or small pots
- Well-draining potting mix
- Plastic wrap or a humidity dome
- Spray bottle for watering
Once you have your supplies, it's time to prepare your planting area. Choose a spot that receives bright, indirect light. This could be a sunny windowsill or a well-lit corner of your home. Make sure the area is free from drafts and extreme temperature fluctuations, as these can affect seed germination.
Next, fill your seed-starting trays or pots with the well-draining potting mix. It's important to use a mix that allows for good airflow and moisture retention without becoming waterlogged. You can find specialty potting mixes at your local garden center or make your own by combining equal parts peat moss, perlite, and vermiculite.
Planting Rhoeo Oyster Seeds
Now that your planting area is prepared, it's time to sow your Rhoeo Oyster seeds. Follow these steps for the best results:
- Sow the seeds: Place the seeds on the surface of the potting mix, spacing them evenly. You don't need to bury them deeply; a light covering of soil will suffice.
- Cover the seeds: Gently press the seeds into the soil and cover them with a thin layer of potting mix. This will help keep them in place and maintain moisture.
- Water the seeds: Use a spray bottle to mist the soil lightly. Be careful not to overwater, as this can lead to rot. The goal is to keep the soil consistently moist but not soggy.
- Create a humid environment: Cover the trays or pots with plastic wrap or a humidity dome to trap moisture and create a greenhouse effect. This will encourage faster germination.
Once your seeds are planted, place them in a warm, bright area. The ideal temperature for germination is between 70-75°F (21-24°C). Keep an eye on the soil moisture and mist as needed to maintain humidity.
Caring for Seedlings
After a week or two, you should start to see tiny seedlings emerging from the soil. This is an exciting time, and it's crucial to provide the right care to help your seedlings grow strong and healthy.
First, make sure your seedlings receive plenty of light. If natural light is limited, consider using a grow light to supplement. Position the light about 6 inches (15 cm) above the seedlings and keep it on for 12-14 hours a day. This will ensure they have enough energy to develop robust foliage.
As your seedlings grow, gradually remove the plastic wrap or humidity dome to increase airflow and reduce the risk of mold or mildew. Start by removing it for a few hours each day, then increase the duration over time.
Continue to monitor soil moisture levels, watering only when the top inch of soil feels dry. It's important to avoid overwatering, as young seedlings are particularly susceptible to root rot.
Transplanting and Potting
Once your Rhoeo Oyster seedlings have developed a few sets of true leaves, it's time to transplant them into larger pots. This usually happens about 4-6 weeks after germination, depending on growth conditions.
Choose containers with drainage holes to prevent water from pooling at the bottom. Fill the pots with a well-draining potting mix, similar to what you used for germination. Carefully remove the seedlings from the trays, taking care not to damage the delicate roots.
Place each seedling into its new pot, ensuring the root ball is covered with soil but not buried too deeply. Water thoroughly to help the plant settle into its new home, and place it in a location that receives bright, indirect light.
During the first few weeks after transplanting, keep an eye on your plants for signs of stress, such as wilting or yellowing leaves. These can indicate issues with watering or light levels, so make adjustments as needed.
Ongoing Care and Maintenance
Once your Rhoeo Oyster is settled into its pot, ongoing care is straightforward. Here are some tips to keep your plant healthy and vibrant:
- Light: Provide bright, indirect light. Too much direct sunlight can scorch the leaves, while too little can lead to leggy growth.
- Water: Allow the top inch of soil to dry out between waterings. Overwatering is a common issue, so make sure your pot has good drainage.
- Humidity: While Rhoeo Oyster can tolerate average humidity, it will appreciate a misting or a nearby humidifier, especially in dry climates.
- Temperature: Keep your plant in a warm environment, ideally between 65-80°F (18-27°C). Avoid placing it near drafts or heaters.
- Fertilization: Feed with a balanced liquid fertilizer every 4-6 weeks during the growing season (spring and summer). Reduce feeding in fall and winter.
Regularly check your plant for any signs of pests, such as aphids or spider mites. If you notice an infestation, treat it promptly with insecticidal soap or neem oil.
Dealing with Common Issues
Like any plant, Rhoeo Oyster can occasionally face challenges. Here are some common issues and how to address them:
Yellowing Leaves
Yellow leaves can result from overwatering or poor drainage. Ensure your pot has adequate drainage holes and adjust your watering schedule if necessary. It's also good practice to check for any sign of root rot.
Browning Leaf Tips
Browning tips often indicate low humidity or mineral buildup from tap water. Increase humidity by misting or using distilled water for irrigation. You might also consider using a pebble tray to boost moisture levels around the plant.
Pest Infestations
While Rhoeo Oyster is relatively pest-resistant, it can occasionally attract aphids, spider mites, or mealybugs. Regularly inspect your plant and use insecticidal soap or neem oil if needed. Keeping leaves clean by wiping them with a damp cloth can also help prevent pest issues.
Integrating Rhoeo Oyster into Your Home Design
Beyond just being a lovely plant, Rhoeo Oyster can be a fantastic addition to your home decor. Its striking colors and compact size make it an excellent choice for various settings.
Tabletop Arrangements
Rhoeo Oyster looks great on coffee tables or side tables, where its vibrant foliage can be appreciated up close. Pair it with neutral-colored pots to make the colors pop, or use decorative containers to match your interior theme.
Hanging Planters
If you're short on space, consider placing your Rhoeo Oyster in a hanging planter. This can give your room a modern, airy feel and allow the plant's trailing leaves to cascade beautifully.
Office Spaces
Bring a touch of nature to your workspace with a Rhoeo Oyster. Its low-maintenance nature makes it an ideal desk companion, providing a splash of color to inspire creativity and reduce stress.
Wherever you decide to place your Rhoeo Oyster, ensure it receives the right amount of light and care to keep it thriving.
Propagating Rhoeo Oyster
Interested in expanding your Rhoeo Oyster collection or sharing it with friends? Propagation is a rewarding way to multiply your plants. The easiest method is through division:
- Choose a Healthy Plant: Select a mature Rhoeo Oyster with multiple offshoots or a dense root system.
- Remove the Plant: Gently take the plant out of its pot, being careful not to damage the roots.
- Separate the Offshoots: Look for natural divisions in the root system and gently pull apart the plant into smaller sections. Each section should have a healthy root system and a few leaves.
- Pot the Divisions: Plant each division in its own pot with fresh potting mix. Water lightly to help the plants settle in.
Keep the newly potted plants in a bright, warm area and care for them as you would a mature Rhoeo Oyster. With time and proper care, they’ll grow into full, beautiful plants.
Final Thoughts
Rhoeo Oyster is a fantastic plant that can add color and life to your home with minimal effort. From planting seeds to ongoing care, anyone can successfully grow this resilient plant. Remember to provide the right light, water, and care, and your Rhoeo Oyster will thrive.
At Cafe Planta, we're passionate about helping you succeed in your plant journey. Whether you're looking for new plants, care accessories, or just want to chat, we're here for you. You can reach out via Instagram or email. Let's grow together and create beautiful, thriving plant collections in our homes.

