If you’re nurturing a Dorotheanthus, you know these vibrant little succulents bring a splash of color to any space. But like all plants, they sometimes need a change of scenery—or a change of pot, to be more precise! Repotting can seem like a big task, but with a bit of guidance, you can do it with confidence.
In this article, we’ll walk through the entire process of repotting your Dorotheanthus, from gathering materials to ensuring your plant is happy in its new home. Whether you’re a seasoned plant parent or just getting started, you’ll find practical tips and insights to make the experience smooth and enjoyable.
Understanding When to Repot Your Dorotheanthus
The first question you might have is, "When should I repot my Dorotheanthus?" It’s a great question, and timing is everything here. Generally, you’ll want to consider repotting during the growing season, which is typically in the spring or early summer. This is when the plant is most actively growing and can handle the stress of being moved.
Look for signs that your Dorotheanthus needs a new home. If you notice roots growing out of the drainage holes, it’s a telltale sign that they’ve outgrown their space. Additionally, if the soil seems to dry out quickly or the plant looks top-heavy and unstable, it might be time to upgrade its pot. Remember, a pot that's too small can stunt growth, while a pot that's too big can lead to overwatering issues. It's all about finding the right balance.
Another indicator is the plant’s overall health. If growth has slowed or if the leaves look dull, it could be due to depleted nutrients in the soil. Fresh soil in a new pot can rejuvenate your Dorotheanthus, giving it a fresh start.
Choosing the Right Pot
Choosing the right pot for your Dorotheanthus is crucial. You’ll want to find one that’s about one to two inches larger in diameter than the current pot. This gives the roots enough room to grow without overwhelming the plant with too much soil.
Material matters too! Terracotta pots are a popular choice due to their porous nature, which allows air and moisture to pass through. This can be beneficial for succulents like Dorotheanthus, as they prefer well-drained soil. However, terracotta pots can dry out quickly, so keep that in mind if you live in a particularly dry climate.
If you opt for plastic or ceramic pots, make sure they have drainage holes. Without proper drainage, water can accumulate at the bottom of the pot, leading to root rot. No one wants that! And let’s not forget about aesthetics. Choose a pot that complements your decor. After all, your plant is a part of your home’s design, so why not make it stylish?
Gathering Your Materials
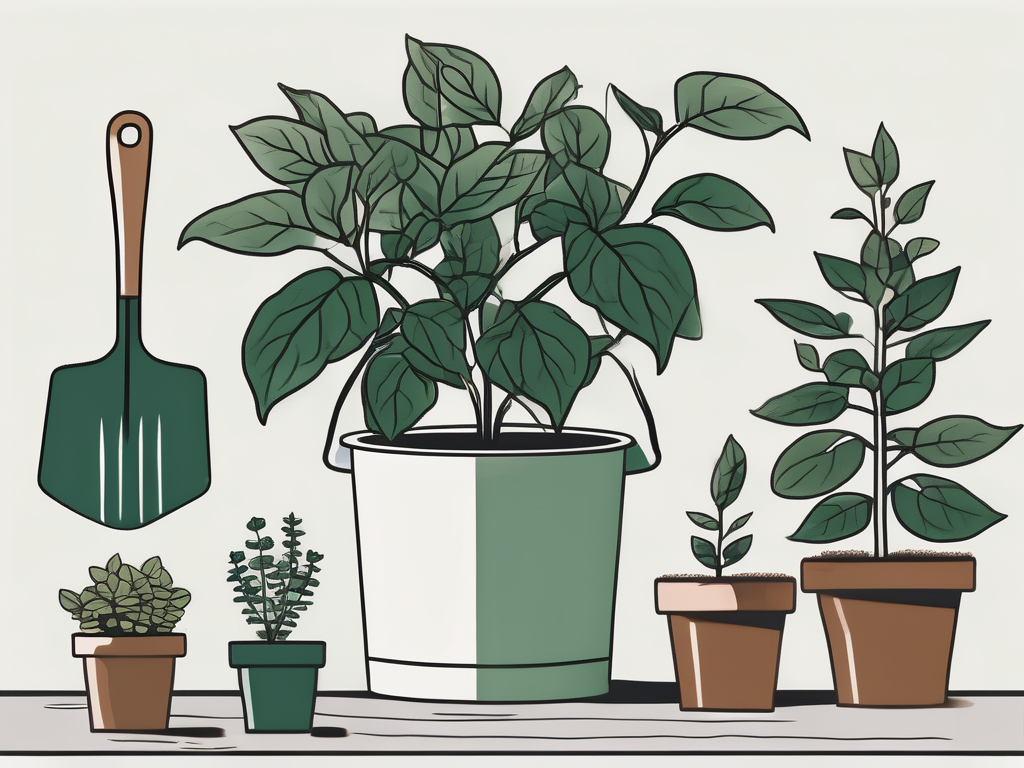
Before getting your hands dirty, it’s essential to gather all the materials you’ll need. Having everything ready will make the process more efficient and less stressful for both you and your Dorotheanthus.
- Potting Mix: Opt for a cactus or succulent mix. If you can’t find one, you can create your own by mixing regular potting soil with sand or perlite to improve drainage.
- New Pot: As mentioned, it should be slightly larger and have drainage holes.
- Gardening Gloves: These will protect your hands from getting too dirty or scratched.
- Trowel or Small Shovel: Helpful for transferring soil.
- Watering Can: You’ll need this for the first watering after repotting.
- Optional: A small brush or cloth to clean the leaves after repotting.
Once you’ve assembled your materials, you’re ready to move on to the actual repotting process. Having everything in one place will save you from scrambling around mid-task, which is always a bonus!
Preparing Your Dorotheanthus for Repotting
Before you start repotting, you’ll want to prepare your Dorotheanthus. This involves a few simple steps to ensure the plant is ready for its transition.
First, water the plant a day before you plan to repot it. This ensures the roots are hydrated, making them more pliable and less prone to breakage. Be careful not to overwater; you want the soil to be just moist enough to hold together, not soggy.
Next, gently remove the plant from its current pot. To do this, tip the pot on its side and lightly tap the bottom. You might need to run a small tool or your fingers around the edges to loosen the soil. If the plant resists, don’t force it. You can squeeze plastic pots slightly to help release the root ball.
Once out, examine the roots. Healthy roots will look white or light tan. Trim away any that appear black or mushy, as these are signs of rot. This trimming encourages new growth and prevents any potential diseases from transferring to the new pot.
Repotting Your Dorotheanthus
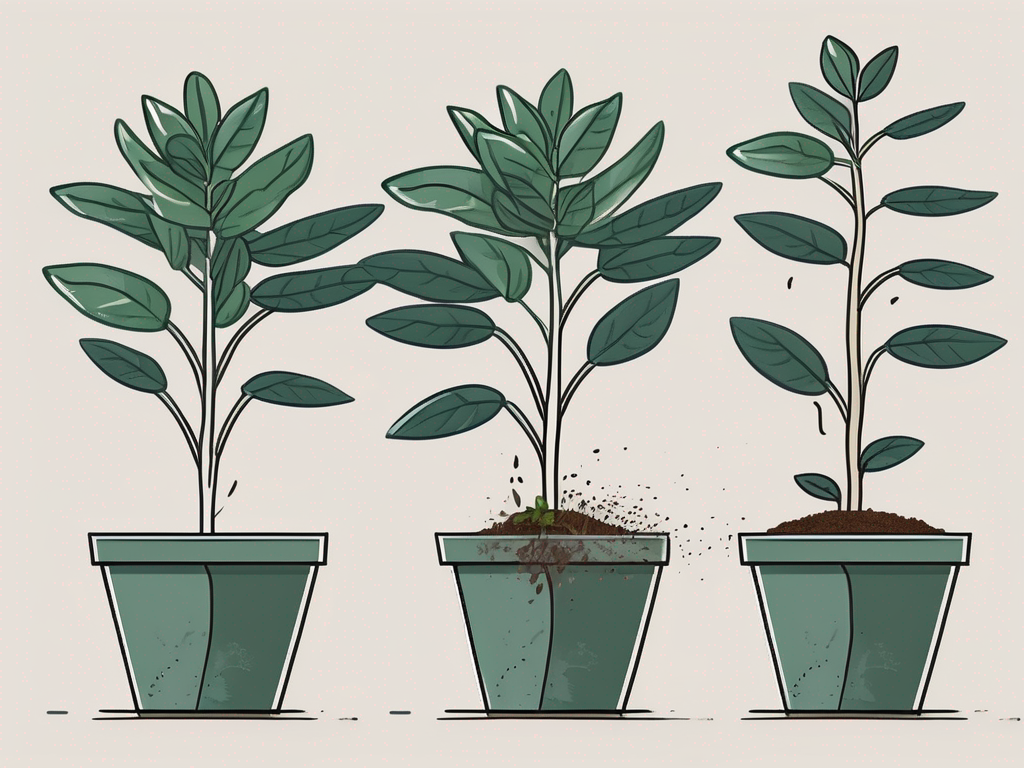
Now comes the main event: actually placing your Dorotheanthus into its new pot. Start by filling the bottom of the new pot with a layer of your chosen potting mix. This will be the foundation that supports the plant.
Position the plant in the center of the pot. Hold it steady with one hand while you fill in around the sides with more potting mix. Be sure to leave about an inch of space from the top of the pot to the soil line to make watering easier.
As you add soil, gently press it down to eliminate air pockets. However, be careful not to pack it too tightly, as this can impede drainage and root expansion. Once your Dorotheanthus is snug and secure, give it a light watering. This initial watering helps settle the soil and eliminate any remaining air pockets.
After watering, resist the temptation to fertilize immediately. It’s best to wait a few weeks to let the plant adjust to its new environment. Over-fertilizing too soon can stress the plant and damage its roots.
Caring for Your Dorotheanthus Post-Repotting
Repotting is a big change for your Dorotheanthus, and just like moving to a new house, it’ll need some time to adjust. The first few weeks post-repotting are crucial for ensuring your plant settles in comfortably.
Place your Dorotheanthus in a location with bright, indirect light. Direct sunlight might be too harsh initially, especially if your plant is recovering from any root trimming. If you notice the plant stretching or leaning, it might need more light, so consider moving it gradually closer to a light source.
Water modestly during this adjustment period. Since the plant is getting used to its new pot and soil, it won’t need as much water as usual. Let the soil dry out completely between waterings to prevent overwatering, which is a common issue with succulents.
After a few weeks, you can resume your regular care routine. If you’re unsure about the watering schedule, remember that it’s better to underwater than overwater a succulent. They’re built to handle dry spells, so don’t worry too much if you miss a watering or two.
Common Repotting Mistakes to Avoid
Like any task, repotting comes with its pitfalls. Avoiding some common mistakes can make the process smoother and help your Dorotheanthus thrive.
A frequent mistake is repotting too often. Succulents like Dorotheanthus don’t need frequent repotting. Every 1-2 years is usually sufficient unless you notice any signs of distress.
Another common error is using the wrong soil. Remember, Dorotheanthus prefers well-draining soil. Using regular potting soil without amendments like sand or perlite can lead to water retention and root rot.
Lastly, overwatering immediately after repotting is a big no-no. The plant needs time to adjust, and too much water can drown it. Stick to light watering initially, and gradually increase as it settles in.
Incorporating Dorotheanthus into Your Home Decor
Now that your Dorotheanthus is happily repotted, it’s time to think about how it fits into your home’s aesthetic. These colorful succulents are versatile and can complement various styles.
If you have a minimalist design, consider placing your Dorotheanthus in a simple, neutral-colored pot. This allows the plant’s vibrant colors to stand out, adding a pop of color without overwhelming the space.
For a more eclectic look, mix and match different pot sizes and styles. Grouping several Dorotheanthus together can create a lively focal point on a windowsill or coffee table.
Don’t forget about hanging planters! Dorotheanthus can look stunning cascading from a hanging basket, especially if you have limited surface space.
Supporting Your Dorotheanthus Through Seasonal Changes
Your Dorotheanthus might need a little extra care as the seasons change. During the cooler months, the plant will likely go into a dormant state. This means it’ll need less water and can tolerate cooler temperatures.
In winter, make sure to protect your Dorotheanthus from drafts and frost. A sunny windowsill can be a good spot, but avoid locations where it might get too cold at night.
When spring arrives, gradually increase watering and consider moving the plant to a brighter spot. This helps jumpstart its growth phase, ensuring it’s ready to bloom beautifully.
Final Thoughts
Repotting your Dorotheanthus doesn’t have to be daunting. With the right timing, materials, and care, you can ensure your plant continues to thrive and brighten up your space.
At Cafe Planta, we're passionate about helping you succeed on your plant journey. Whether you need advice or new plants to add to your collection, check out our selection or reach out with any questions via email or through our Instagram. We’re here to support you every step of the way!