Imagine waking up to the smell of freshly brewed coffee made from beans you grew right in your home. That dream is closer than you think with a coffee plant. Not only are these plants beautiful and lush, but they also offer the exciting possibility of harvesting your own coffee beans.
In this article, we'll walk you through how to propagate a coffee plant step-by-step. From selecting the perfect cutting to ensuring your new plant thrives, we'll cover everything you need to know to get started on your coffee-growing journey.
Understanding Your Coffee Plant
Before diving into propagation, let's get acquainted with the coffee plant itself. Native to tropical Africa, particularly Ethiopia, the coffee plant, or Coffea arabica, thrives in warm, shady environments. These plants have glossy, dark green leaves and can produce fragrant white flowers and, eventually, the cherished coffee cherries.
Coffee plants are more than just a source of coffee beans—they're a fantastic addition to your indoor plant collection. They can grow up to six feet tall indoors, adding a touch of the tropics to your home. While they prefer a bit of humidity, they're relatively forgiving and can adapt to different environments with some care and attention.
Gathering Your Tools and Materials
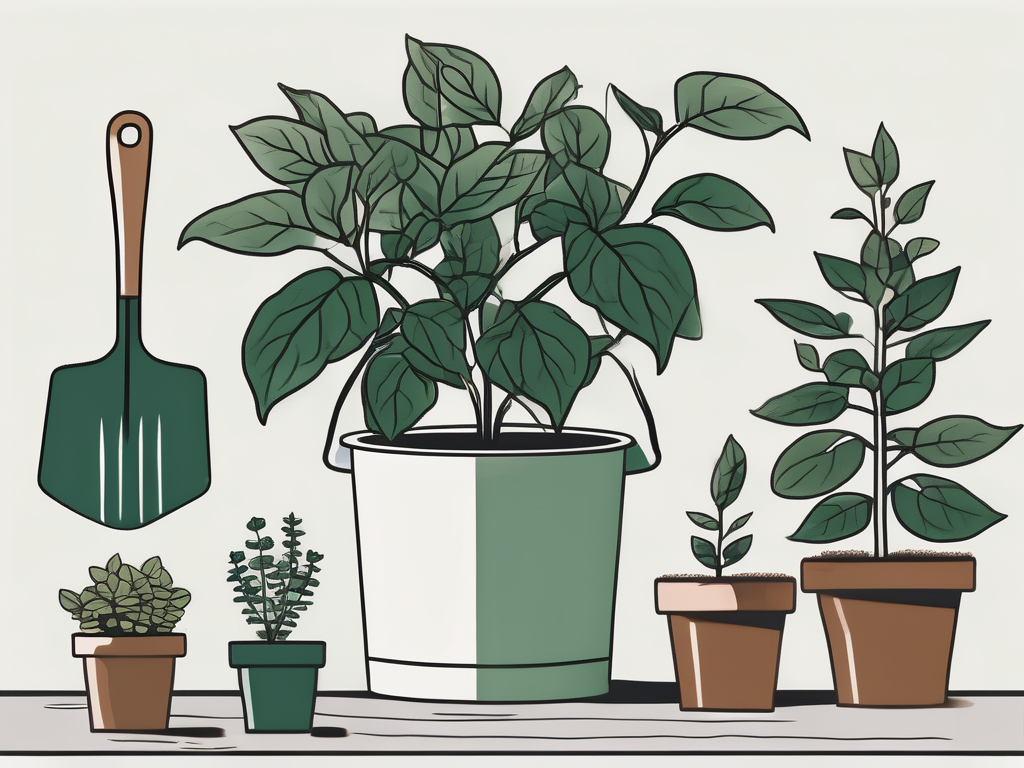
Propagation doesn't require a lot of fancy equipment, but having the right tools on hand makes the process smoother. Here’s what you’ll need:
- Healthy Coffee Plant: Choose a mature plant with plenty of healthy stems.
- Sharp, Clean Shears: A clean cut is crucial to prevent disease. Clean your shears with rubbing alcohol before use.
- Rooting Hormone (optional): This can help accelerate root growth but isn’t necessary.
- Potting Mix: A well-draining mix is vital. You can use a standard potting mix with added perlite for extra drainage.
- Pots or Containers: Ensure they have drainage holes to prevent waterlogging.
- Plastic Bag or Cloche: To create a mini greenhouse effect, which helps maintain humidity.
With these tools ready, you’re all set for the next steps.
Choosing the Perfect Cutting
Selecting the right cutting is a pivotal step. You're looking for a healthy stem with a few leaves, ideally one that’s around 4 to 6 inches long. The best time to take cuttings is during the plant’s growing season, typically spring or early summer. This is when the plant is most vigorous and capable of supporting new growth.
When choosing a cutting, look for:
- Healthy Leaves: Avoid stems with yellowing or damaged leaves.
- New Growth: Newer stems are more likely to root successfully.
- Nodes: Ensure your cutting includes at least two nodes (the junctions where leaves grow out from the stem). These nodes are where new roots will emerge.
Once you've selected your cutting, it's time to prepare it for planting.
Preparing Your Cutting
With your cutting in hand, it's time to get it ready for the pot. First, remove the lower leaves, leaving just the top couple of leaves. This reduces the energy demand on the cutting and helps prevent rotting when the base is planted in soil. If the remaining leaves are large, you can cut them in half to further reduce water loss.
Next, dip the cut end into rooting hormone if you're using it. While not necessary, rooting hormone can help speed up the process and increase your chances of success.
Now, your cutting is ready for planting. Make sure your pot is filled with a well-draining potting mix. Poke a hole in the soil with a pencil or your finger, place the cutting in, and gently firm the soil around it. Water lightly to settle the soil.
Creating the Perfect Environment
Creating the right environment is crucial for your cutting's survival and growth. Coffee plants love warmth and humidity, so try to mimic these conditions as closely as possible.
Here’s how to set up the ideal environment:
- Light: Place your pot in a spot with bright, indirect light. Direct sunlight can scorch the leaves, while too little light will slow growth.
- Humidity: Covering your cutting with a plastic bag or using a cloche can help maintain high humidity levels. Just ensure the bag doesn’t touch the leaves, as this can lead to mold.
- Temperature: Aim for a consistent temperature around 70°F. Sudden changes can stress the plant.
Keep an eye on your cutting over the next few weeks. You should start to see new growth, a sign that roots are developing below the surface.
Caring for Your New Plant
Once your cutting has taken root and new growth is visible, it's time to transition your coffee plant into standard care. Here’s how to ensure it continues to thrive:
- Watering: Coffee plants like consistent moisture but hate being waterlogged. Water when the top inch of soil feels dry.
- Fertilizing: Use a balanced, water-soluble fertilizer every couple of months during the growing season.
- Pruning: Prune regularly to maintain shape and encourage bushy growth. Remove any dead or yellowing leaves promptly.
- Repotting: As your plant grows, repot it every couple of years to give it more space and fresh soil.
Patience is key. Coffee plants grow relatively slowly, but with good care, you'll have a robust, healthy plant in no time.
Common Problems and Solutions
Even with the best care, issues can arise. Here are some common problems you might encounter and how to solve them:
- Yellowing Leaves: This often indicates overwatering or poor drainage. Check your watering schedule and ensure your pot has good drainage.
- Brown Leaf Edges: This can be a sign of underwatering or low humidity. Adjust your watering routine and consider increasing humidity levels.
- Pests: Coffee plants can attract pests like spider mites. Regularly check the undersides of leaves and treat with insecticidal soap if necessary.
- Slow Growth: If your plant isn’t growing as expected, it might need more light or nutrients. Gradually move it to a brighter location or try a balanced fertilizer.
Being attentive to your plant’s needs will help you catch these issues early and keep your coffee plant thriving.
Harvesting Your Coffee Beans
While it might take a few years, the ultimate goal of growing a coffee plant is to harvest your own beans. Here’s how the process works:
- Flowering: Coffee plants produce white, jasmine-scented flowers. Pollination is necessary for fruiting.
- Fruiting: After pollination, you’ll see green cherries develop. These will ripen to a red or purple color when ready to harvest.
- Harvesting: Pick the cherries when they’re fully ripe. This can be done by hand, and it's best to do so gradually as they ripen.
Once harvested, you’ll need to process the cherries to extract the beans and then roast them. It’s a rewarding process, though a bit involved, and it gives you a deeper appreciation for each cup of coffee.
Incorporating Coffee Plants into Your Home
Beyond their practical uses, coffee plants make beautiful additions to your home decor. Here are a few ideas for incorporating them into your space:
- Centerpiece: Use a coffee plant as a focal point on a dining table or in a living room.
- Group with Other Plants: Create an indoor jungle by grouping your coffee plant with other tropical plants.
- Decorative Pots: Use stylish pots to complement your decor and highlight your plant’s beauty.
With a bit of creativity, your coffee plant can enhance your home’s aesthetic while offering the promise of homegrown beans.
Final Thoughts
Propagating a coffee plant can be a fun and rewarding endeavor. From choosing the right cutting to providing the care it needs to thrive, you've now got the knowledge to start your coffee-growing journey. With patience and attention, you'll soon enjoy the unique experience of nurturing a plant from cutting to coffee bean.
At Cafe Planta, we're here to support your plant journey, whether you're looking for new additions to your collection or advice on plant care. Feel free to reach out with any questions via email or connect with us on Instagram. We love helping plant lovers create beautiful, thriving spaces.