Alocasia Polly, with its striking arrow-shaped leaves and distinctive veining, is a plant that truly stands out in any indoor garden. Not only is it a visual delight, but propagating Alocasia Polly can also be an immensely rewarding experience. If you're looking to expand your collection or share these beauties with friends, understanding how to propagate them is a great skill to have.
This article will guide you through the step-by-step process of propagating Alocasia Polly. From the tools you'll need to the specific techniques and tips, you'll gain the confidence to successfully grow new plants. Whether you're a seasoned plant parent or just starting your plant journey, this guide will have something for you.
Getting to Know Alocasia Polly
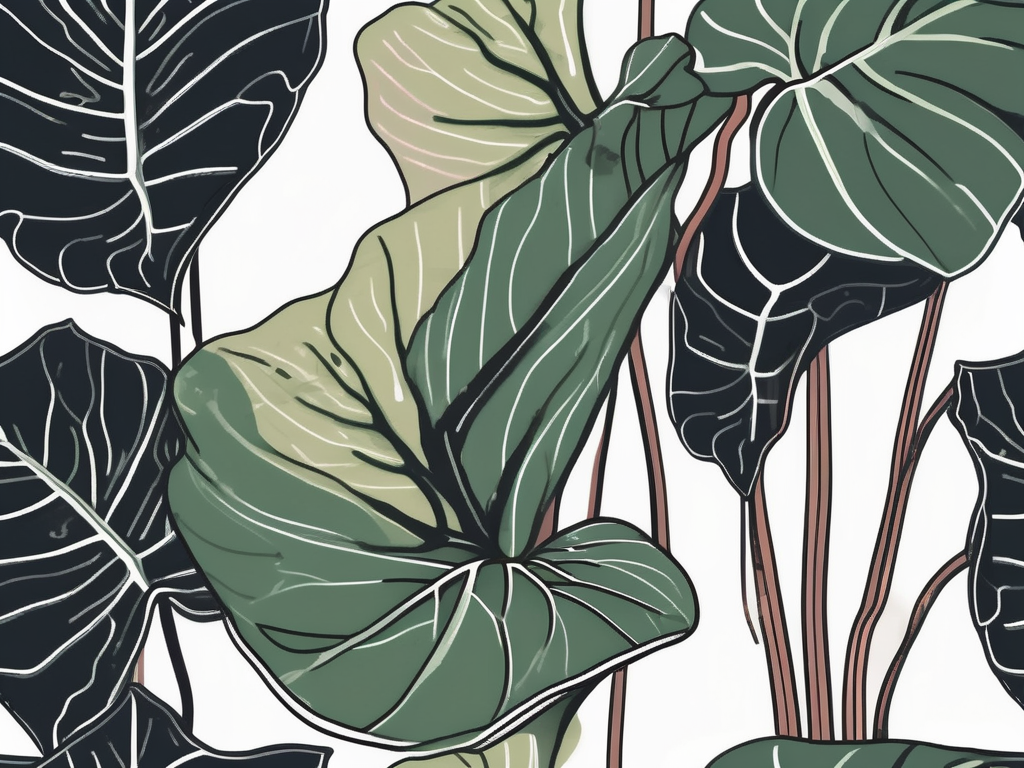
Before we dig into propagation, it's helpful to have a bit of background on Alocasia Polly. This plant is a hybrid variety, known for its compact size and striking appearance. The leaves are dark green with white or light green veins, resembling a shield or arrowhead, which makes it a favorite among plant lovers.
Alocasia Polly is relatively easy to care for, but it does have its quirks. It thrives in bright, indirect light and prefers its soil to be consistently moist but not waterlogged. Humidity is key for this tropical plant, so a small humidifier or regular misting can do wonders. Understanding these basics will set the stage for successful propagation.
Choosing the Right Time for Propagation
Timing is everything when it comes to propagating Alocasia Polly. The best time to propagate is during the plant's active growing season, which typically falls in the spring and summer months. During this time, the plant's energy is directed towards growth, making it more likely to root successfully.
Attempting to propagate during the fall or winter, when the plant is in a more dormant state, can result in a slower rooting process or even failure. So, plan ahead and keep an eye on your plant's growth patterns to determine the optimal time for propagation.
Tools and Materials You'll Need
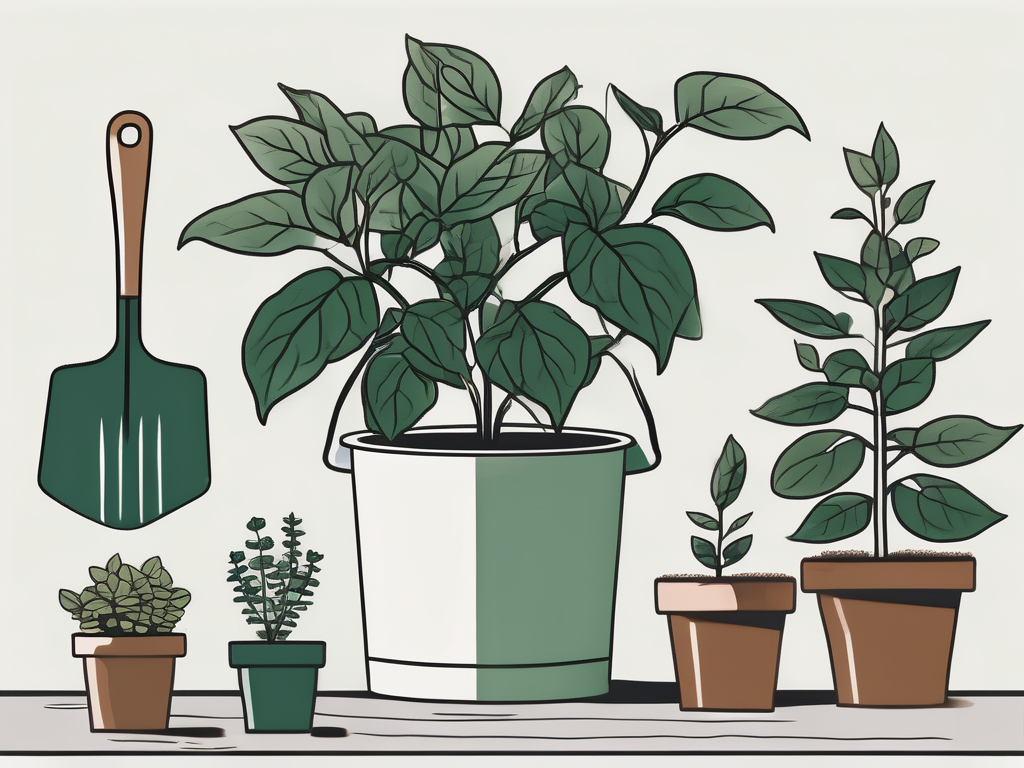
Gathering the right tools and materials before you start is crucial for a smooth propagation process. Here's what you'll need:
- Sharp, clean scissors or pruning shears: These are essential for making clean cuts without damaging the plant.
- Potting mix: A well-draining mix is key. You can make your own by combining potting soil, perlite, and orchid bark.
- Small pots or containers: These will be used to house your new plantlets.
- Plastic wrap or a plastic bag: This will help create a mini greenhouse effect, maintaining humidity while the plant roots.
- Rooting hormone (optional): While not necessary, it can help encourage faster root development.
Preparing Your Alocasia Polly for Propagation
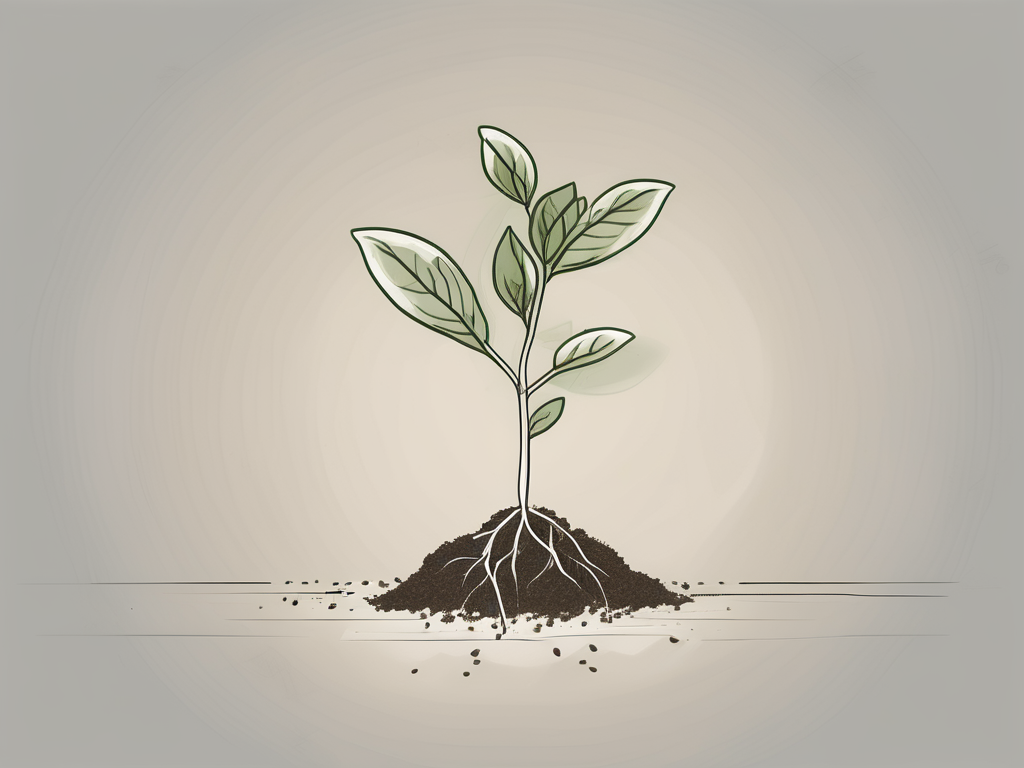
Now that you've got your tools ready, it's time to prep your Alocasia Polly. Start by removing the plant from its pot and gently brushing away the excess soil to expose the roots. Be gentle, as the roots can be delicate.
Look for any offsets or "pups" around the base of the plant. These are small shoots that can be separated and planted on their own. If your plant doesn't have visible offsets, you can still propagate by cutting a section of the rhizome, which is the underground stem from which roots grow.
Once you've identified the section to propagate, use your scissors or pruning shears to make a clean cut. If you're using rooting hormone, dip the cut end into the powder to encourage rooting.
Planting Your Alocasia Polly Cuttings
With your cuttings ready, it's time to plant them in their new homes. Fill your pots with the prepared potting mix, leaving some space at the top for watering. Plant the cutting or offset so that the roots are covered with soil, but the leaves are above the surface.
Water the soil lightly to settle it around the roots, and place your pots in a location with bright, indirect light. Avoid direct sunlight at this stage, as it can stress the new cuttings. To maintain humidity, cover the pots with plastic wrap or place them inside a plastic bag, creating a mini greenhouse.
Caring for Your New Alocasia Polly Plants
Now comes the waiting game. Your new plants will need some time to establish roots, so patience is key. Keep the soil consistently moist, but be cautious of overwatering, which can lead to root rot. The plastic covering will help maintain the necessary humidity.
Check on your cuttings regularly, and remove the plastic covering once you see new growth or after a few weeks. This is a sign that the plant is rooting successfully and can start adapting to the regular environment.
Transplanting Your Alocasia Polly
Once your new plants have established a healthy root system, it's time to consider transplanting them into larger pots. Gently remove the plant from its current pot, being careful not to damage the roots.
Choose a pot that's slightly larger than the current one, and fill it with fresh potting mix. Plant your Alocasia Polly at the same depth it was growing before, and water it thoroughly.
At this stage, you can also start acclimating your plant to more light, eventually moving it to its permanent spot. Remember, bright, indirect light is best for Alocasia Polly.
Common Issues and Troubleshooting
Propagation isn't always smooth sailing, and you might encounter a few bumps along the way. Here are some common issues and how to troubleshoot them:
- Yellowing leaves: This can indicate overwatering. Allow the soil to dry out a bit more between waterings.
- Wilting: Wilting can be a sign of underwatering or too much direct sunlight. Adjust your care routine accordingly.
- No new growth: If your plant hasn't shown signs of growth for a while, it might need more light or a dose of diluted fertilizer.
Enjoying Your New Alocasia Polly Plants
Congratulations, you've successfully propagated your Alocasia Polly! With the right care, these new plants will grow and thrive, adding beauty to your space. Take some time to enjoy your accomplishment and perhaps even share your new plants with friends or family.
Remember, each plant is unique and may require slight adjustments in care. Pay attention to how your plants respond to their environment, and don't hesitate to tweak your routine to meet their needs.
Final Thoughts
Propagating Alocasia Polly can be a rewarding and fulfilling experience. From understanding the plant's needs to watching new growth emerge, it's a journey that connects us more deeply with nature.
At Cafe Planta, we're passionate about helping plant people like you thrive. If you have any questions or need further guidance, feel free to email us or reach out on Instagram. We're here to support you on your plant journey and share our love for these incredible living companions. Whether you're looking for tips or just want to chat, we're always excited to connect with fellow plant lovers.