Amaryllis is a showstopping beauty that can add a pop of color to any home. Many plant lovers adore its large, vibrant blooms, making propagation an exciting way to share the joy. While it might sound technical, propagating amaryllis is a rewarding process that lets you multiply your favorite plant without too much hassle.
This article will guide you through the essentials of propagating amaryllis, covering various methods and offering tips to ensure success. Whether you're a seasoned plant parent or just starting, you'll find everything you need to know to expand your plant family.
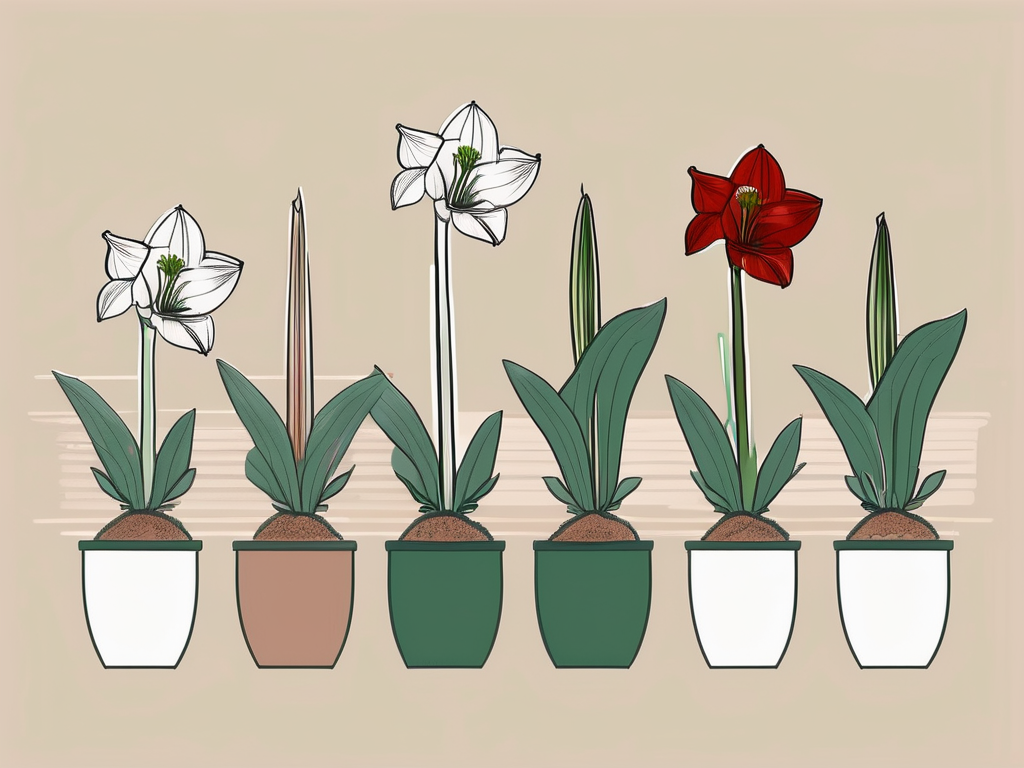
Understanding Amaryllis Propagation
Before diving into the methods, it's helpful to grasp what propagation involves. In simple terms, propagating a plant means creating new plants from a parent plant. With amaryllis, you have a few methods to choose from, each with its own charm and challenges. The most common methods include bulb division, offsets, and seeds.
Each method has its pros and cons, and the best choice often depends on your patience level and how quickly you want new plants. Bulb division is faster but might not yield as many new plants as growing from seed. Offsets, on the other hand, are a great compromise, providing a mix of speed and quantity. No matter what you choose, the key is to ensure your parent plant is healthy and robust.
Choosing the Right Time for Propagation
Timing can be everything in the plant world, and amaryllis is no exception. Ideally, you'll want to propagate when the plant is in its resting phase, usually after the blooming period. This downtime means the plant isn't directing its energy towards flowering, making it a prime time to focus on growing roots and new leaves.
Most amaryllis plants bloom in late winter or early spring, entering dormancy around late summer or early fall. This dormancy period is when you'll want to consider propagation. However, it's always a good idea to check your specific plant's cycle, as different varieties might have slightly different schedules.
Method 1: Propagating Amaryllis by Bulb Division
Bulb division is a straightforward technique and is one of the quickest ways to get more amaryllis plants. Here’s how you can do it:
- Step 1: Carefully dig up the amaryllis bulb from the soil. Be gentle to avoid damaging the roots.
- Step 2: Examine the bulb for natural splits or divisions. These are your starting points.
- Step 3: Using a sterilized knife, cut the bulb into sections, making sure each section has roots attached.
- Step 4: Dust the cut surfaces with fungicide to prevent rot.
- Step 5: Plant each section in a pot with fresh potting soil, water lightly, and place in a bright, indirect light.
After planting, it's crucial to keep an eye on the moisture level. Overwatering can lead to rot, which is a common problem in bulb propagation. Aim to keep the soil slightly damp but never soggy.
Method 2: Growing Amaryllis from Offsets
Offsets are like little baby bulbs that grow attached to the parent bulb. This method is less invasive than bulb division and can be a fun way to see new life sprout from your plant. Here's how to do it:
- Step 1: Wait for the offsets to develop. They'll usually appear after the plant has been growing for a few years.
- Step 2: Gently remove the amaryllis bulb from the soil, taking care to keep the roots intact.
- Step 3: Look for small bulbs growing around the base of the main bulb. These are your offsets.
- Step 4: Carefully twist or cut the offsets away from the parent bulb, ensuring each has some roots.
- Step 5: Plant the offsets in their pots with a good quality potting mix.
Offsets can take a few years to bloom, so patience is key. However, watching these tiny bulbs develop into full-grown plants is a rewarding experience.
Method 3: Propagating Amaryllis from Seeds
If you're up for a bit of a challenge, growing amaryllis from seeds can be an exciting adventure. It’s a slower process but can result in unique flower variations. Here’s how you can do it:
- Step 1: Allow the flowers to pollinate naturally or use a small brush to transfer pollen from one flower to another.
- Step 2: Once the seed pod develops and matures (it should take a few weeks), carefully collect the seeds.
- Step 3: Fill a shallow tray with a seed starting mix and sprinkle the seeds on top.
- Step 4: Cover the seeds with a light layer of soil and mist gently with water.
- Step 5: Place the tray in a warm, bright area, keeping the soil moist until germination occurs.
Seed propagation requires patience, as it may take several years for the plants to bloom. However, the anticipation of seeing what each new plant will look like makes it worthwhile.
Caring for Your New Amaryllis Plants
Once you've successfully propagated your amaryllis, the next step is ensuring they thrive. Here are some tips to help your new plants grow strong and healthy:
- Light: Amaryllis loves bright, indirect sunlight. Too much direct sun can scorch the leaves, so find a spot with filtered light.
- Watering: Water when the top inch of soil feels dry. Be careful not to overwater, especially during dormancy.
- Fertilizer: Use a balanced liquid fertilizer every 4-6 weeks during the growing season to support robust growth.
- Temperature: Amaryllis prefers temperatures between 60-75°F. Keep them away from drafts or sudden temperature changes.
Monitoring your plants and adjusting care as needed will ensure they stay happy and healthy. Don't be afraid to experiment a little to see what works best in your home environment.
Common Pitfalls and How to Avoid Them
Like any gardening endeavor, propagating amaryllis can come with its own set of challenges. Here are some common issues you might face and how to tackle them:
- Rotting Bulbs: This often happens when bulbs are overwatered or planted in poorly draining soil. Ensure your pots have drainage holes and avoid watering too frequently.
- Slow Growth: If your new plants are growing slowly, they may need more light or nutrients. Adjust their location or feeding schedule accordingly.
- Pests: Watch for pests like aphids or spider mites. Remove them with a gentle spray of water or use insecticidal soap if needed.
Remember, every plant is different, and sometimes it takes a bit of trial and error to get things right. Stay observant and ready to make changes as needed.
Designing with Amaryllis in Your Home
Amaryllis isn’t just a plant you grow; it’s a statement piece for your home. Its striking blooms can brighten any room, and with a bit of creativity, you can incorporate them into your decor beautifully.
Here are some ideas to get you started:
- Table Centerpiece: A blooming amaryllis in a decorative pot makes a stunning centerpiece for dining tables or coffee tables.
- Window Sill Display: Line up a few pots on a sunny windowsill for a splash of color that catches the eye.
- Mixed Arrangements: Pair amaryllis with other houseplants or cut flowers for a varied and dynamic display.
Feel free to experiment with different pots, plant stands, or even hanging options. The possibilities are endless, and there’s no right or wrong way to display your plants.
FAQs About Amaryllis Propagation
As you embark on your propagation journey, you might have a few questions. Here are some common queries and their answers:
- Can I propagate amaryllis in water? While amaryllis bulbs can start in water, it's generally better to plant them in soil once roots develop to ensure stability and nutrient access.
- How long does it take for amaryllis to bloom after propagation? Bulb divisions and offsets can bloom the following season, while seeds might take several years.
- Do I need to refrigerate amaryllis bulbs? Not necessarily. However, if you're trying to force a bloom during non-traditional periods, a chilling period might help.
These are just a few examples, but remember, every plant is unique, and sometimes you might need to adjust your approach based on your specific plant.
Getting Creative with Amaryllis
Once you’ve mastered the basics of propagation and care, you might want to explore more creative ways to enjoy your amaryllis. Here are some fun ideas to consider:
- Gift Plants: Share your propagated amaryllis plants with friends and family as thoughtful gifts.
- Color Experiments: Try cross-pollinating different varieties to create unique color combinations.
- Educational Projects: Use the propagation process as a learning experience for kids or beginner gardeners.
The beauty of gardening is that there's always room for creativity and personal expression. Don’t be afraid to try new things and see where your green thumb takes you.
Final Thoughts
Propagating amaryllis is a rewarding way to expand your plant collection and share the joy of these beautiful blooms. With the right techniques and a bit of patience, you can enjoy an endless supply of amaryllis in your home.
At Cafe Planta, we’re passionate about helping you care for your plants. Whether you need advice or are looking for unique plant finds, feel free to email us or reach out on Instagram. We’re excited to be part of your plant journey and help you create a thriving indoor garden.


