If you're a plant lover looking to expand your indoor garden, propagating your button fern is a great project to take on. This charming plant, with its small, round leaves that look like buttons, is a favorite among indoor gardeners. The good news? Propagating your button fern isn't just doable—it's also a fun way to multiply your leafy friends without spending a dime.
In this guide, we’ll go through everything you need to know to propagate your button fern successfully. From gathering your materials to understanding the best conditions for growth, I've got you covered. So, grab your gardening gloves, and let’s get started!
Understanding the Button Fern
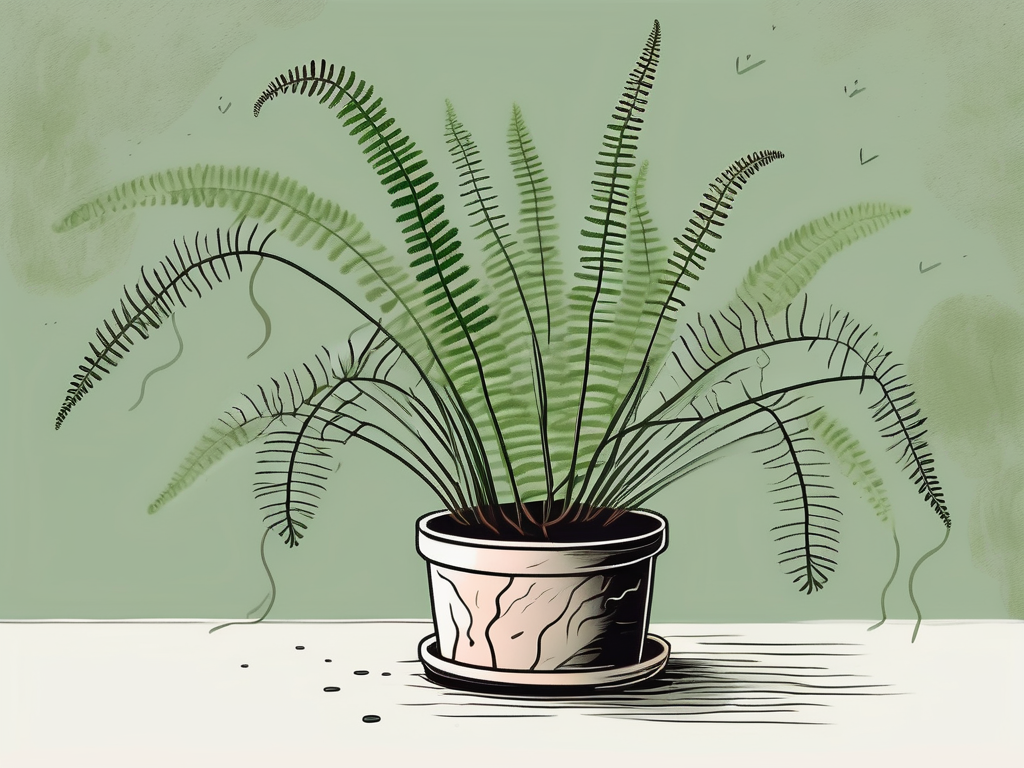
The button fern, also known by its scientific name Pellaea rotundifolia, is native to New Zealand. It's a delightful plant that thrives in low-light conditions, making it perfect for those slightly dim corners of your home. The small, rounded leaves grow along thin stems, creating a cascading effect that’s just lovely.
Before you start propagating, it's important to understand the basic needs of your button fern. This plant prefers a humid environment and well-draining soil. It doesn’t like to dry out completely, so regular watering is key. However, be cautious—overwatering can lead to root rot, the arch-nemesis of many houseplants.
Button ferns are relatively low maintenance, but they do best in temperatures between 60 and 75 degrees Fahrenheit. If you're comfortable, chances are your button fern will be too. With these basics in mind, you're well on your way to becoming a button fern pro.
Gathering Your Materials
Before you jump into the propagation process, you'll need to gather some supplies. Don't worry—most of these items are likely already lying around your home or garden shed.
- Healthy button fern: Choose a plant that's thriving, as this will increase the likelihood of successful propagation.
- Potting soil: A mix that's well-draining is essential. A combination of peat, perlite, and a bit of sand works well.
- Pots or containers: Make sure these have drainage holes to prevent waterlogging.
- Clean, sharp scissors or garden shears: These are for cutting the plant without damaging it.
- Watering can or spray bottle: For keeping the soil moist without drowning the plant.
- Plastic bag or a mini greenhouse: Optional, but helpful for maintaining humidity.
Having everything ready at the start will make the whole process smoother. Plus, it’s always satisfying to see all your tools lined up and ready for action!
Choosing the Right Method: Division or Spores?
When it comes to propagating button ferns, you have two main options: division or spores. Both methods have their pros and cons, so let's look at each to help you decide which suits you best.
Division
Division is the most straightforward method and is ideal for beginners. It involves separating a healthy plant into smaller sections, each with its roots, and planting them separately. This method is quick and shows results much faster than propagating from spores.
Spores
If you're up for a challenge, propagating from spores can be a rewarding experience. This method takes patience and a bit of a green thumb, as it involves collecting spores from the underside of the leaves and growing them into new plants. Spores are less predictable and take longer to develop, but they offer the satisfaction of growing a plant from scratch.
For this guide, we'll focus on the division method, as it's the more beginner-friendly option. However, if you're interested in trying your hand at spores, it’s worth doing some research and giving it a go!
Step-by-Step Guide to Propagating by Division
Ready to get your hands dirty? Here’s a step-by-step guide to propagating your button fern using the division method. It’s a straightforward process, but a little preparation goes a long way.
Step 1: Choosing the Right Time
The best time to propagate button ferns is during their active growing season, typically in spring or early summer. This gives the new divisions plenty of time to establish themselves before the slower growth period in winter.
Step 2: Preparing the Parent Plant
Before you start, water the parent plant thoroughly the day before. This helps the roots separate more easily and reduces stress on the plant. Make sure you have a clean work area and all your materials within reach.
Step 3: Dividing the Plant
Gently remove the button fern from its pot, being careful not to damage the roots. If it’s stubborn, try gently squeezing the sides of the pot to loosen the soil. Once out, shake off excess soil and inspect the root ball. Look for natural divisions or sections where the plant naturally separates.
- Using clean scissors or a knife, cut through the root ball: Aim for sections with their roots and several leaves.
- Be gentle: Try to handle the roots with care to avoid damage.
Step 4: Planting the Divisions
Once you’ve divided the plant, it’s time to plant the new ferns in their pots. Fill each pot with your well-draining soil mix, leaving enough space for the new plant.
- Place the division in the pot: Make sure the roots are spread out and not bunched up.
- Fill in with soil: Gently press down to ensure the plant is stable.
Water the newly planted ferns lightly to settle the soil. Be careful not to overwater—a light misting is just fine at this stage.
Caring for Your New Ferns
After planting, the divisions will need a bit of TLC to get them off to a good start. Here’s how to care for your new button ferns:
- Humidity: Button ferns love humidity, so consider placing the pots in a humid area or using a pebble tray with water underneath (but not touching the pot) to increase humidity.
- Lighting: Keep your ferns in a spot with bright, indirect light. Direct sunlight can scorch the leaves, so avoid placing them in sunny windows.
- Watering: Keep the soil consistently moist but not soggy. Mist the plant regularly to boost humidity, especially in drier climates.
- Temperature: Maintain a comfortable room temperature for your ferns. Avoid placing them near heating vents or drafty windows.
With these care tips, your button ferns should start to establish themselves and show new growth within a few weeks.
Common Problems and Troubleshooting
Even with the best care, button ferns can run into a few issues. Here’s how to troubleshoot some common problems:
Yellowing Leaves
Yellow leaves could indicate overwatering. Check the soil moisture and ensure your pot has good drainage. If water pools at the bottom, it might be time to repot into a container with better drainage.
Brown Leaf Tips
This is often a sign of low humidity. Increase misting or use a humidifier to improve the air moisture around your plants.
Pests
If you notice small insects like spider mites or aphids, treat them with insecticidal soap or neem oil. Regularly checking your plants can help catch these pests early before they cause significant damage.
Remember, every plant has its quirks. It might take a little trial and error, but learning to read your plant’s signals is part of the joy of indoor gardening.
Decorating with Button Ferns
Once your button ferns are thriving, they can be a delightful addition to your home décor. Here are some ideas on how to incorporate them into your space:
- Hanging Planters: Button ferns look stunning in hanging baskets, allowing their trailing leaves to cascade beautifully.
- Terrariums: These ferns are perfect for terrariums, where humidity is higher, creating a miniature garden vibe.
- Bookshelf Greens: Add a touch of nature to your reading nook by placing a fern on your bookshelf. Their size makes them perfect for small spaces.
- Bathroom Bliss: If your bathroom gets natural light, it's an ideal spot for a button fern due to the typically higher humidity levels.
By experimenting with different placements, you can find the perfect spot that both you and your plant will love.
When to Consider Repotting
Even after propagating, your button fern will eventually outgrow its pot and need repotting. Here’s when and how to do it:
Signs It’s Time to Repot
- The plant is top-heavy and tips over easily.
- Roots are growing out of the drainage holes.
- Soil dries out too quickly, indicating the plant is root-bound.
How to Repot
Choose a pot one size larger than the current one. Carefully remove the plant from its pot, loosen the roots slightly if they're tightly wound, and place it in the new pot with fresh soil. Water lightly to help the plant settle in.
Repotting can be done every couple of years, or as needed. Your fern will appreciate the extra space to grow and thrive.
Sharing Your Propagation Journey
Once you've successfully propagated your button ferns, consider sharing your journey with others. It could be as simple as giving a plant to a friend or sharing your experience on social media. You might inspire someone else to try propagation, spreading the joy of plant parenting.
Remember, even if things don't go perfectly the first time, each attempt is a learning experience. Celebrate your successes, learn from any hiccups, and enjoy the process of growing your indoor garden.
Final Thoughts
Propagating button ferns is a rewarding experience that can bring a touch of greenery into every corner of your home. By following the steps outlined above, you'll be well on your way to expanding your collection and enjoying the process of plant care.
At Cafe Planta, we’re passionate about helping you succeed with your houseplants. Whether you're looking for new additions to your collection or need advice on plant care, we’re here to help. Feel free to reach out via email or connect with us on Instagram. Let’s grow together!


