You know that special time of year when your Christmas cactus decides to show off those stunning blooms? Wouldn't it be amazing to have more of these beauties around your home or even to share them with friends? Propagating Christmas cactus is the ticket, and it's not as complicated as you might think.
In this article, we'll cover everything you need to know to successfully propagate your Christmas cactus. From understanding what makes these plants unique to step-by-step instructions on propagation, you'll be well-prepared to expand your plant family. So grab your gardening gloves, and let's get started!
Understanding Your Christmas Cactus
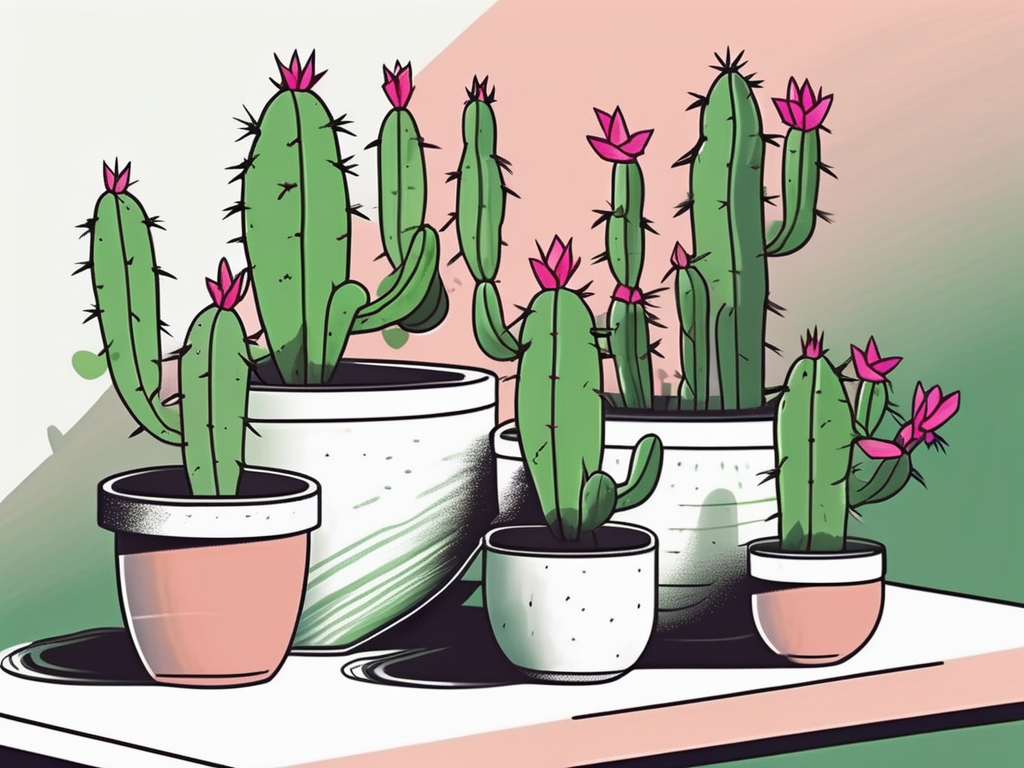
Before we jump into propagation, it's helpful to know a bit about the Christmas cactus itself. Unlike the desert-dwelling cacti you might be imagining, this plant is native to the rainforests of Brazil. It thrives in a more humid, shaded environment, which informs how we care for and propagate it.
Christmas cactus has flat, segmented leaves and is known for its vibrant, tubular flowers that typically bloom around the holiday season—hence the name. The plant's unique growth pattern makes it perfect for propagation through cuttings, as each segment can potentially grow into a new plant.
One interesting thing about the Christmas cactus is its resilience. Despite its delicate appearance, it can adapt to various indoor conditions, making it a favorite among plant lovers. With this in mind, let's move on to the fun part—actually propagating your plant!
Getting the Timing Right
Timing is everything when it comes to propagation. You want to catch your Christmas cactus at the right moment to ensure healthy growth. Generally, the best time to take cuttings is after the plant has finished blooming, typically in late winter or early spring. This gives the plant enough time to recover and focus on new growth.
That said, you can technically propagate your cactus at any time of the year, but doing it after blooming helps the plant conserve energy and reduces stress. If you propagate during the growing season, you'll notice quicker root development, which is always a plus.
So, mark your calendar for that post-bloom period. It’s the optimal window to ensure you're giving your cuttings the best chance at success. Now, let's talk about gathering the tools you'll need for this process.
Gathering Your Materials
To propagate your Christmas cactus, you'll need a few basic materials. Fortunately, most of these items are probably already lying around your home. Here's what you’ll need:
- Clean, sharp scissors or pruning shears: It's crucial to use something sharp to make clean cuts, which helps prevent damage to the plant.
- Potting mix: A well-draining mixture is ideal. You can either buy a cactus mix or make your own by combining regular potting soil with sand or perlite.
- Small pots: These will house your cuttings as they begin to grow roots. Ensure they have drainage holes to prevent waterlogging.
- Rooting hormone (optional): This can speed up the rooting process, but it's not strictly necessary. Many plant people have success without it.
- Water: You'll need to keep the soil moist to encourage root growth.
Having these items ready before you start will make the whole process smoother and more enjoyable. Now, let's get into the step-by-step process of taking your cuttings.
Taking Cuttings
Alright, now it's time to get hands-on! Taking cuttings from your Christmas cactus is the first step in the propagation journey. Here's how to do it:
- Select a healthy segment: Look for a segment with at least 3 to 4 leaves. Make sure it looks vibrant and pest-free.
- Make the cut: Using your clean, sharp scissors or pruning shears, cut the segment at the joint where it meets the next segment. Ensure you make a clean cut to avoid damaging the plant.
- Allow the cuttings to callus: Lay your cuttings on a paper towel and let them dry for a few hours or overnight. This allows the cut ends to callus over, reducing the risk of rot when placed in soil.
This part of the process is straightforward but essential. Taking clean, healthy cuttings will set the foundation for successful propagation. Once your cuttings are ready, it's time to plant them.
Planting Your Cuttings
With your cuttings prepped and ready, it’s time to get them into the soil. This is a critical step, as proper planting will encourage healthy root development. Follow these steps:
- Prepare the potting soil: Moisten the potting mix so that it’s damp but not soggy. Fill your small pots with this mix.
- Optional rooting hormone: Dip the callused end of each cutting into rooting hormone if you’re using it.
- Plant the cuttings: Insert each cutting about an inch deep into the soil. You can plant multiple cuttings in one pot, but make sure they have space to grow.
- Firm the soil: Gently press the soil around the base of each cutting to secure it in place.
Once planted, place your cuttings in a warm, bright area, but avoid direct sunlight which can be too harsh. A windowsill with filtered light works wonders. Now, it's all about patience and care as the roots begin to develop.
Caring for Your New Cuttings
You've done the hard part, and now it's time to nurture your new plant babies. Here's how to care for them during this critical stage of root development:
- Watering: Keep the soil consistently moist but not waterlogged. Overwatering can cause rot, which is the last thing you want for your new cuttings.
- Light: Ensure your cuttings are in a spot with bright, indirect light. Direct sunlight can scorch them, so a sheer curtain can help diffuse the light.
- Temperature: Keep the cuttings in a warm environment, ideally between 65-75°F (18-24°C). This encourages root growth.
- Humidity: If your home is dry, consider placing a humidity tray nearby or misting the cuttings lightly to mimic their natural rainforest habitat.
With proper care, you'll start to see roots forming in a few weeks. It can take up to a month or more for substantial root development, so stay patient and vigilant. Now, let's talk about how to know when it's time to transplant them into their permanent homes.
Transplanting Your Rooted Cuttings
Once your cuttings have developed a healthy root system, usually visible through the drainage holes or by gently tugging on the plant, it's time to think about transplanting them into larger pots. This step is crucial to ensure continued growth and health.
- Select an appropriate pot: Choose a pot that's slightly larger than the current one. It should have drainage holes to prevent water accumulation.
- Prepare the soil: Use the same well-draining cactus mix you've been using. Moisten it lightly before transplanting.
- Transplant the cuttings: Carefully remove the cutting from its current pot, being gentle with the roots. Place it in the new pot and fill around it with soil, pressing gently to eliminate air pockets.
- Water and place: Water the newly potted plant lightly and place it back in a bright, indirect light location. Avoid fertilizing immediately after transplanting to reduce stress on the plant.
Transplanting may seem daunting, but with a gentle touch and an eye for detail, your Christmas cactus will continue to thrive. Now, let's explore some common issues you might encounter and how to handle them.
Troubleshooting Common Problems
Even with the best efforts, sometimes things don't go as planned. Here are a few common issues you might face when propagating Christmas cactus and how to tackle them:
- Cuttings not rooting: If your cuttings aren't developing roots, check the moisture levels. The soil should be damp but not soggy. Also, ensure they have enough humidity and warmth to encourage rooting.
- Rotting cuttings: This usually happens due to overwatering or not letting the cuttings callus properly. Ensure the soil drains well and allow the top layer to dry out between waterings.
- Wilting or yellowing leaves: These symptoms can indicate stress from too much sun or fluctuating temperatures. Adjust the light exposure and ensure a stable, warm environment.
Remember, propagation is as much an art as it is a science. A bit of trial and error is part of the learning process. Stay patient and persistent, and don't hesitate to try again if needed.
Why Propagation is Worth the Effort
Propagating your Christmas cactus isn't just about multiplying your plants. It's also a rewarding journey that connects you with nature. Watching a new plant grow from a small cutting is a reminder of life’s resilience and beauty.
Moreover, propagation allows you to share the joy of plants with others. A propagated Christmas cactus makes a thoughtful gift, especially during the holiday season when its blooms are at their peak. Plus, it's a fantastic way to build your own indoor jungle without spending a dime.
While it takes some patience and care, the satisfaction of nurturing a plant from cutting to full bloom is truly unmatched. Next, let's wrap up with some final thoughts and how you can connect with us for more plant adventures!
Final Thoughts
We've walked through the steps of propagating Christmas cactus, from taking cuttings to nurturing them into healthy new plants. With some patience and care, you'll be well on your way to expanding your indoor garden.
At Cafe Planta, we're passionate about helping you succeed in your plant journey. Whether you're looking for more plant care tips or unique houseplants to add to your collection, we're here to support you. Feel free to reach out with any questions via email or connect with us on Instagram. Let's nurture our love for plants together!


