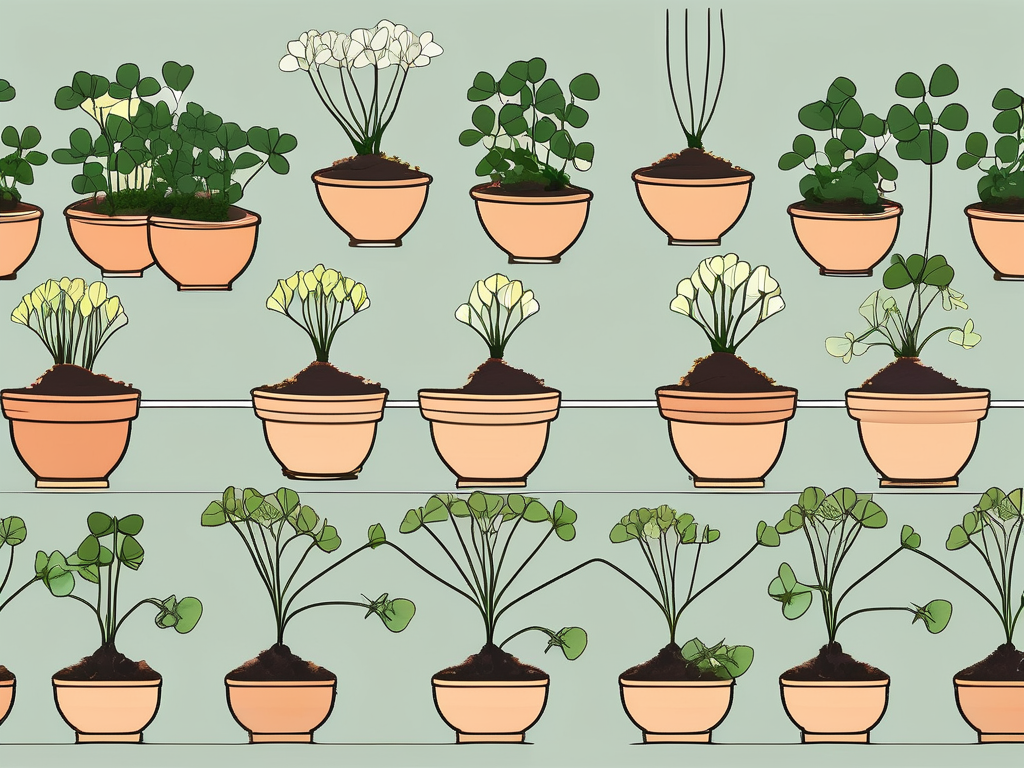
Oxalis, often known as a "shamrock plant," is a delightful addition to any plant lover's collection. With its charming clover-like leaves and vibrant colors, Oxalis isn't just eye candy—it's a joy to grow and, perhaps best of all, fairly easy to propagate. If you're looking to expand your plant family or share the love with friends, learning how to propagate Oxalis can be both rewarding and fun.
In this article, we'll navigate through everything you need to know about propagating Oxalis at home. From gathering the right tools and understanding the plant's unique needs to step-by-step instructions and troubleshooting common issues, we've got you covered. So grab your gardening gloves, and let's get started on your propagation adventure!
Understanding Oxalis: The Basics
Before we jump into the nitty-gritty of propagation, let's take a moment to appreciate what makes Oxalis special. These plants, native to various parts of the world, from South America to Africa, are beloved for their unique foliage and striking flowers. Oxalis plants can range in color from deep purples to bright greens, with some even sporting a mix of hues that change with the light.
Oxalis is a genus that includes over 500 species, each with its own personality and growing habit. While some varieties are perennial, others are annuals, and understanding the type you have can help you tailor your care and propagation methods. They're not just pretty faces, either—Oxalis are known for their ability to fold their leaves at night, a charming movement known as nyctinasty, which can add an extra layer of intrigue to your plant collection.
So, what makes Oxalis a great candidate for propagation? It's all about those underground structures called rhizomes or bulbs, which are essentially the plant's storage units. These can be divided and replanted to produce new plants, making propagation a straightforward process once you know the ropes.
Gather Your Tools and Materials
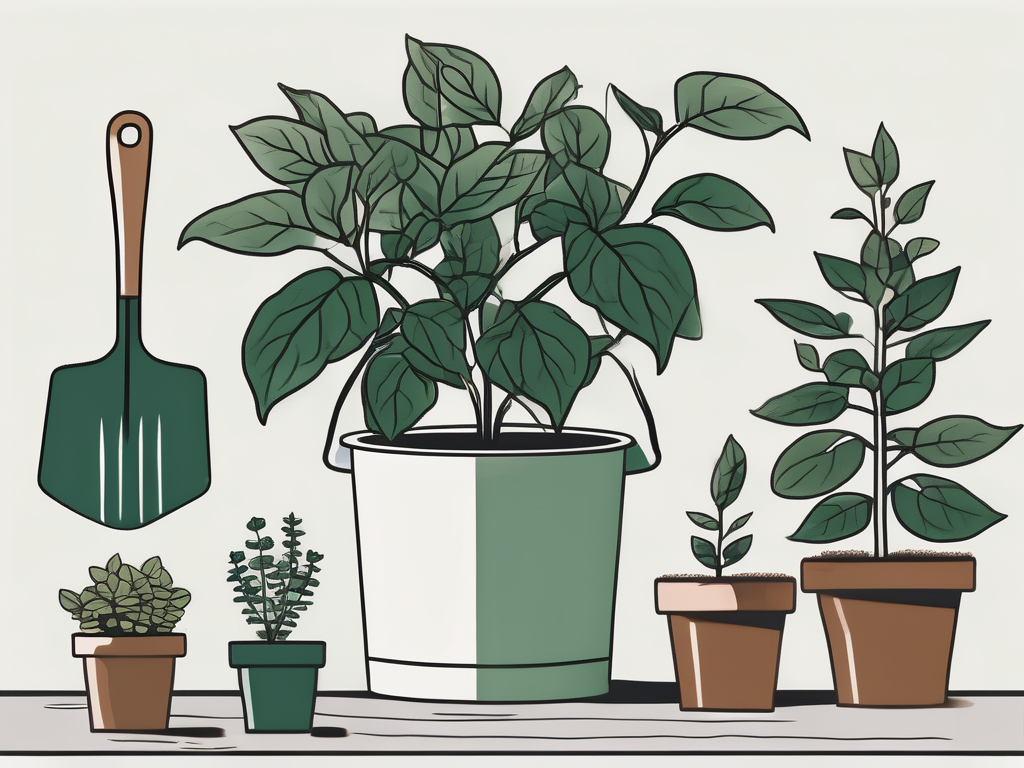
Like any good project, propagating Oxalis starts with gathering the right tools. You don't need a full gardening arsenal, but a few essentials will make the process smoother and more enjoyable. Here's a checklist to get you started:
- Clean and sharp knife or pruning shears: These will be used to cut the rhizomes. Make sure they're clean to prevent any potential infections.
- Potting mix: A well-draining potting mix is crucial. You can use a cactus mix or make your own blend with equal parts peat, perlite, and sand.
- Pots or containers: Choose pots with drainage holes to avoid waterlogging, which Oxalis doesn’t appreciate.
- Watering can or spray bottle: For gentle watering after planting.
- Optional: Rooting hormone: This can help speed up root development, but it's not necessary.
Once you've assembled your materials, you’re almost ready to start the propagation process. But before you do, it's a good idea to select a healthy parent plant. Look for a plant that's thriving, with vibrant leaves and no signs of disease or pests. A healthy parent plant will give you the best chance of successful propagation.
Step-by-Step Propagation Guide
Now that you're all set up, it's time to get your hands dirty—literally. Propagating Oxalis is a reasonably straightforward process, but following these steps will help ensure success:
1. Prepare the Parent Plant
Start by gently removing the Oxalis plant from its pot. Be careful not to damage the leaves or roots as you do this. Once the plant is out, you can gently shake off any excess soil to expose the rhizomes or bulbs. If the soil is particularly stubborn, a gentle rinse with water can help free them.
2. Divide the Rhizomes
With your clean knife or pruning shears, carefully cut the rhizomes apart. Each division should have at least one growing point or "eye" where new growth will emerge. Be sure to make clean cuts, as jagged edges can lead to rot or other issues.
3. Plant the Divisions
Fill your pots with the well-draining potting mix, leaving some space at the top for watering. Plant each rhizome division about an inch deep, ensuring that the growing point is facing upwards. Cover it lightly with soil and pat it down gently to secure it in place.
4. Water Thoroughly
Give your newly potted plants a thorough watering to settle the soil around the rhizomes. Be careful not to overwater—as mentioned earlier, Oxalis prefers not to be soggy. A gentle soak until water drains out of the bottom of the pot is usually sufficient.
5. Provide the Right Environment
Place your pots in a bright but indirect light location. Oxalis loves sunlight, but too much direct sun can scorch the leaves. A windowsill with filtered light or a spot near an east-facing window is ideal. Maintain a consistent temperature, ideally between 60-75°F (15-24°C), and keep humidity levels moderate.
And there you have it! With these steps, you'll be well on your way to growing new Oxalis plants. But what happens if things don't go according to plan? Let's talk about troubleshooting.
Troubleshooting Common Problems
Even the best-laid plans can sometimes hit a snag. If you encounter issues while propagating Oxalis, don't worry—you're not alone. Here are some common problems and solutions:
- Rhizomes not sprouting: If your rhizomes aren't showing signs of life after a few weeks, double-check that they're planted correctly and receiving the right amount of light and water.
- Yellowing leaves: This can be a sign of overwatering or poor drainage. Ensure your pots have adequate drainage holes and that you're not watering too frequently.
- Pests: Oxalis can be susceptible to pests like aphids and spider mites. Regularly inspect your plants and treat any infestations promptly with insecticidal soap or neem oil.
If you're still experiencing issues, consider reaching out to fellow plant lovers online or at your local garden center for advice. Sometimes a fresh perspective is all you need to find a solution.
Caring for Your New Oxalis Plants
Once your Oxalis has begun to grow, it's time to focus on care and maintenance. These plants are relatively low-maintenance, but a little extra attention will keep them thriving:
- Watering: Allow the top inch of soil to dry out between waterings. During dormant periods, reduce watering to prevent rot.
- Light: Aim for bright, indirect light. If leaves begin to scorch or bleach, move your plant to a less intense light source.
- Fertilizing: Feed your Oxalis a balanced liquid fertilizer every month during the growing season (spring and summer).
Keep an eye out for any signs of stress, like drooping leaves or discoloration, and adjust your care routine as needed. With a bit of patience and love, your Oxalis will flourish, adding beauty and character to your home.
Using Oxalis in Interior Design
Beyond their horticultural charm, Oxalis plants can play a significant role in interior design. Their unique foliage and vibrant colors make them perfect for adding a splash of life to any room. Here are a few tips for incorporating Oxalis into your home decor:
- Accent pieces: Use Oxalis plants as eye-catching accents on shelves, desks, or coffee tables.
- Grouping: Combine Oxalis with other houseplants to create a lush, layered look. Their colors and textures can complement a wide range of plants.
- Hanging planters: Some varieties of Oxalis have a trailing habit, making them ideal candidates for hanging planters.
Remember, the key to a successful plant arrangement is balance. Mix and match different sizes and shapes to create a harmonious display that feels natural and inviting. And don't forget to have fun with it—decorating with plants is an art, not a science!
Sharing Your Oxalis Babies
One of the joys of propagating plants is sharing them with friends and family. Oxalis makes a wonderful gift, whether it's for a seasoned plant lover or someone just starting their plant journey. Here are some ideas for sharing your Oxalis babies:
- Host a plant swap: Invite friends over to exchange cuttings and seedlings. It's a great way to diversify your plant collection and connect with fellow plant people.
- Gift wrapping: Pot up an Oxalis in a decorative container and wrap it with a ribbon for a thoughtful, personal gift.
- Community events: Consider donating your extra plants to local schools, libraries, or community centers.
Sharing plants is a lovely way to spread joy and greenery in your community, and it can be a fun social activity, too. Plus, you'll have the satisfaction of knowing that your beloved Oxalis is brightening someone else's day.
Reflecting on Your Propagation Journey
As you wrap up your propagation journey, take a moment to reflect on what you've learned. Whether you've successfully grown a new plant or encountered a few bumps along the way, every experience is valuable. Here are a few things you might consider:
- Skills gained: Reflect on the new skills you've developed, from plant care to troubleshooting.
- Lessons learned: Think about any mistakes you made and what you'd do differently next time.
- Joy of growth: Appreciate the simple joy of nurturing a plant from start to finish.
Remember, gardening is a journey, not a destination. Each plant you propagate is a testament to your growing skills and dedication. So keep experimenting, learning, and, most importantly, enjoying the process.
Final Thoughts
In summary, propagating Oxalis is a delightful and rewarding experience that allows you to expand your plant collection and share the love of greenery with others. By following the steps outlined here, you'll be well on your way to growing beautiful, healthy Oxalis plants that brighten up any space.
At Cafe Planta, we believe that plants have the power to bring people together and inspire us to connect with nature and each other. Whether you're an experienced plant parent or just starting out on your plant journey, we're excited to share our love of plants with you and help you create a beautiful, thriving plant collection in your home. If you have any questions or need further assistance, feel free to email us or reach out on Instagram. Happy planting!