If you’ve ever admired a poinsettia during the holiday season and thought about growing your own, you're in for an exciting journey. Known for their vibrant red leaves, poinsettias are a festive favorite. But did you know you can propagate them at home and enjoy their beauty year-round?
In this article, we'll walk through the steps to successfully propagate your poinsettia, offering practical tips and insights along the way. By the end, you'll have all the knowledge you need to expand your poinsettia collection or share it with fellow plant lovers.
Choosing the Right Time for Propagation
Timing is everything when it comes to propagation. For poinsettias, the best time to start is in the spring or early summer. This is when the plant is in its active growth phase, which gives your cuttings the best chance to develop strong roots. If you attempt propagation too late in the year, the plant might not have enough time to establish itself before the cooler months arrive.
Springtime not only aligns with the poinsettia's natural growth cycle but also offers ideal conditions such as longer daylight hours and warmer temperatures. If you're unsure, just remember that once you start seeing new growth on your existing poinsettia, it’s a signal that the plant is ready to be propagated.
Gathering Your Supplies
Before diving into propagation, you'll need to gather a few essential supplies. Here’s a simple checklist to get you started:
- Pruning shears: Sharp and clean shears are crucial to make precise cuts without damaging the plant.
- Rooting hormone: While not absolutely necessary, this can help speed up the rooting process and increase success rates.
- Small pots: You'll need pots for planting the cuttings. Make sure they have drainage holes.
- Potting mix: A light, well-draining potting mix works best. Consider one that's specifically for propagation or cuttings.
- Plastic bags or a propagation dome: These will help maintain humidity around the cuttings, crucial for the rooting process.
- Watering can or spray bottle: To keep the soil moist without overwatering.
Having these supplies ready will make the propagation process much smoother, and you'll be less likely to disrupt the delicate cuttings once you've started.
Selecting and Cutting Healthy Stems
Now that you're equipped with the right tools, it’s time to select the healthiest stems for propagation. Look for non-flowering stems with strong, green growth. Ideally, these should be about 4 to 6 inches long and have at least two or three sets of leaves.
When you're ready to cut, sterilize your pruning shears to prevent any infections. Cut the stem just below a node (the spot where leaves emerge). This area is rich in the plant's natural growth hormones, making it an ideal spot for new roots to form.
After cutting, remove the lower leaves, leaving only a couple of leaves at the top. This helps the cutting focus its energy on rooting rather than maintaining unnecessary foliage.
Applying Rooting Hormone
Rooting hormone can be a game-changer for propagation, though it's not mandatory. It comes in three forms: powder, liquid, and gel. Each has its pros and cons, but powder is often the easiest to apply. Simply dip the cut end of your stem into water to moisten it, then into the hormone powder. Shake off the excess, and you're good to go.
The rooting hormone will help stimulate root growth, giving your cuttings a bit of a head start. If you choose not to use it, don't worry. Many cuttings root successfully without it, especially if the conditions are right.
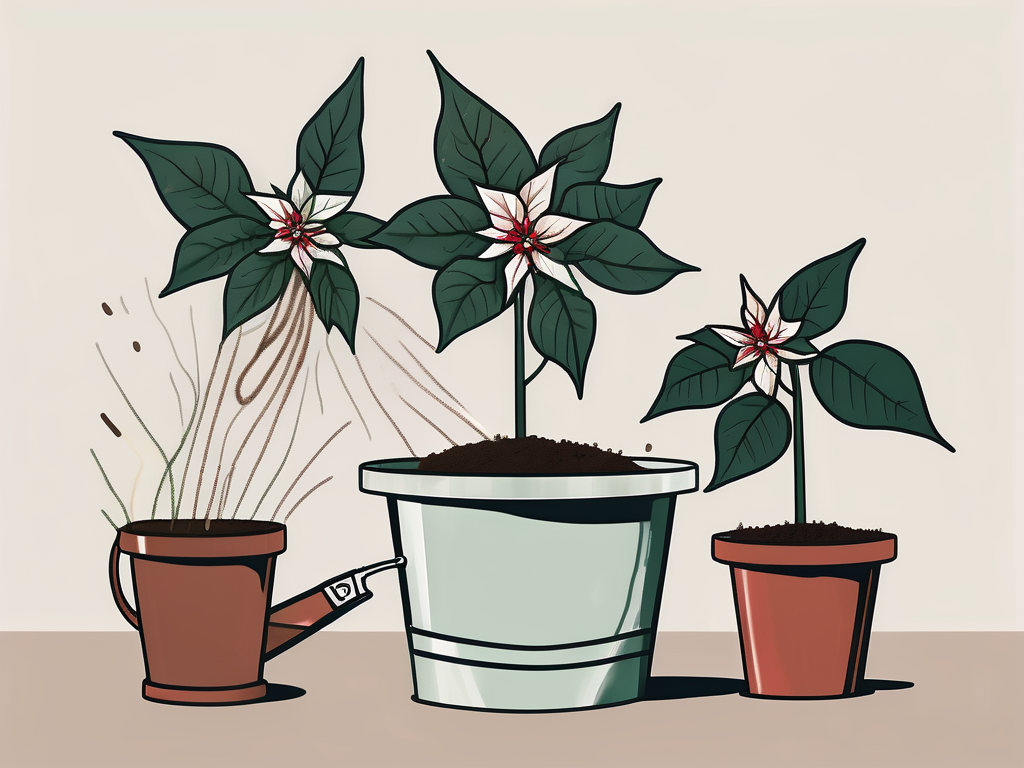
Planting the Cuttings
With your cuttings prepped, it's time to plant them. Fill your small pots with the potting mix, leaving about an inch from the top. Make a hole in the center of the soil with a pencil or your finger, then gently place the cutting into the hole. Firm the soil around the cutting to ensure it stands upright.
After planting, water the soil thoroughly but gently. You want the soil to be moist, not soggy. If you're unsure, a good rule of thumb is to let the top inch of soil dry out slightly before watering again.
Creating the Right Environment
Poinsettia cuttings thrive in a warm, humid environment. To achieve this, you can cover the pots with a clear plastic bag or use a propagation dome. This helps maintain humidity and warmth, essential for root development.
Place the pots in a bright location, but avoid direct sunlight, which can be too intense for the cuttings. A windowsill with indirect light is perfect. If you notice condensation building up inside the plastic bag, open it briefly to let some air in. Too much moisture can lead to mold or rot, which we definitely want to avoid.
Caring for Your New Plants
Patience is key after planting your cuttings. It can take a few weeks for roots to develop. During this time, keep the soil consistently moist and check for signs of growth. New leaf development is a good indicator that roots are forming.
If you notice any wilting or yellowing, it might be a sign that your cutting is struggling. Ensure it's not overwatered and that the environment isn't too dry or too wet. Sometimes a little adjustment in watering frequency or light exposure can do wonders.
Transplanting and Long-Term Care
Once your cuttings have developed a solid root system, usually after a couple of months, it's time to transplant them into larger pots. Choose a pot that's a couple of inches larger than the current one to give the roots room to grow.
Continue to provide bright, indirect light and keep the soil moist but not waterlogged. Poinsettias prefer a consistent environment, so try to avoid sudden temperature changes. Fertilize every couple of weeks with a balanced houseplant fertilizer to keep them healthy and vibrant.
Common Issues and Troubleshooting
Propagating poinsettias can be a smooth process, but like all plant care, it's not without its challenges. Here are some common issues you might encounter and how to address them:
- Wilting Cuttings: Often a sign of too much or too little water. Check the soil moisture and adjust your watering schedule.
- Leaf Drop: This can happen if the environment is too dry or the plant is stressed. Ensure humidity levels are adequate and the plant isn't in direct sunlight.
- Slow Root Development: If roots aren't forming, it might be due to low temperatures or insufficient light. Try relocating to a warmer, brighter spot.
Remember, not every cutting will take root. It's perfectly normal, and even experienced plant people encounter failed attempts. The key is to learn from each experience and adjust your methods as needed.
Final Thoughts
Propagating poinsettias can be a rewarding experience, allowing you to expand your collection or share the joy of these vibrant plants with others. With the right timing, tools, and care, you’ll soon have new poinsettias thriving in your home.
At Cafe Planta, we love helping plant lovers nurture their green spaces. Feel free to reach out via email or follow us on Instagram for more plant tips and inspiration. Whether you’re a seasoned plant parent or just starting out, we're here to support your plant journey.


