Rhoeo Oyster, also known as Moses-in-the-Cradle or Tradescantia spathacea, is a popular houseplant with striking purple and green leaves. It’s not just a captivating addition to your indoor jungle but also relatively easy to care for and propagate. If you’ve ever wished to multiply your Rhoeo Oyster plants, you're in luck! Propagating them can be a fun and rewarding experience, even for those new to plant parenting.
This guide will walk you through the process of propagating Rhoeo Oyster cuttings. We'll cover everything from choosing the right cutting to potting your new plantlets. By the end, you'll have all the knowledge you need to expand your collection or share the beauty of this plant with friends.
Understanding Rhoeo Oyster Characteristics
Before you start propagating, it's helpful to know a bit about the plant itself. Rhoeo Oyster is native to areas like Mexico and the West Indies, where it thrives in warm, humid environments. This plant is known for its vibrant foliage, with leaves that are green on top and purple underneath. It forms a rosette shape, making it a striking addition to any plant display.
The plant's hardiness makes it a great choice for beginners. It can tolerate a variety of lighting conditions, although it prefers bright, indirect light. Too much direct sunlight can scorch the leaves, while too little light can cause them to lose their vibrant color. Rhoeo Oyster enjoys being slightly root-bound, so it doesn’t require frequent repotting, making it a low-maintenance plant.
Understanding these characteristics can help you create the ideal environment for your plant, ensuring it stays healthy and vibrant. This knowledge is also crucial when it comes to propagating, as the cuttings will need similar care to thrive.
Gathering Your Supplies
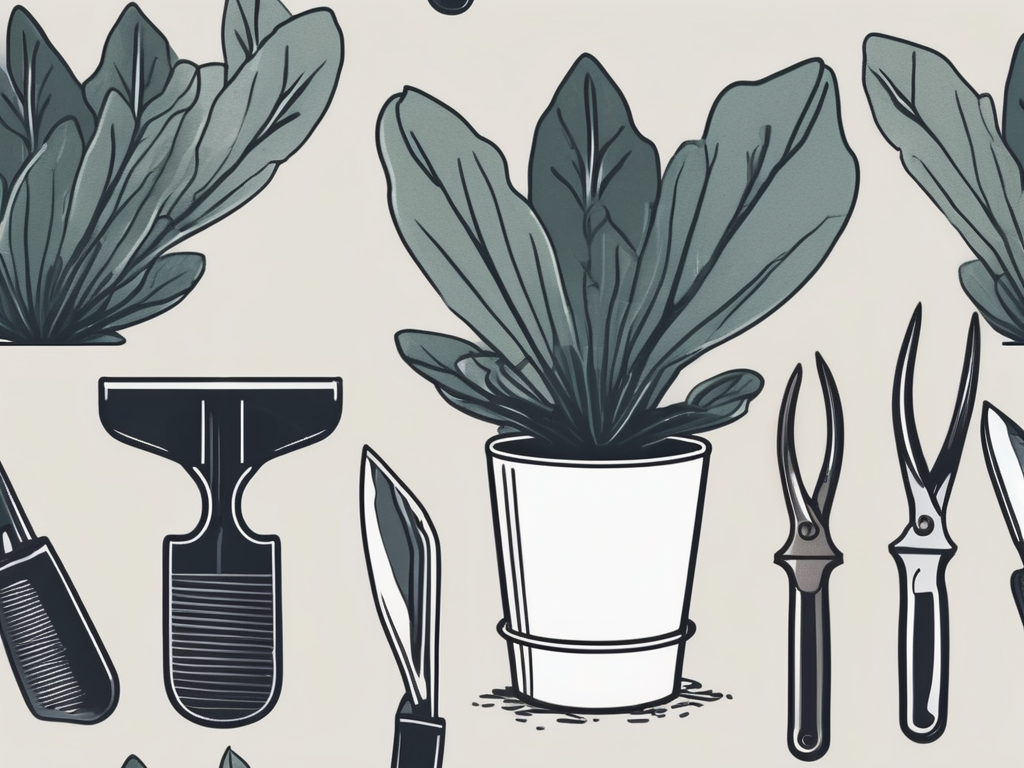
Before you take your first cutting, make sure you have all the necessary supplies. Having everything ready will make the process smoother and more enjoyable. Here’s what you’ll need:
- Sharp, clean scissors or pruning shears: Dull tools can damage the plant and lead to infections.
- Rooting hormone (optional): This can help speed up the rooting process, although it’s not strictly necessary.
- Potting mix: A well-draining mix is essential. You can use a cactus mix or a combination of peat moss and perlite.
- Small pots or containers: These will hold your cuttings. Make sure they have drainage holes to prevent waterlogging.
- Watering can: You’ll need this to keep your cuttings hydrated.
- Plastic bag or humidity dome (optional): This can create a humid environment to help your cuttings root faster.
Once you’ve gathered your supplies, you’re ready to move on to the next step. Remember, preparation is key, and having everything at your fingertips will make the process much smoother.
Selecting the Right Cuttings
Now that you’re prepared, it's time to choose the right cuttings. Look for healthy, robust stems on your Rhoeo Oyster plant. The best cuttings usually come from the outer edges of the plant, where the stems are more mature. These cuttings will have a higher chance of rooting successfully.
Here are a few tips to ensure you pick the best cuttings:
- Length: Aim for cuttings that are about 4 to 6 inches long. This length provides enough stem for rooting while still leaving plenty of growth on the parent plant.
- Leaves: Your cutting should have at least two to three leaves. These leaves will help the cutting photosynthesize and grow.
- Health: Avoid stems with any signs of disease or damage. Look for vibrant leaves and a firm stem.
Once you’ve identified the right stem, use your scissors or pruning shears to make a clean cut just below a leaf node. This node is where the roots will eventually grow, so a clean cut is crucial. If you’re using a rooting hormone, now’s the time to dip the cut end into the powder. While this step is optional, it can give your cuttings a little extra boost.
Preparing the Cuttings for Planting
With your cuttings in hand, it's time to prepare them for planting. Start by removing the lower leaves from the cutting, leaving just a few at the top. This step is essential because it reduces the moisture requirement of the cutting, allowing it to focus on root development.
Next, let the cuttings sit out for a few hours to a day. This drying period allows the cut end to callous over, which helps prevent rot when the cutting is planted. You might notice that the cut end looks a little dry, but that’s exactly what you want.
While your cuttings are drying, prepare your pots with potting mix. Fill each pot with your chosen mix, leaving a little room at the top. Water the mix until it’s evenly moist but not soaking wet. This creates the perfect environment for your cuttings to start rooting.
Planting the Cuttings
With the cuttings prepared and your pots ready, it’s time for the actual planting. Use your finger or a stick to create a small hole in the potting mix, deep enough to support the cutting. Gently place the cutting into the hole, making sure the leaf node is below the soil surface. Firm the soil around the cutting to hold it in place.
If you’re planting multiple cuttings in the same pot, be sure to space them out so they have room to grow. You don’t want them competing for resources or getting tangled up with each other.
Once planted, give your cuttings a gentle watering. You want the soil to be moist but not waterlogged. Overwatering can lead to rot, which is the last thing you want after all your hard work.
Caring for Your Cuttings
Now that your cuttings are planted, the next step is to provide them with the right care. The goal is to create an environment that encourages root growth and keeps your cuttings healthy. Here are some tips to help your cuttings thrive:
- Light: Place your cuttings in a spot with bright, indirect light. Direct sunlight can be too harsh and may damage the leaves.
- Temperature: Rhoeo Oyster cuttings prefer a warm environment. Aim for temperatures between 65°F and 75°F.
- Humidity: If your home is dry, consider using a humidity dome or covering the cuttings with a plastic bag. This creates a mini greenhouse effect, which helps the cuttings retain moisture.
- Watering: Keep the soil evenly moist but not soggy. Check the soil regularly, and water when the top inch feels dry.
Patience is key during this stage. It can take several weeks for roots to develop, so resist the temptation to check on them too frequently. Once you notice new growth, you'll know your cuttings are well on their way to becoming full-fledged plants.
Transferring the Rooted Cuttings
After a few weeks, your cuttings should start to develop roots. You can check this by gently tugging on the cutting. If you feel resistance, that means roots are forming. Congratulations, you've successfully propagated your Rhoeo Oyster!
It's time to transfer your rooted cuttings to larger pots. Choose a pot that’s about 2 inches larger in diameter than the current one. This provides enough space for the roots to spread without overwhelming the plant.
Here's how to transfer your cuttings:
- Prepare the new pot: Fill the new pot with fresh potting mix, leaving some space at the top.
- Remove the cutting: Gently remove the cutting from its current pot. Be careful not to damage the roots.
- Plant in the new pot: Place the cutting in the new pot, filling in with soil around it. Firm the soil gently to hold the plant in place.
- Water thoroughly: Water the plant to help it settle into its new home.
After transferring, continue to care for your plant as you did before, providing it with proper light, water, and humidity. Over time, your Rhoeo Oyster will grow and thrive, adding a touch of color and life to your home.
Common Challenges and Troubleshooting
Like any gardening endeavor, propagating Rhoeo Oyster cuttings can come with its challenges. Don’t worry, though—most issues can be easily resolved with a little attention and care. Here are some common problems and how to address them:
- Leaves turning yellow: This could be a sign of overwatering. Check the soil moisture and adjust your watering schedule accordingly.
- Wilting leaves: Wilting can indicate underwatering or too much direct sunlight. Ensure your plant is getting enough water and is placed in indirect light.
- Slow or no root development: If your cuttings aren't rooting, they might not be getting enough warmth. Consider moving them to a warmer spot or using a heat mat.
Remember, every plant is different, and sometimes it takes a bit of trial and error to find what works best for your cuttings. Stay patient and observant, and you'll likely see success.
Enjoying Your New Plants
With your Rhoeo Oyster cuttings successfully propagated and growing, it's time to enjoy your new plants. Whether you choose to keep them for yourself, gift them to friends, or use them to create a lush indoor garden, the possibilities are endless.
Consider experimenting with different arrangements or adding them to mixed planters. Their striking foliage makes them a standout choice for any display. You might even want to branch out and try propagating other plants, using the skills you’ve learned here.
Plant propagation can be a fulfilling hobby, and it’s a wonderful way to connect with nature and bring a bit of the outdoors inside. Enjoy the process and the beauty it brings to your space.
Final Thoughts
Propagating Rhoeo Oyster cuttings can be a straightforward and rewarding process when you know what to do. From selecting the right cuttings to caring for them as they root, each step is an opportunity to learn and grow as a plant parent.
At Cafe Planta, we love sharing our passion for plants with others. If you have any questions or need further guidance, feel free to email us or send a message on Instagram. Whether you're just starting out or you've been a plant lover for years, we’re here to help you create a thriving indoor garden. Happy planting!


