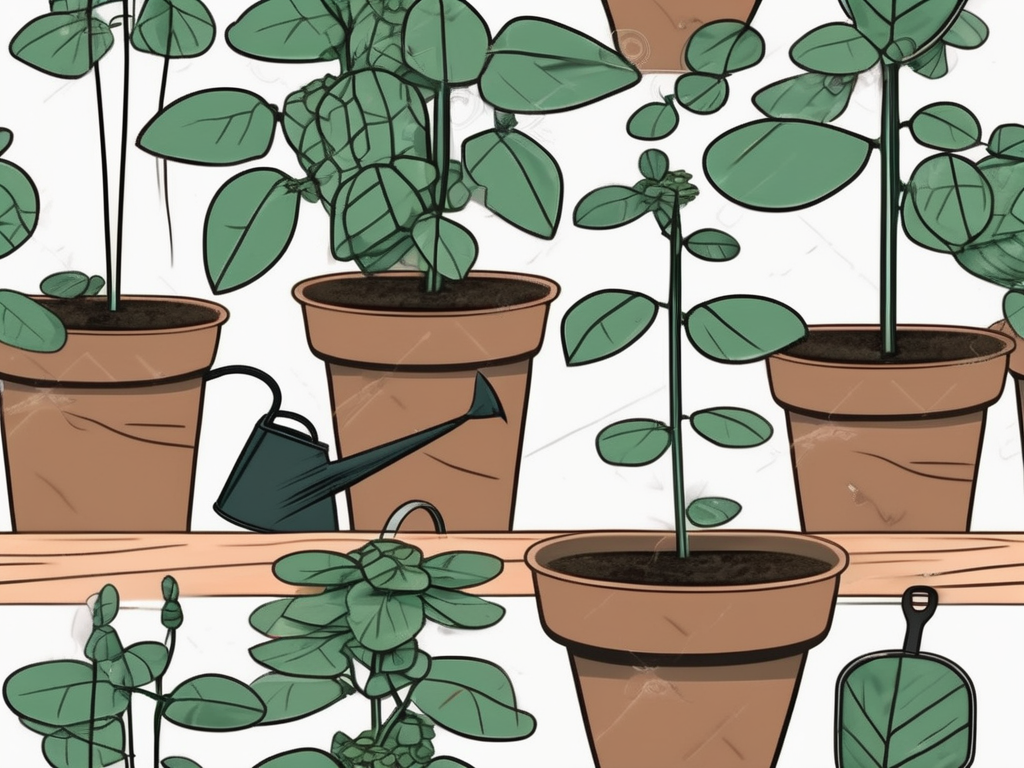
Picture this: a string of turtles cascading down a shelf, their tiny, turtle-shell-like leaves adding charm to your living room. If you’re looking to expand your plant collection without breaking the bank, propagating your string of turtles is a rewarding way to create more of these adorable plants.
In this article, we'll walk through the steps of propagating string of turtles cuttings, offering tips and insights along the way. Whether you're a seasoned plant parent or a newbie, you'll find this guide helpful for growing your indoor jungle.
Getting to Know the String of Turtles
The string of turtles, or Pepperomia prostrata, is a charming little plant with leaves that resemble a turtle’s shell. Native to Brazil, this trailing plant is ideal for hanging baskets or cascading down shelves. It’s a low-maintenance plant, making it perfect for beginners.
This plant thrives in bright, indirect light and prefers its soil to dry out between waterings. One of the joys of the string of turtles is its ability to propagate easily, allowing you to share its beauty with friends or fill your home with even more greenery.
Choosing the Right Time for Propagation
Timing is everything when propagating plants. For string of turtles, the best time to take cuttings is during the growing season, which typically runs from spring to early summer. During this period, the plant is actively growing, increasing its chances of successful rooting.
Propagating during the dormant months, like fall or winter, might not yield the best results because the plant’s growth slows down significantly. So, mark your calendar for springtime propagation!
Gathering Your Supplies
Before you get started, it's important to gather all the necessary supplies. Here’s a handy list of what you’ll need:
- Sharp scissors or pruning shears: Clean tools are crucial to prevent the spread of disease.
- A small container or tray: This will hold your cuttings while they root. Clear containers help you monitor progress.
- Potting mix: Use a well-draining mix, ideally one designed for succulents or cacti.
- Optional: rooting hormone: This can encourage faster rooting, though it’s not essential.
With everything ready, you're all set to start propagating!
Taking the Cuttings
Now comes the fun part—taking the cuttings! Follow these steps to ensure a good start for your new plant babies:
- Select healthy vines: Choose sections of the plant that are healthy and free from pests or disease. Look for vines with plump, vibrant leaves.
- Make the cut: Using your clean scissors, snip a section of the vine about 4-6 inches long. Ensure each cutting has several leaves.
- Remove lower leaves: Strip off the bottom leaves from the cutting, leaving a few at the top. This helps the plant focus its energy on rooting, rather than sustaining extra leaves.
- Optional: dip in rooting hormone: If you’re using rooting hormone, dip the cut end into the powder. This step can help speed up the rooting process.
With your cuttings prepped, it's time to move on to the next step.
Rooting Your Cuttings
Now that you have your cuttings ready, it's time to root them. You have a couple of options here: water propagation or soil propagation. Let’s explore both methods.
Water Propagation
- Fill a container with water: Use a clear container to easily monitor root growth.
- Place cuttings in water: Ensure that only the stems are submerged, not the leaves, to avoid rot.
- Find a bright spot: Place the container in a location with bright, indirect light.
- Change the water regularly: To prevent bacteria build-up, replace the water every few days.
This method allows you to see the roots develop, which can be quite exciting!
Soil Propagation
- Prepare the potting mix: Fill your container with well-draining soil.
- Plant the cuttings: Insert the cut stems into the soil, ensuring they’re stable.
- Water lightly: Give the soil a little moisture, but avoid overwatering.
- Provide indirect light: Place the container in a spot with bright, indirect light.
Both methods are effective, so choose the one that suits your style and space best.
Caring for Your New Plants
Once your cuttings start to root, it’s time to give them some TLC. Here’s how to care for your new string of turtles:
- Monitor growth: Keep an eye on the cuttings and check for root development. In water, you should see roots appear within a few weeks. In soil, gently tug the cutting to feel for resistance, indicating root growth.
- Transition to soil: If you started with water propagation, once roots are about 1-2 inches long, you can transfer them to soil. Be gentle to avoid damaging the delicate roots.
- Continue with regular care: Maintain a watering schedule that allows the soil to dry out between waterings, and keep the plant in bright, indirect light.
With proper care, your new plants will soon be thriving and ready to bring joy to any space.
Common Propagation Challenges and Solutions
Even with the best intentions, sometimes things don't go as planned. Here are a few common challenges you might encounter and how to address them:
Cuttings Not Rooting
If your cuttings aren’t rooting, here are a few things to consider:
- Check light conditions: Ensure your cuttings are getting enough bright, indirect light.
- Change the water: If you’re using water propagation, stale water can hinder root growth. Refresh the water regularly.
- Try a rooting hormone: If you haven’t used one, consider adding a rooting hormone to encourage growth.
Cuttings Rotting
Rot can be a sign of too much moisture. Here’s how to prevent it:
- Adjust water levels: Make sure only the stems, not the leaves, are submerged in water.
- Use well-draining soil: If propagating in soil, ensure it’s a mix that allows for adequate drainage.
- Monitor humidity: High humidity levels can contribute to rot, so ensure your environment is just right.
By addressing these common issues, you'll increase your chances of successful propagation.
Decorating with String of Turtles
Now that you have a thriving collection of string of turtles, it’s time to think about where to place them. These versatile plants can add charm to various settings:
- Hanging baskets: Let the vines drape beautifully from a hanging basket in your living room or kitchen.
- Bookshelves: Add a touch of green to your shelves by letting the string of turtles cascade down.
- Table centerpieces: Place them in decorative pots and use them as a centerpiece on your coffee or dining table.
The options are endless, so feel free to get creative and see how these lovely plants can enhance your home.
Sharing Your Plant Babies
One of the joys of propagating plants is sharing them with friends and family. Here are some thoughtful ways to spread the love:
- Gift them: Pot up a cutting in a pretty container and give it as a gift for birthdays or housewarmings.
- Plant swaps: Participate in local plant swaps to trade your string of turtles for other plants you’ve been eyeing.
- Host a plant party: Invite friends over for a fun afternoon of propagation and plant care tips.
Sharing your plant babies is a wonderful way to spread joy and greenery.
Final Thoughts
Propagating string of turtles is a delightful way to multiply your plant collection and share with others. By following these steps and tips, you’ll have a thriving set of new plants in no time.
At Cafe Planta, we love guiding plant lovers on their green journeys. If you have any questions or need plant care advice, feel free to email us or send us a DM on Instagram. Whether you're building a new plant collection or adding to an existing one, we're here to help you every step of the way.