Propagating houseplants can be a wonderfully rewarding adventure. For those who adore the distinctive look of the urn plant, also known as Aechmea fasciata, learning to propagate this beauty can be both fun and fulfilling. Whether you're a seasoned green thumb or just beginning your plant journey, this guide will walk you through the process with clarity and charm.
This article will explore the fundamentals of propagating your urn plant, from selecting the perfect pup to the right tools and techniques. With step-by-step instructions, practical tips, and a sprinkle of humor, you’ll find yourself ready to fill your home with more of these captivating plants. Let's get started!
Understanding the Urn Plant
The urn plant, with its striking silvery foliage and bright pink bracts, is a favorite among plant lovers. Known scientifically as Aechmea fasciata, this bromeliad hails from the tropical forests of Brazil. It’s not just its beauty that makes it appealing, but also its resilience. The urn plant can thrive indoors with minimal fuss, making it an excellent choice for both beginners and seasoned plant people.
Before diving into propagation, it’s important to understand the plant’s natural growth pattern. The urn plant grows in a rosette formation, and as it matures, it produces offshoots known as pups. These pups are your ticket to propagation. Once the mother plant blooms, it will eventually die, but not before leaving behind a few pups to carry on its legacy.
These pups are crucial for the propagation process. They are essentially baby plants that can be separated from the mother plant to grow independently. Timing is key here, so let’s move on to figuring out when your urn plant is ready for propagation.
Identifying the Right Time to Propagate
Timing can feel like a guessing game, but with a little observation, you’ll know when your urn plant is ready to share its pups. Generally, you’ll want to wait until the pups are about a third to half the size of the mother plant. This ensures they’re mature enough to survive on their own.
Here’s a handy checklist to see if your urn plant pups are ready for the big move:
- The pup is at least 4-6 inches tall.
- It has developed its own roots.
- The mother plant has finished blooming.
If your plant ticks all these boxes, then it's time to celebrate—you're ready to propagate! But before you grab your tools, let’s talk about what you’ll need for a successful propagation.
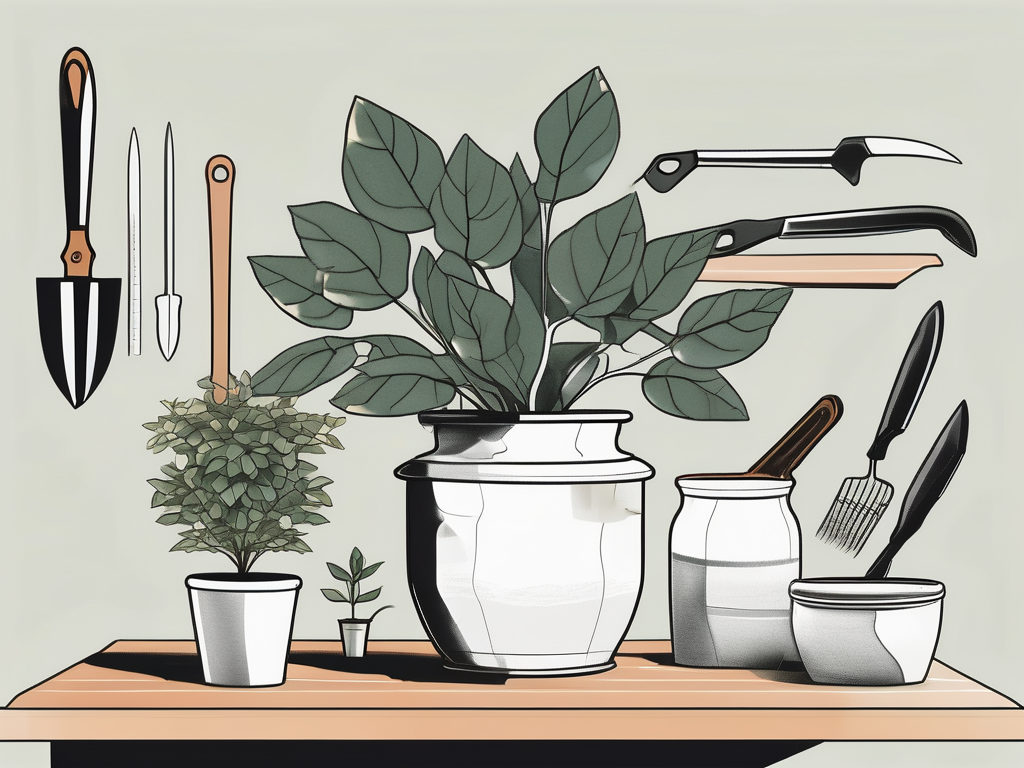
Gathering Your Propagation Tools
Before embarking on the propagation process, it's vital to have the right tools and materials on hand. Think of it as gathering your supplies before embarking on a creative project. Here’s what you’ll need:
- Sharp knife or pruning shears: These are crucial for cleanly cutting the pup from the mother plant. A sharp blade ensures a precise cut, reducing stress on both the pup and the parent plant.
- Potting mix: A well-draining mix is essential for bromeliads. Consider a combination of orchid bark, perlite, and peat moss for optimal results.
- Pots: Choose a pot with good drainage. The size should be appropriate for the pup, not too big, to avoid overwhelming it.
- Gloves: While not mandatory, gloves can protect your hands from any sharp edges on the plant or tool.
With these tools at the ready, you're equipped to take the next step—actually separating the pup from its mother. Let’s explore how to do that without causing harm.
Separating the Pup from the Mother Plant
Separating the pup from the mother plant can feel a bit like performing surgery, but don’t worry, it’s easier than it sounds. With your tools ready, follow these steps:
- Inspect the connection: Examine where the pup is attached to the mother plant. You may need to gently move aside some leaves to get a clear view.
- Make the cut: Using your sharp knife or pruning shears, carefully cut the pup away from the mother. Aim for a clean cut to minimize damage.
- Check for roots: Ensure the pup has some roots attached. This will help it establish itself quickly in its new pot.
- Let it heal: Allow the cut area on the pup to dry and callous over for a day or two. This helps prevent rot when you plant it.
With the pup safely separated, you’re halfway through the propagation process. Now, it’s time to pot your new plant.
Planting the Pup
Now comes the exciting part—planting your new urn plant pup. Here’s how to give it the best start in life:
- Choose an appropriate pot: As mentioned earlier, the pot should be just a bit larger than the root ball of the pup. Ensure it has drainage holes.
- Prepare the potting mix: Fill the pot with your well-draining bromeliad mix. Make a small hole in the center for the pup.
- Plant the pup: Gently place the pup into the hole, ensuring the roots are covered but the base of the leaves is above the soil line.
- Water lightly: Give the newly potted pup a light watering. You don't want to drench it, just enough to settle the soil around the roots.
With your pup now potted, it’s time to provide the right care to ensure it thrives in its new home.
Caring for Your New Urn Plant
Once your pup is potted, it’s important to provide the right conditions for it to grow into a healthy adult plant. Here’s how you can do that:
- Light: Place your plant in a spot with bright, indirect light. Too much direct sunlight can scorch the leaves, while too little can stunt its growth.
- Watering: Urn plants prefer their central cup to be filled with water. Change this water regularly to prevent stagnation. The soil should be kept slightly moist but not soggy.
- Humidity: Being tropical plants, urns love humidity. If your home is dry, consider using a humidity tray or misting the plant occasionally.
- Temperature: These plants enjoy warmth. Keep them in a room where temperatures stay between 65°F to 80°F (18°C to 27°C).
With the right care, your new urn plant will flourish, bringing beauty to your home. But there’s more to consider, especially when it comes to potential pitfalls.
Common Problems and How to Avoid Them
Every plant has its quirks, and the urn plant is no exception. Here are some common issues you might encounter and how to sidestep them:
- Rot: Overwatering can lead to root rot. Ensure your potting mix is well-draining and that you’re not keeping the soil too wet.
- Brown leaf tips: This can be a sign of low humidity. Try increasing the humidity around your plant with a humidifier or a pebble tray.
- Pests: Keep an eye out for common pests like mealybugs and spider mites. Regularly inspect your plant and treat any infestations promptly with insecticidal soap or neem oil.
By staying vigilant and adjusting care as needed, you can keep your urn plant healthy and happy. But what if you're looking to incorporate them into your home decor?
Incorporating Urn Plants into Your Home Decor
One of the joys of having houseplants is decorating your space with them. With their striking appearance, urn plants can be a focal point in any room. Here are some ideas to integrate them into your home:
- Centerpiece: Place your urn plant on a dining table or coffee table to create an elegant centerpiece.
- Bookshelf Beauty: Nestle your plant among your books and knick-knacks for a pop of greenery that breaks up the monotony.
- Bathroom Oasis: Urn plants thrive in humidity, making them perfect for bathrooms. Position them near a window for the ideal environment.
Playing with these ideas can help you showcase your beautiful urn plants and add a touch of nature to your interiors. But what happens when your plant outgrows its space?
Repotting Your Urn Plant
Like all living things, urn plants grow and may eventually need a bigger pot. Here’s how to know when it’s time to repot and how to do it properly:
- Signs it's time: If roots are growing out of the drainage holes or the plant looks top-heavy and unstable, it’s likely time for a new pot.
- Choose the right pot: Pick a pot that’s one size larger than the current one. Ensure it has adequate drainage.
- Repotting steps: Gently remove the plant from its current pot, loosen any tightly bound roots, and replant it in fresh potting mix in the new pot. Water lightly to help it settle.
Repotting can invigorate your plant, giving it room to grow and thrive. Now, let’s wrap up with some final thoughts.
Final Thoughts
Propagating an urn plant is a delightful endeavor that can fill your home with more of these striking beauties. By understanding the plant, choosing the right time and tools, and following careful steps, you set yourself up for success in growing new urn plants.
At Cafe Planta, we're passionate about helping you succeed in your plant journey. Whether you're looking for new plants, care accessories, or plant-themed apparel, we've got you covered. If you have any questions or need advice, feel free to email us or send a message on Instagram. We're here to support you and share our love for plants!


