Houseplants bring a touch of nature to our homes, and the Zebra Plant, with its striking striped foliage, is a favorite among many plant lovers. But what if you want more of these beauties without constantly hitting up the plant store? Propagating your Zebra Plant is a great way to expand your collection, share with friends, or even try your hand at a little DIY plant project.
In this post, we'll walk you through the step-by-step process of propagating Zebra Plant cuttings. From selecting the right tools to nurturing the new plants, you'll find everything you need to know here. So, let's get started on growing your own little jungle!
Understanding the Zebra Plant
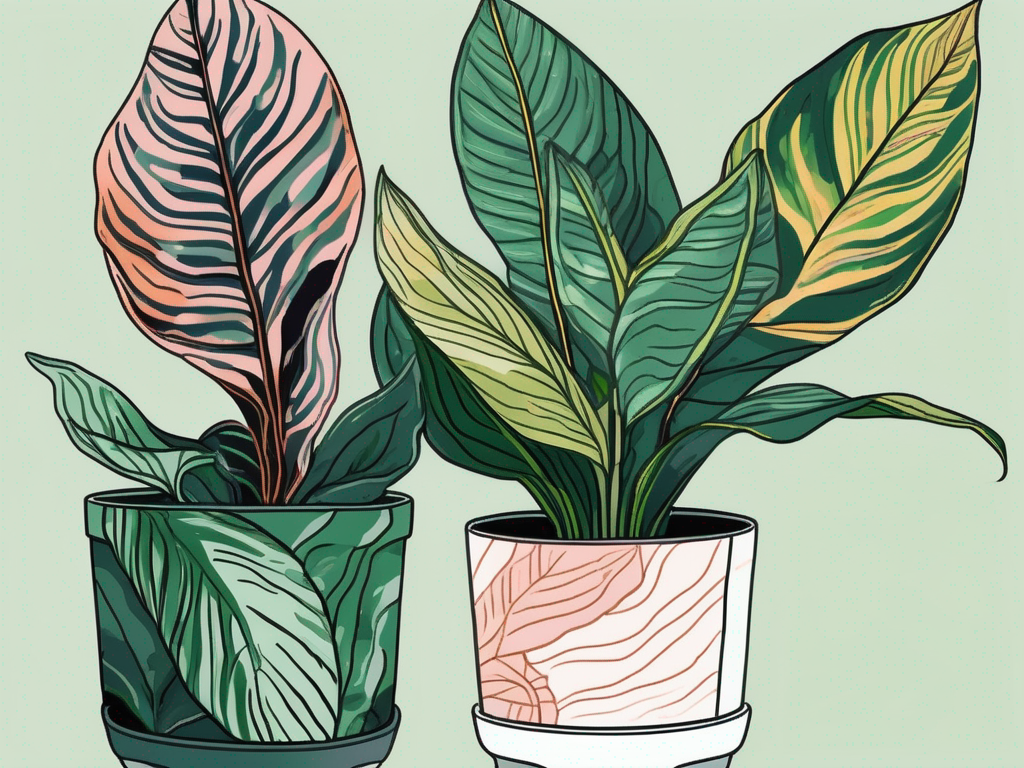
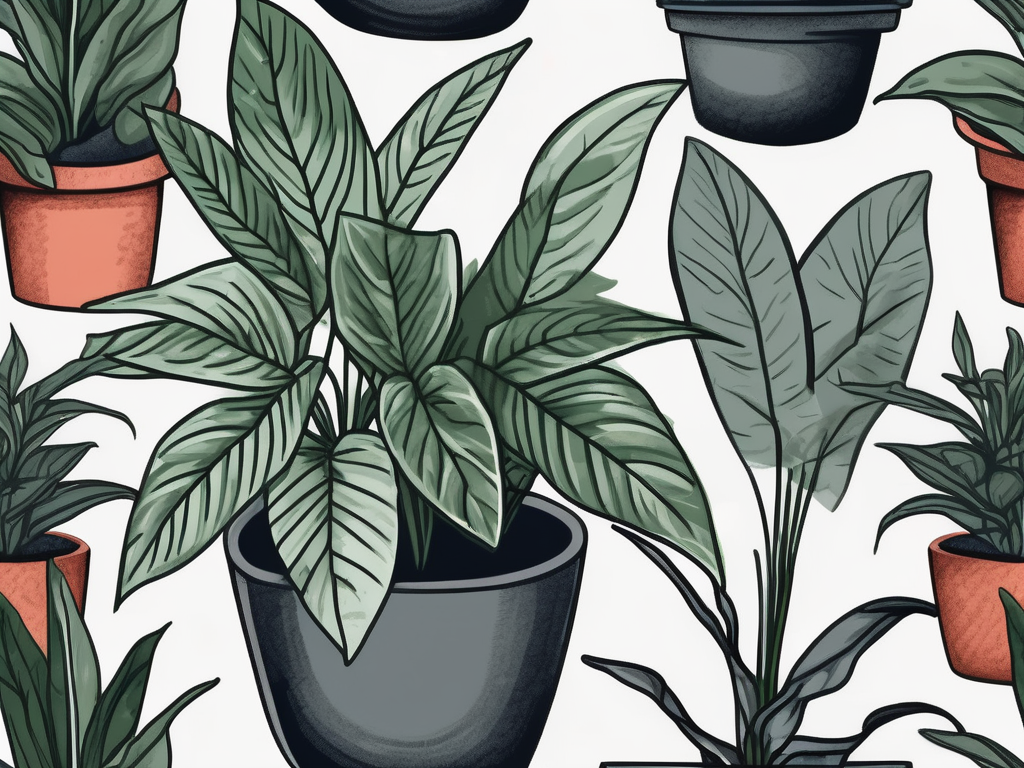
The Zebra Plant, known scientifically as Aphelandra squarrosa, hails from the tropical rainforests of Brazil. It's loved for its glossy, dark green leaves adorned with bright white veins, resembling the stripes of a zebra. While this plant can be a bit fussy when it comes to care, its stunning appearance makes the effort worthwhile.
Zebra Plants thrive in warm, humid conditions with indirect light. They prefer well-draining soil and do best when they're slightly moist but not soggy. This is something to keep in mind as we move forward with propagation. Understanding the native environment of your plant can help you mimic these conditions at home, ensuring a higher success rate with your cuttings.
Interestingly, the Zebra Plant is known for its beautiful yellow bracts, which can last for several weeks. While it might not bloom frequently indoors, when it does, it's quite the spectacle. This detail is not directly related to propagation, but it sure is a nice bonus for those who manage to coax a bloom from their plant.
Why Propagate Your Zebra Plant?
So, why go through the trouble of propagating your Zebra Plant? There are several reasons plant people love this process:
- Save Money: Propagation allows you to grow new plants from an existing one without spending a dime.
- Share the Love: You can gift these new plants to friends and family, sharing the joy of indoor gardening.
- Experiment and Learn: Propagating plants is a fantastic way to learn more about plant care and biology.
- Expand Your Collection: If you're looking to fill your space with more greenery, propagation is a great way to do so without breaking the bank.
While propagation is relatively simple, it does require patience and a bit of trial and error. Every plant is unique, and even experienced gardeners might have some cuttings that don't take root. That's perfectly okay! With each attempt, you'll learn something new that will improve your gardening skills.
Gathering Your Materials
Before you start snipping away at your Zebra Plant, you'll want to gather some essential materials. Having everything ready will make the process much smoother. Here's what you'll need:
- Sharp, Clean Scissors or Pruning Shears: It's crucial to use clean tools to prevent any infection or disease from spreading to your cuttings.
- Small Pots or Containers: These will house your cuttings as they begin to develop roots.
- Well-Draining Potting Mix: A mix that retains some moisture but doesn't stay soggy is ideal for Zebra Plants.
- Rooting Hormone (Optional): This can help encourage root growth, but it's not absolutely necessary.
- Plastic Bags or a Humidity Dome: These help maintain humidity around your cuttings, which is crucial for their survival.
- Watering Can or Spray Bottle: For keeping the soil moist during the rooting process.
Once you've gathered these materials, you're ready to start the propagation process. Remember to work in a clean area to minimize the risk of disease or pests. A little preparation goes a long way in ensuring successful propagation.
Choosing the Right Stem for Propagation
Picking the right stem is crucial for successful propagation. You want to choose a healthy stem with at least a couple of leaves, as this will increase the chances of rooting.
Look for a stem that is:
- Healthy and Vigorous: Avoid stems that are yellowing, wilting, or otherwise unhealthy.
- At Least 4 Inches Long: A longer stem provides more surface area for roots to develop.
- Free of Pests or Disease: Make sure there are no signs of bugs or fungus on the stem.
Once you've found a suitable stem, make a clean cut just below a leaf node. This is where the roots are most likely to develop. Be sure to use your clean, sharp scissors or pruning shears for this step. Making a clean cut reduces the risk of infection and promotes faster healing for the parent plant.
Preparing the Stem Cuttings
With your stem selected and cut, it's time to prepare it for rooting. Here's how you can do that:
- Trim the Leaves: Remove the leaves from the lower half of the stem. This part will be buried in the soil, and leaves can rot if left under the surface.
- Apply Rooting Hormone (Optional): Dip the cut end of the stem into a rooting hormone if you're using one. This can speed up the rooting process, but it's not mandatory.
- Let it Dry: Allow the cut end of the stem to dry for a few hours. This helps form a callus, which can prevent rot when you place it in soil.
Once your cuttings are prepared, they're ready for the next step. The drying period might seem like an unnecessary wait, but it makes a significant difference in preventing rot and promoting healthy root growth.
Planting the Cuttings
Now comes the exciting part—planting your Zebra Plant cuttings! To give them the best start, follow these steps:
- Prepare the Pot: Fill your small pot or container with the well-draining potting mix. Leave some space at the top for watering.
- Moisten the Soil: Lightly water the soil to make it moist but not waterlogged.
- Plant the Cutting: Create a small hole in the soil and place the cutting in it, ensuring that at least one leaf node is buried.
- Firm the Soil: Gently press the soil around the base of the cutting to hold it in place.
Once planted, it's time to create a humid environment for your cutting. You can use a plastic bag or humidity dome to cover the pot, keeping the air inside moist. Just make sure the cover doesn't touch the leaves, as this can lead to rot.
Caring for Your New Cuttings
Your cuttings will need some special attention as they develop roots. Here are some tips to ensure they thrive:
- Humidity: Keep the cuttings in a humid environment to prevent them from drying out. Mist them occasionally if necessary.
- Light: Place the cuttings in a spot with bright, indirect light. Direct sunlight can scorch the leaves, while too little light will hinder growth.
- Watering: Keep the soil moist but not soggy. Overwatering can lead to rot, so be cautious. Use a spray bottle for gentle watering if needed.
- Patience: It can take several weeks for roots to develop. Be patient and resist the urge to tug at the cuttings to check for roots.
With these care tips in mind, your Zebra Plant cuttings should start to grow roots within a few weeks. If you notice any leaves turning yellow or brown, remove them to keep the cutting healthy.
Transferring to a Permanent Pot
Once your cuttings have developed a healthy root system, it's time to transfer them to a permanent pot. Here's how you can do it:
- Choose a Suitable Pot: Select a pot with drainage holes to prevent water from accumulating at the bottom.
- Use Fresh Potting Mix: Fill the pot with fresh, well-draining potting mix.
- Plant the Cutting: Carefully remove the cutting from its initial container and plant it in the new pot.
- Water Thoroughly: Give the plant a good watering to help it settle into its new home.
After transferring, continue to care for your Zebra Plant just like you would any other houseplant. Keep it in a spot with indirect light, maintain humidity, and water regularly. Before you know it, you'll have a lush new addition to your plant family!
Common Challenges and Troubleshooting
Propagating plants isn't always smooth sailing, and you might encounter a few bumps along the way. Here are some common challenges and how to address them:
- Slow Rooting: If your cuttings are taking a long time to root, ensure they're getting enough light and humidity. You can also try using a rooting hormone if you haven't already.
- Rotting Cuttings: This usually happens due to overwatering or too much humidity. Make sure the soil isn't soggy, and allow some air circulation around the cuttings.
- Pest Infestation: Keep an eye out for pests like aphids or spider mites. If you notice them, treat the plant with a gentle insecticidal soap.
Remember, every plant is different, and sometimes cuttings just don't take. If you experience failure, don't be discouraged. Each attempt is a learning opportunity, and with persistence, you'll become more adept at propagation.
Enjoying Your Propagated Zebra Plants
Once your Zebra Plant cuttings are thriving, it's time to enjoy the fruits of your labor. These new plants can brighten up your space, and they're perfect for adding a touch of greenery to areas that need a little life.
You might choose to:
- Decorate Your Home: Place them on shelves, desks, or windowsills to add a splash of green.
- Gift to Friends: Share the joy of plant ownership with loved ones by gifting them a Zebra Plant.
- Experiment Further: Try propagating other plants using similar techniques to expand your collection even more.
Propagating plants is a rewarding hobby that allows you to connect with nature and bring more beauty into your home. Whether you're a seasoned plant parent or just starting out, there's always something new to learn and enjoy in the world of houseplants.
Final Thoughts
Propagating Zebra Plant cuttings is a rewarding way to expand your indoor garden and share your love of plants. With some patience and care, you'll soon have a thriving collection of these beautiful plants to enjoy.
At Cafe Planta, we’re all about helping you on your plant journey. Whether you’re looking for new additions or need advice, we’ve got your back. Feel free to email us or send a message on Instagram. We’re here to help you create a lush, green oasis in your home!