Repotting a plant with root rot might not sound like the most glamorous task, but it's an essential skill for any plant lover. Root rot can sneak up on even the most diligent plant parent, turning once-vibrant leaves into a wilted mess. The good news? With a bit of know-how, you can rescue your greenery and get it back on track.
This article is here to guide you through the process of repotting a plant suffering from root rot. From identifying the issue to choosing the right pot and soil, we'll cover each step in detail. By the end, you'll feel confident and ready to give your plant the fresh start it deserves.
Recognizing Root Rot
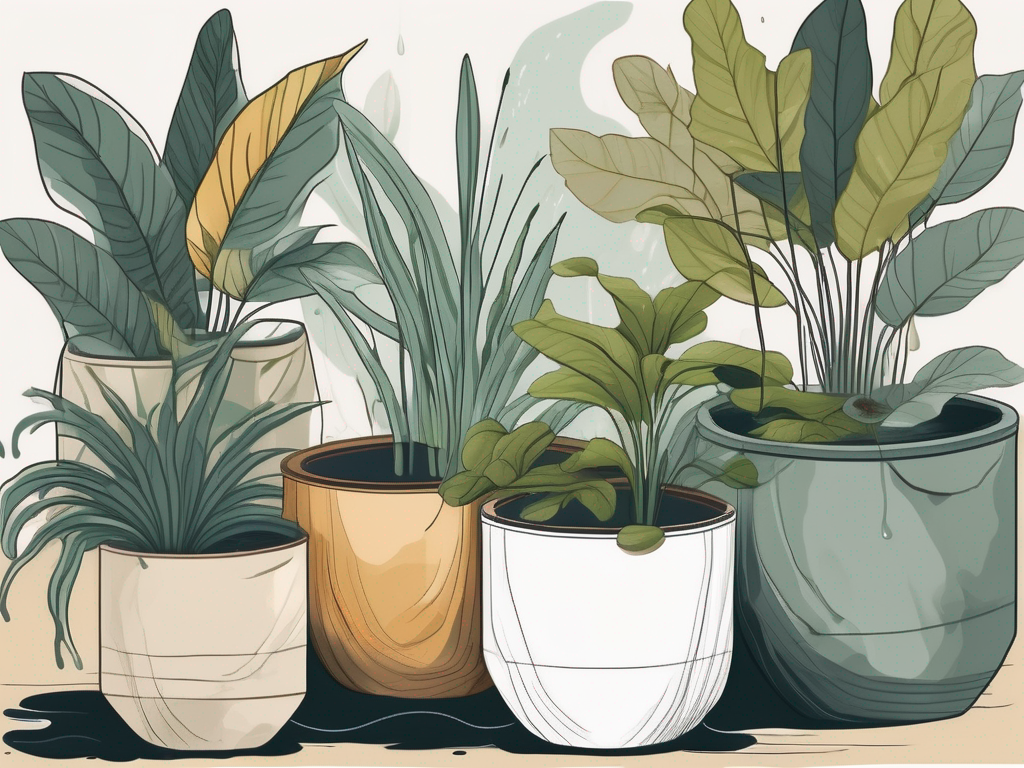
Before we jump into the rescue mission, let's talk about spotting root rot. It's like being a plant detective! Root rot often starts with subtle signs. You might notice your plant's leaves turning yellow or brown and drooping more than usual. Sometimes, there's a mushy stem or a foul smell coming from the soil. These are all red flags that your plant's roots are in trouble.
Why does root rot happen? It's usually due to overwatering. When the soil stays too wet for too long, it creates a perfect environment for fungi and bacteria to thrive. Think of it like leaving a sponge in water for too long—it gets yucky and smelly. Plants need to breathe, and soggy roots can't do that.
To confirm root rot, gently remove your plant from its pot. Healthy roots are firm and white, while rotting roots appear brown or black and feel mushy. If you spot these signs, it's time to take action. Catching root rot early increases your plant's chances of recovery, so regular check-ups are a good habit to get into.
Gathering Your Supplies
Now that you've diagnosed your plant, let's gather the tools you'll need for the repotting process. Having everything ready will make the task smoother and less stressful for both you and your plant.
- Fresh Potting Soil: Choose a high-quality soil mix that provides good drainage. A mix designed for your specific type of plant is ideal.
- Appropriate Pot: Make sure the new pot has drainage holes. It should be slightly larger than the current one to allow for growth without overwhelming the plant.
- Pruning Shears or Scissors: These will help you trim away the damaged roots. Make sure they're clean and sharp to prevent any further harm.
- Gloves: Protect your hands, especially if you're dealing with a plant that has thorns or toxic sap.
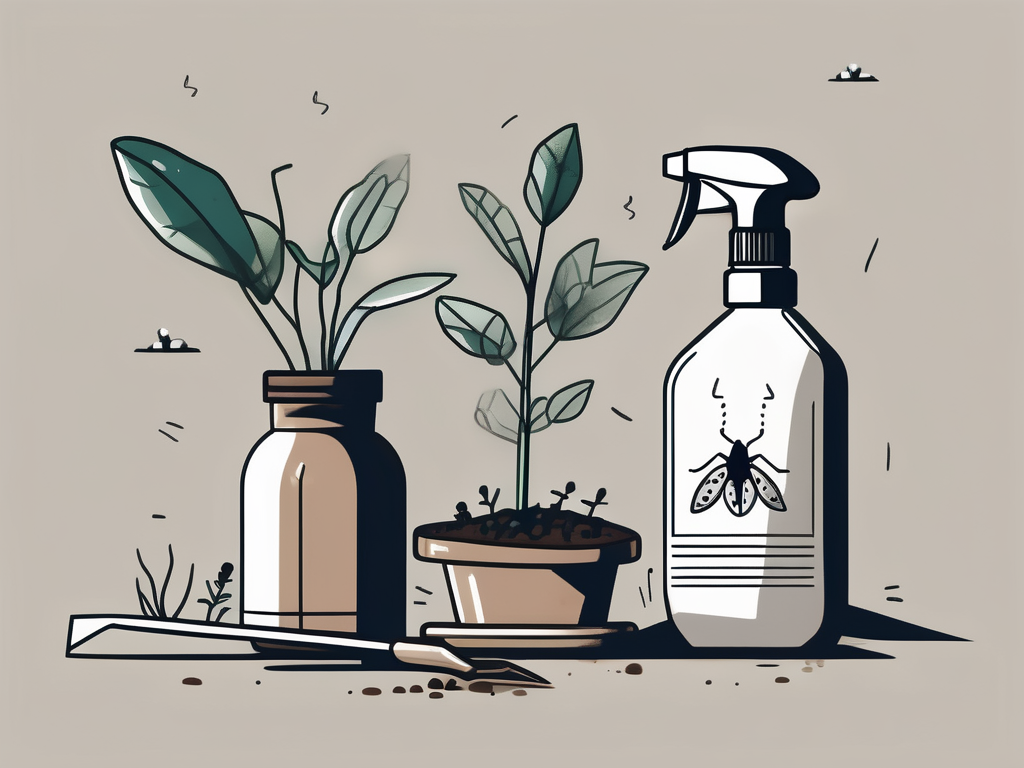
- Optional: Fungicide or Rooting Hormone: These can help prevent further fungal growth and encourage new root development.
With your supplies in hand, you're all set to give your plant a fresh home. It's like packing for a vacation, but for your plant!
Preparing the Plant
The first step in repotting is preparing your plant for its new pot. Start by carefully removing it from its current container. Gently shake off excess soil to expose the roots. This might feel like you're undressing your plant, but it's crucial for assessing the damage.
Once you've got a clear view, inspect the roots closely. Use your clean pruning shears to cut away any rotten, mushy parts. It's okay to be a little ruthless here—you're removing the parts that are no longer serving the plant. Aim to leave only the healthy, white roots intact.
If you've got a fungicide on hand, now's the time to apply it to the remaining healthy roots. This can help prevent any lingering fungi from taking hold. Some folks also like to use a rooting hormone to encourage new growth, but that's optional.
At this point, your plant might look a bit like a haircut gone wrong, but trust the process. Removing the damaged roots is a crucial step toward recovery. Think of it as a fresh start for your plant, much like a new haircut can feel like a fresh start for you.
Choosing the Right Pot
Now that your plant is prepped, it's time to pick the perfect pot. The right pot can make all the difference in your plant's recovery and future growth. When choosing a pot, size and drainage are your top priorities.
First, consider the size. You want a pot that's slightly larger than the one you're replacing—about 1 to 2 inches wider in diameter. This gives your plant room to grow without overwhelming it. Think of it like buying shoes for a growing kid—just enough room to grow into, but not so big that they trip over themselves.
Drainage is equally important. Ensure your pot has drainage holes to allow excess water to escape. Without them, you're risking a repeat episode of root rot. If you find a pot you love that doesn't have drainage, you can sometimes add holes with a drill or place a layer of stones at the bottom to help with water flow.
Material can also play a role. Terracotta pots are breathable, which can help prevent overwatering, but they dry out faster. Plastic pots retain moisture longer, which might suit plants that like a bit more humidity. Choose based on your plant's preferences and your watering habits.
Potting Your Plant
With your plant and pot ready, it's time to pot your plant. Start by adding a layer of fresh soil at the bottom of the pot. This gives your plant a soft landing and helps with drainage.
Gently place your plant in the pot, holding it upright as you add more soil around the roots. Make sure the plant is centered and at the same depth it was before. You don't want it sitting too high or too low in the pot.
As you fill the pot, lightly press down the soil to eliminate air pockets. Avoid packing it too tightly, as the roots need room to breathe and grow. Leave a little space between the soil surface and the pot's rim. This space will help when watering, preventing overflow and mess.
Once your plant is snug in its new home, give it a gentle watering. This helps settle the soil around the roots and gives your plant a refreshing start. Water until you see moisture escaping from the drainage holes.
You've done it—your plant is now in its new pot! Think of this as your plant's new apartment, complete with all the amenities it needs to thrive.
Aftercare for Your Plant
Repotting is a big change for your plant, so aftercare is crucial. Think of it as a recovery period after a big move. Your plant needs some extra TLC to adjust and start thriving again.
First, find a spot with the right light. Most plants prefer indirect sunlight as they recover, so avoid placing them in direct sun right away. A bright, indirect light spot is ideal. It's like finding the perfect seat in a café—not too bright, not too dim.
Watering needs might also change slightly. Keep the soil moist, but not soggy, and be sure to let it dry out a bit between waterings. This helps prevent any new cases of root rot.
Pay attention to your plant's overall condition. Look for new growth as a sign that your plant is bouncing back. If you notice any further yellowing or wilting, check for pests or other issues that might be affecting it.
Patience is key here. Plants take time to recover, and rushing the process could do more harm than good. It's like nursing a sick friend back to health—gentle and consistent care goes a long way.
Preventing Future Root Rot
While you've tackled root rot this time, prevention is the best cure moving forward. Here are a few tips to help keep your plant healthy and happy, free from future root rot disasters.
- Watch Your Watering: Overwatering is the main culprit of root rot. Make sure to water only when the top inch of soil feels dry to the touch.
- Ensure Good Drainage: Always use pots with drainage holes and consider adding perlite or sand to your potting mix to improve drainage.
- Avoid Cold Drafts: Keep your plant away from cold drafts and sudden temperature changes, which can stress the plant and make it more susceptible to rot.
- Regular Check-Ups: Inspect your plant regularly for signs of distress. Early detection is key to nipping root rot in the bud.
By keeping these tips in mind, you're setting your plant up for success. It's like having a healthy routine that keeps you feeling your best—consistency is everything.
Understanding Different Plant Needs
Not all plants are created equal, and different types have different needs when it comes to repotting and care. For instance, succulents and cacti require a different approach than ferns or tropical plants.
Succulents and cacti prefer drier conditions and need a soil mix with excellent drainage. Consider using a specific cactus mix or adding extra sand or perlite to a regular potting mix. These plants also prefer shallow pots to mimic their natural environment.
On the flip side, tropical plants and ferns enjoy a bit more moisture and might need a richer soil mix. Ensure the mix retains some moisture without becoming waterlogged. These plants typically enjoy a more humid environment, so misting them occasionally can be beneficial.
Understanding your specific plant's needs can make all the difference in preventing future issues. It's like knowing your best friend's coffee order—once you have it down, everything just clicks.
When to Seek Help
Sometimes, despite your best efforts, a plant might not bounce back as expected. Don't be discouraged—this is a learning opportunity. If you've tried everything and you're still seeing signs of distress, it might be time to consult a professional or reach out to other plant lovers for advice.
Online communities and local plant shops can be great resources. You might find someone who has faced a similar challenge and can offer practical advice. Remember, even experienced plant people encounter setbacks, and sharing these experiences can lead to finding a solution.
Consider visiting a reputable plant shop or nursery where experts can take a closer look. They might spot something you've missed or suggest a treatment you haven't tried yet.
Remember, learning is part of the journey, and every plant you care for teaches you something new. Keep exploring and don't be afraid to ask for help when needed.
Final Thoughts
Repotting a plant with root rot can feel daunting at first, but with patience and care, you can bring your plant back to health. Remember the steps: recognize the signs, gather your materials, prepare the plant, choose the right pot, and provide diligent aftercare. With these actions, you're setting your plant up for a healthier future.
At Cafe Planta, we're here to support your plant journey every step of the way. Whether you're looking for a new plant friend or advice on care, we've got you covered. Feel free to email us or send a message on Instagram. We believe that plants bring people together and inspire connection, and we're excited to help you create a thriving plant collection in your home.