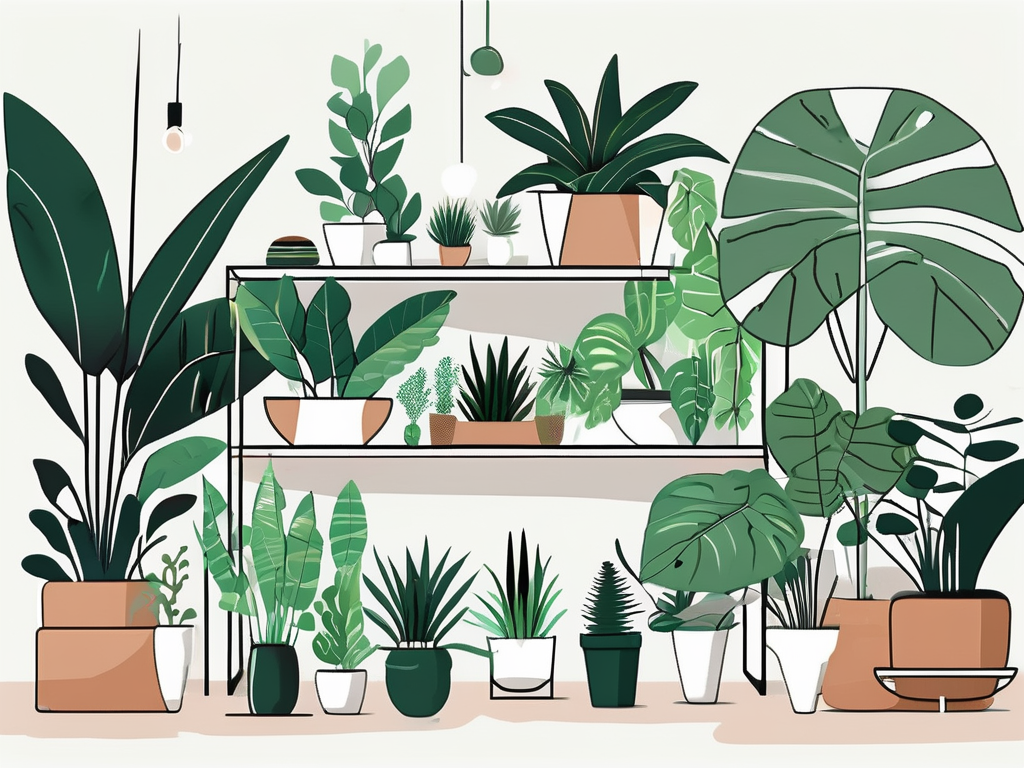
Repotting houseplants can seem like a daunting task, especially if you're new to the world of indoor greenery. But with a little know-how, you can help your plants thrive in their new homes, giving them the space they need to grow and flourish. Whether you're dealing with a towering monstera or a petite succulent, repotting is an essential skill for any plant parent.
In this article, we'll guide you through the process of repotting your houseplants step by step. From choosing the right pot and soil to understanding when your plant needs a new home, we've got you covered. So, grab your gardening gloves, and let's get started!
Understanding When It's Time to Repot
Before you dive into repotting, it's crucial to recognize when your plant actually needs it. Over time, your plant's roots can outgrow their current pot, leading to a variety of issues. Here are some signs that it might be time for a change:
- Roots are poking out: If you see roots coming out of the drainage holes at the bottom of the pot, it's a clear indicator that your plant needs more space.
- Water is sitting on top: If water isn't soaking into the soil and is pooling on the surface, the roots may be too crowded to absorb it properly.
- Growth has slowed: If your plant isn't growing as vigorously as it used to, it could be because it's become root-bound.
- Visible salt buildup: A white crust on the soil surface or pot edges can indicate that it's time for fresh soil.
While these signs are helpful, each plant is unique. Some might need repotting annually, while others can go a couple of years without a new pot. Trust your instincts and keep an eye on your plant's behavior.
Choosing the Right Pot
Not all pots are created equal, and selecting the right one for your plant is a crucial step in the repotting process. Here's what you need to consider:
Size Matters
It's tempting to choose a much larger pot thinking your plant will grow into it, but this can actually harm your plant. A pot that's too big can hold excess moisture, leading to root rot. Aim for a pot that's one to two inches larger in diameter than the current one. This gives your plant space to grow without overwhelming it.
Material Choices
Pots come in various materials, each with their own benefits:
- Plastic: Lightweight and affordable, plastic pots are great for beginners. They retain moisture well, which is beneficial in drier climates.
- Terracotta: These clay pots are porous, allowing the soil to breathe and excess moisture to evaporate. However, they can dry out more quickly, so they require more frequent watering.
- Ceramic: Often more decorative, ceramic pots can be either glazed or unglazed. Glazed pots retain moisture like plastic, while unglazed pots act more like terracotta.
Consider your home's climate and your own watering habits when selecting a pot material. If you're forgetful with watering, a plastic or glazed ceramic pot might be your best bet. If you're an over-waterer, terracotta could be a lifesaver.
Picking the Perfect Soil
Choosing the right soil is just as important as picking the right pot. Most plants will thrive in a well-draining potting mix, but there are exceptions:
- Cacti and succulents: These desert plants require a gritty, fast-draining mix to prevent rot.
- Orchids: These beauties prefer a bark-based mix that mimics their natural habitat.
- African violets: A peat-based soil is ideal for these flowering plants.
When in doubt, a general-purpose potting mix with added perlite or sand for drainage works for most houseplants. Avoid using garden soil as it's too dense for potted plants and can lead to poor drainage and root rot.
Preparing Your Plant
Before you start repotting, it's important to prepare your plant for the transition. Here's how you can do it:
Watering
Water your plant a day or two before repotting. This will help ease the transition and make it easier to remove the plant from its current pot. Moist soil holds together better, preventing unnecessary root damage.
Cleaning
Take this opportunity to clean your plant. Remove any dead or yellowing leaves and gently wipe the leaves with a damp cloth to remove dust. This not only keeps your plant looking fresh but also helps it photosynthesize more efficiently.
Getting the New Pot Ready
Before you can transfer your plant, you need to prep its new home. Here's what you should do:
Drainage
Ensure your new pot has adequate drainage holes. Without them, excess water can lead to root rot. If your pot doesn't have holes, you can add them yourself with a drill, or use it as a decorative outer pot with a smaller, draining pot inside.
Layering
Place a layer of fresh potting mix at the bottom of the new pot. This should be enough to allow the top of the plant's root ball to sit about an inch below the rim of the pot. Don't pack the soil too tightly, as this can prevent water from draining properly.
Transferring Your Plant
Now for the main event! Carefully transferring your plant to its new pot is crucial for its health and growth. Follow these steps:
Removing the Plant
- Gently tip the old pot on its side and support the plant with one hand.
- With your other hand, tap the bottom of the pot to loosen the root ball. If it's stubborn, use a butter knife to run around the edge, loosening the soil.
- Once loosened, slide the plant out. Be careful not to yank or pull too hard, as this can damage the roots.
Inspecting the Roots
Before placing your plant in its new pot, check the roots. Healthy roots should be white or light tan. If you see any black or mushy roots, trim them away with clean scissors. You can also gently tease apart any circling roots to encourage outward growth.
Securing Your Plant
With the roots inspected and ready, it's time to secure your plant in its new pot:
Positioning
Place the plant in the center of the pot, ensuring it's upright and the top of the root ball is about an inch below the rim. Adjust the soil layer beneath if necessary to achieve this height.
Backfilling
Add potting mix around the sides of the root ball, gently pressing down to eliminate air pockets. Be careful not to pack the soil too tightly, as this can impede water drainage. Leave about an inch of space at the top to make watering easier.
Watering and Settling In
Once your plant is snug in its new pot, water it thoroughly. This helps settle the soil and eliminates any remaining air pockets:
- Water thoroughly: Ensure water drains out the bottom, indicating the soil is well-saturated.
- Check drainage: If water isn't coming out, the soil might be too compacted. Gently loosen it with a stick or chopstick.
- Adjust position: Find a spot with the right light and temperature for your plant's species. Avoid direct sunlight for a few days to reduce transplant shock.
Post-Repotting Care
After repotting, your plant will need some extra TLC as it adjusts to its new environment. Here's how to care for it:
Temperature and Light
Keep your plant in a stable environment, avoiding any sudden changes in temperature or light. Gradually reintroduce it to its usual light conditions over a week or so.
Watering
Hold off on watering until the top inch of soil feels dry. Over-watering can be especially damaging to a recently repotted plant.
Fertilizing
Wait a few weeks before fertilizing. The fresh soil should provide enough nutrients for the time being, and fertilizing too soon can stress the plant.
Dealing with Common Issues
Repotting can sometimes lead to a few common issues, but don't worry—most have simple solutions:
Transplant Shock
If your plant seems droopy or its leaves start yellowing, it might be experiencing transplant shock. Be patient and continue to care for it as usual. Most plants bounce back after a short adjustment period.
Root Rot
This can occur if the new pot doesn't have adequate drainage. If you suspect root rot, remove the plant, trim affected roots, and repot into fresh, well-draining soil.
Pests
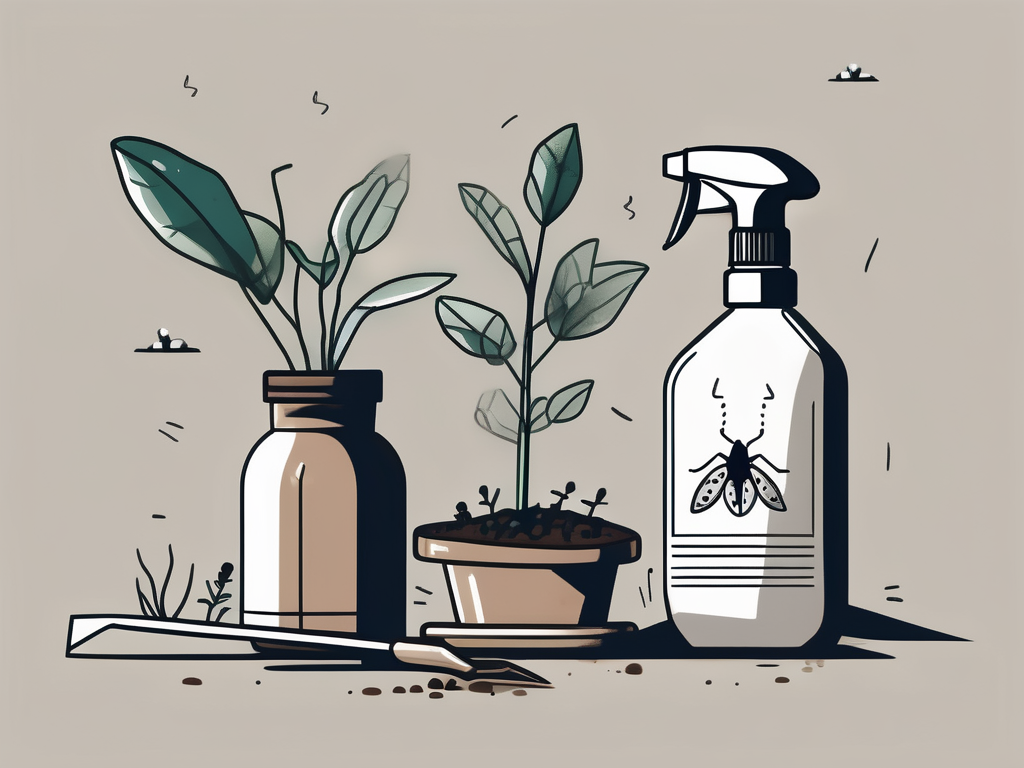
Repotting can sometimes disturb dormant pests. Keep an eye out for any unwanted visitors and treat them promptly with appropriate measures, like insecticidal soap or neem oil.
Final Thoughts
Repotting doesn't have to be stressful. With the right tools and a little patience, you can give your plants a new lease on life. Remember, each plant is unique and may need adjustments along the way. Enjoy the process and watch your plants thrive in their new homes.
At Cafe Planta, we're passionate about helping you care for your plants. Whether you're looking for a new addition to your collection or need help with plant care, we're here for you. Feel free to email us or drop us a message on Instagram. Let's grow together, one plant at a time!