If you've ever admired the feathery elegance of asparagus ferns and thought about expanding your plant family, you're in good company. Propagating these charming plants can be an incredibly rewarding experience. But, how exactly do you propagate asparagus fern cuttings successfully? It might seem a bit tricky at first, but with the right guidance, you'll find it's not as daunting as it sounds.
In this article, we'll walk through the entire process of propagating asparagus ferns, from gathering your materials to caring for your new plant babies. We'll also cover some tips and tricks to ensure your propagation efforts are fruitful. So, grab a cup of coffee, and let's get started on your next plant adventure!
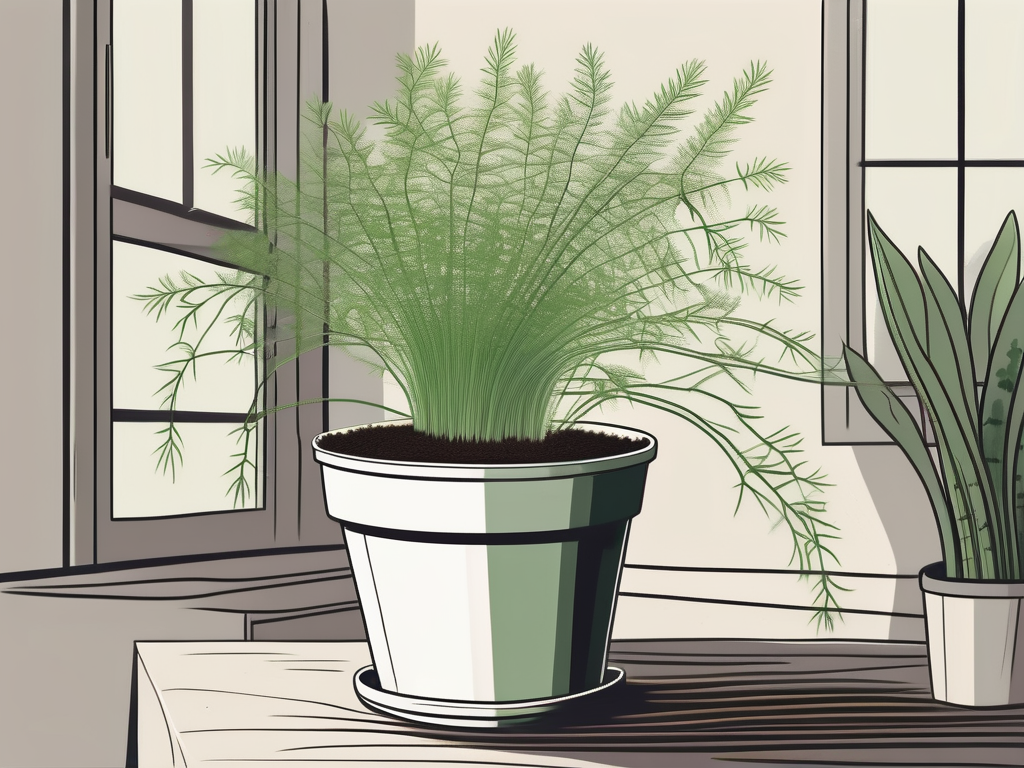
Understanding the Asparagus Fern
Before we jump into propagation, it's helpful to understand what makes the asparagus fern tick. Despite its name, the asparagus fern isn't a true fern. It's actually more closely related to the asparagus we eat, which explains its tough, wiry stems and needle-like leaves. These plants are native to South Africa and love a humid, tropical environment.
There are several types of asparagus ferns, but the most common ones you'll encounter are the Asparagus setaceus (commonly known as lace fern) and Asparagus densiflorus (often called foxtail fern). These plants are known for their lush, bushy appearance, and they make excellent houseplants due to their adaptability and resilience.
Understanding your plant's natural habitat can give you insights into how to replicate those conditions at home, which is essential for both growing and propagating. These ferns love indirect light and well-draining soil, and they thrive in humidity. If you live in a dry climate, you might want to consider adding a humidity tray or a humidifier to your setup.
Gathering Your Materials
Before you begin propagating asparagus ferns, you'll need to gather a few supplies. Here's what you'll need:
- Pruning shears: A good pair of pruning shears is essential for taking clean, healthy cuttings.
- Potting mix: Choose a well-draining potting mix. A mix designed for succulents or cacti can work well, or you can make your own by combining equal parts potting soil, sand, and perlite.
- Pots: You'll need small pots with drainage holes for your cuttings. Old yogurt containers or small nursery pots can work perfectly.
- Rooting hormone (optional): While not absolutely necessary, a rooting hormone can help speed up the propagation process.
Having everything ready before you start will make the process much smoother. Plus, it gives you a great opportunity to get a little creative with your pot choices!
Choosing the Right Time for Propagation
Timing can play a crucial role in the success of your propagation efforts. While asparagus ferns can technically be propagated at any time of the year, the best time to do so is during their active growing season, which is spring and early summer. During this period, the plant is naturally putting out new growth, which means it's in the right mode for establishing new cuttings.
Propagating during the growing season means your cuttings are more likely to root quickly and develop into healthy plants. On the other hand, doing this in the dormant winter months might result in slower growth or even failure to root, as the plant is conserving energy and not actively growing.
If you've been nurturing your asparagus fern for a while, you'll likely notice when it's in a growth spurt. Look for new shoots or a general bushiness that indicates it's thriving. That's your cue that it's ready to share some of that vigor with new cuttings!
Taking Your Cuttings
Now that you have your materials ready and timing sorted, it's time to take some cuttings. You'll want to choose healthy, robust stems to ensure the best chance of success. Here's a step-by-step guide:
- Select a stem: Look for a stem that is healthy, green, and free of any damage or disease. Avoid stems that are yellowing or have brown tips.
- Make the cut: Using your pruning shears, make a clean cut about 4-6 inches from the tip of the stem. Make sure your cut is just below a node (the point where leaves attach), as this is where new roots are likely to develop.
- Remove lower leaves: Strip away the leaves from the bottom 1-2 inches of the cutting. This will prevent them from rotting when placed in water or soil.
And there you have it—your cuttings are ready for the next stage. It's always a good idea to take a few more cuttings than you think you'll need, just in case some don't take root.
Preparing Cuttings for Rooting
With your cuttings in hand, the next step is to prepare them for rooting. If you're using a rooting hormone, this is the time to apply it. Simply dip the cut end of each cutting into the hormone powder, tapping off any excess. This step is optional, but it can give your cuttings a little extra boost.
Next, you'll need to decide on your rooting method. You have two main options: water propagation or soil propagation. Each method has its pros and cons, so let's break them down:
Water Propagation
- Pros: You can easily monitor root development, and it's a great option for beginners.
- Cons: Water roots can sometimes be weaker, and transitioning to soil can be a bit tricky.
To propagate in water, simply place your cuttings in a glass or jar with enough water to cover the nodes. Keep the container in a warm spot with indirect light, and change the water every few days to prevent stagnation.
Soil Propagation
- Pros: Cuttings are already adapted to soil, which can make transitioning easier.
- Cons: It's harder to see when roots have developed.
For soil propagation, plant your cuttings in a pot filled with your well-draining potting mix. Water lightly and cover the pot with a plastic bag to create a mini greenhouse effect, which helps retain humidity.
Providing the Perfect Environment
Whether you choose water or soil for rooting, providing the right environment is crucial for success. Here are some tips to create the ideal conditions for your cuttings:
- Light: Place your cuttings in a spot with bright, indirect light. Too much direct sunlight can scorch the delicate new growth, while too little light can slow rooting.
- Temperature: Asparagus ferns prefer warm temperatures. Aim for a range between 65-75°F (18-24°C).
- Humidity: High humidity is beneficial for rooting. If you're propagating in soil, consider using a clear plastic bag or a humidity dome to trap moisture.
By mimicking the plant's natural tropical environment, you're giving your cuttings the best possible start. Think of it as setting up a cozy nursery for your new plant babies!
Monitoring and Caring for Cuttings
Once your cuttings are settled into their new environment, it's time to play the waiting game. Rooting can take anywhere from a few weeks to a couple of months, depending on various factors like temperature and light. During this time, it's important to keep an eye on your cuttings and provide ongoing care.
For water propagation, look for small roots developing from the nodes. This usually happens after a few weeks. If you're propagating in soil, gently tug on the cutting after a month or so. If you feel resistance, that's a sign roots are forming.
While waiting, make sure to:
- Keep the soil moist: If you're using soil, check regularly to ensure it stays slightly damp. Avoid letting it dry out completely.
- Change the water: For water propagation, change the water every few days to keep it fresh.
- Watch for signs of rot: If you notice any cuttings turning brown or mushy, remove them to prevent spreading to others.
Patience is key here, and every plant parent knows the thrill of seeing those first tiny roots appear. It's a true testament to your care and attention!
Transplanting Rooted Cuttings
Once your cuttings have developed a healthy root system, it's time to transplant them into their permanent homes. Here's how to do it:
- Choose a pot: Select a pot that's slightly larger than the root ball, with good drainage holes.
- Prepare the soil: Use the same well-draining potting mix you used for propagation.
- Plant the cutting: Carefully remove the cutting from water or its propagation pot, and plant it at the same depth it was growing before.
- Water thoroughly: Once planted, give it a good watering to help settle the soil and eliminate air pockets.
After transplanting, continue to provide the same care as you did during propagation. Keep the soil moist, provide bright indirect light, and maintain humidity. Your new asparagus fern is now ready to grow and flourish in its new home!
Common Challenges and Troubleshooting
Like any plant project, you might face a few hiccups along the way. Here are some common challenges and how to troubleshoot them:
- Yellowing leaves: This could be a sign of too much water or insufficient light. Check your watering schedule and ensure the plant is getting enough indirect sunlight.
- No roots forming: If it's been several weeks and you see no roots, consider changing the environment. More light, adjusting the humidity, or even switching propagation methods might help.
- Rotting cuttings: If you notice rot, remove affected cuttings immediately. Ensure your water is clean and your soil isn't too wet.
Every plant parent faces challenges, but each one is a learning opportunity. Remember, even if a few cuttings don't make it, you're gaining valuable experience for future attempts.
Enjoying Your New Plant Babies
By now, you've likely got a few new asparagus ferns thriving in your home. Propagation not only allows you to expand your plant collection but also gives you a deeper connection with your plants. Watching them grow from a tiny cutting to a full-fledged plant is incredibly satisfying.
As your new plants grow, don't forget to share them with friends and family. A propagated plant makes a wonderful gift, and you can spread the joy of plant parenting with others. Plus, it's a great conversation starter!
Remember to continue providing the best care for your asparagus ferns, and they'll reward you with lush, beautiful growth. Happy planting!
Final Thoughts
Propagating asparagus fern cuttings can be a rewarding journey, filled with learning and growth. By understanding the plant's needs, gathering the right materials, and providing the ideal environment, you're setting yourself up for success. Whether you choose water or soil propagation, the key is patience and observation.
At Cafe Planta, we love connecting with plant lovers and helping them discover the joys of plant care. If you have any questions or just want to share your plant journey, feel free to email us or DM us on Instagram. We're here to help you create a thriving plant collection that brings a touch of nature into your home.


