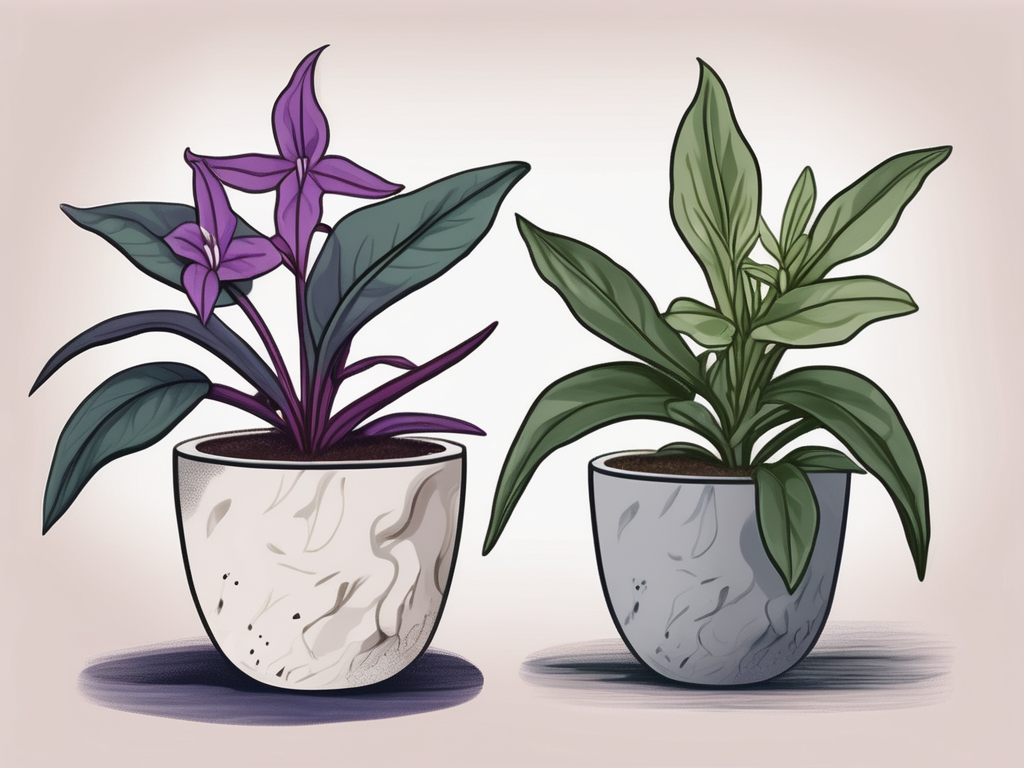
Calla lilies have a unique charm that makes them a favorite among plant lovers. Their elegant flowers and lush leaves can brighten up any space, and the good news is, propagating them can be a rewarding experience. If you're looking to expand your collection or share them with friends, learning how to propagate calla lilies from cuttings is a great skill to have. Let's dive into the details and get you started on this exciting journey.
In this article, we'll cover everything from understanding what calla lilies need to thrive, to the step-by-step process of propagation, and even some tips on how to care for your new plants. Whether you're a seasoned plant parent or new to the world of gardening, these tips will help you grow beautiful calla lilies from cuttings.
Understanding Calla Lilies
Before we get into the nitty-gritty of propagation, it's helpful to understand a bit about calla lilies themselves. These stunning plants aren't actually true lilies but belong to the Araceae family. They're native to southern Africa and are known for their iconic funnel-shaped flowers, which come in a variety of colors like white, pink, yellow, and even deep purple.
Calla lilies prefer a warm climate and thrive in USDA zones 8 through 10. They love basking in the sunlight, but they also need a bit of shade, especially in hotter climates. If you live in a cooler area, don't fret! You can grow them indoors as houseplants. Just make sure they get plenty of bright, indirect light, and they'll be happy campers.
Now, why should you propagate calla lilies from cuttings? Well, besides the joy of growing your own plants, it's a cost-effective way to multiply your collection. Plus, it's an enjoyable project that allows you to experiment and learn more about plant care. So, let's get started with the basics!
Choosing the Right Time to Propagate
Timing can play a crucial role in the success of propagating calla lilies. While these plants can be propagated at any time of the year if they're grown indoors, spring is generally the best season. During this time, calla lilies enter their active growing phase, which means they are more likely to develop healthy roots from cuttings.
When propagating outdoor calla lilies, it's wise to wait until after the last frost has passed. This way, you can avoid any sudden temperature drops that might stress the new plants. If you're growing them indoors, you can propagate them year-round, but aim for when they're actively growing to give them the best chance.
Remember, patience is key. If you rush the process, you might end up with weak or damaged cuttings. Take your time, and make sure you're propagating when the plant is in its prime condition.
Selecting and Preparing the Parent Plant
The success of your propagation efforts largely depends on the health of the parent plant. Make sure to choose a robust calla lily that shows no signs of diseases or pests. A flourishing plant will give you the best cuttings, so look for strong, vibrant foliage and healthy blooms.
Once you've identified the right plant, it's time to prepare it for cutting. This involves a few simple steps:
- Water well: A day before you plan to take cuttings, water the plant thoroughly. This ensures that both the parent plant and the cuttings are well-hydrated.
- Clean your tools: Use a sharp, clean pair of scissors or pruning shears to make your cuts. Sterilize them with rubbing alcohol to prevent any infections.
- Inspect for pests: Check the plant for any pests or diseases. Remove any damaged or infected parts before taking cuttings.
With these steps in mind, your parent plant will be ready to provide you with the best possible cuttings. Let's move on to the cutting process itself.
How to Take Cuttings from Calla Lilies
Taking cuttings from calla lilies is a straightforward process, but it requires a bit of patience and precision. Here's how you can do it:
Step 1: Identify a Healthy Stem
Look for a healthy, mature stem that has at least two or three leaves attached. It's important that the stem is free from any signs of disease or damage. A healthy stem will increase the chances of successful rooting.
Step 2: Make the Cut
Using your clean, sharp scissors or pruning shears, make a clean cut about an inch below a node. Nodes are the points on the stem where leaves or shoots emerge, and they're crucial for rooting. Ensure your cut is at a 45-degree angle to increase the surface area for rooting.
Step 3: Remove Lower Leaves
Once you've taken the cutting, remove any leaves from the lower part of the stem. This helps the cutting focus its energy on developing roots rather than supporting foliage. Leave a few leaves at the top to photosynthesize and provide energy.
With your cuttings prepared, you're now ready to move on to the rooting stage. Let's explore how to provide the best environment for your cuttings to develop strong roots.
Rooting Your Calla Lily Cuttings
Rooting is where the magic happens! It's the stage where your cuttings begin to develop roots and become independent plants. Here's how you can encourage successful rooting:
Step 1: Choose a Rooting Medium
Calla lily cuttings can be rooted in water or soil, depending on your preference. If you choose water, make sure to use a clean glass or jar filled with room temperature water. For soil, use a well-draining mix that's rich in organic matter. A mix of peat moss and perlite works well.
Step 2: Encourage Root Growth
If you're rooting in soil, dip the cut end of the stem in a rooting hormone powder before planting it in the soil. This step isn't mandatory, but it can boost the rooting process. For water propagation, simply place the cutting in the water, ensuring that the nodes are submerged.
Step 3: Provide Optimal Conditions
No matter which method you choose, place your cuttings in a warm, bright spot with indirect sunlight. Avoid direct sunlight, as it can scorch the tender cuttings. Maintain a humidity level of around 70%-80% to keep the cuttings happy and prevent them from drying out.
With the right conditions, you should start to see roots forming within a few weeks. Remember to change the water every few days if you're rooting in water to prevent any bacterial growth. Now that your cuttings are well on their way to becoming new plants, let's discuss how to transplant them into pots.
Transplanting Your Rooted Cuttings
Once your cuttings have developed a healthy root system, it's time to move them into pots where they can grow and flourish. Here's how to do it:
Step 1: Choose the Right Pot
Select a pot that's slightly larger than the root ball of your cutting. Make sure it has drainage holes to prevent water from pooling at the bottom, which can lead to root rot. A pot that's 4-6 inches in diameter should be perfect for young calla lilies.
Step 2: Prepare the Potting Mix
Fill the pot with a well-draining potting mix, such as a blend of peat moss, perlite, and a bit of compost. This will provide the essential nutrients and drainage needed for your calla lily to thrive. Lightly moisten the soil before planting the cutting.
Step 3: Plant the Cutting
Gently place the cutting into the soil, ensuring that the roots are well-covered. Add more soil around the base of the stem, and lightly press it down to secure the plant. Water the plant thoroughly, allowing excess water to drain out from the bottom of the pot.
Now that your cutting is happily potted, it's time to focus on nurturing it into a mature plant. Let's move on to the care tips for your young calla lilies.
Caring for Your New Calla Lilies
Growing calla lilies successfully doesn't end at propagation. Caring for your young plants ensures they thrive and bloom beautifully. Here are some tips to keep them healthy and happy:
Watering
Calla lilies enjoy moist soil, but they don't like to sit in water. Water them when the top inch of soil feels dry to the touch. Be careful not to overwater, as this can lead to root rot. During the growing season, you might find that they need more frequent watering.
Light
These plants appreciate bright, indirect sunlight. Too much direct sun can scorch their leaves, while too little can stunt their growth. If you're growing them indoors, a spot near a window with filtered light is ideal.
Fertilizing
Feed your calla lilies with a balanced, water-soluble fertilizer every 4-6 weeks during the growing season. This helps promote healthy growth and vibrant blooms. Avoid over-fertilizing, as this can lead to salt build-up in the soil.
By following these care tips, your calla lilies will grow strong and beautiful, ready to impress with their stunning flowers. But what about the common challenges you might face? Let's discuss some troubleshooting tips next.
Troubleshooting Common Problems
Even with the best care, calla lilies can face a few challenges. Here are some common problems and how to address them:
Yellowing Leaves
Yellow leaves can be a sign of overwatering, underwatering, or nutrient deficiencies. Check your watering schedule and adjust if necessary. If the problem persists, consider testing the soil for nutrient levels or changing your fertilizer.
Pests
Spider mites, aphids, and slugs can sometimes bother calla lilies. Combat these pests with insecticidal soap, neem oil, or by manually removing them. Regularly inspect your plants to catch infestations early.
Fungal Diseases
Calla lilies can be susceptible to fungal diseases like root rot or botrytis blight. Ensure proper drainage and avoid waterlogged soil to prevent these issues. If you notice any signs of disease, trim affected areas and treat the plant with a fungicide.
By keeping an eye out for these common problems, you'll be well-equipped to handle any issues that arise. Now, let's talk about the joy of sharing your propagated calla lilies with others.
Sharing Your Success
One of the most delightful aspects of propagating calla lilies is sharing them with friends and family. Not only does this spread the joy of gardening, but it also strengthens your connections with others. Here are a few ideas on how you can share your success:
- Gift a Plant: Pot up a rooted cutting in a decorative container and present it as a gift for birthdays, housewarmings, or just because.
- Swap with Fellow Plant Lovers: Organize a plant swap event where you can exchange plants, cuttings, and tips with other plant people.
- Teach Others: Share your newfound knowledge by teaching friends or family how to propagate their own calla lilies. It's a great way to bond and inspire others.
Sharing your plants and experiences can create lasting memories and inspire others to try their hand at propagation. As you continue to grow and share, you'll build a community of plant lovers around you.
Embracing the Journey of Propagation
Propagation is not just about multiplying plants; it's about learning, experimenting, and enjoying the journey. Each cutting you take is an opportunity to observe, adapt, and grow your skills as a plant parent. Remember, not every attempt will be successful, but each one is a step towards becoming more knowledgeable and confident.
Embrace the ups and downs of propagation, and don't be afraid to try new techniques. The more you practice, the more you'll understand what works best for you and your plants. With time and patience, you'll become a pro at propagating calla lilies and other plants in your collection.
Final Thoughts
Propagating calla lily cuttings is a rewarding experience that opens the door to expanding your plant collection and sharing the joy of gardening with others. By following the steps and tips outlined in this article, you'll be well on your way to growing healthy, vibrant calla lilies from cuttings.
At Cafe Planta, we're passionate about helping you care for your plants and create beautiful, thriving collections. If you have any questions or need more plant care tips, feel free to email us or drop us a message on Instagram. We're excited to share our love of plants with you and help bring a touch of nature into your home.


