Propagating croton cuttings might sound like a fancy term reserved for green-thumbed plant experts, but trust me, it's a journey you can embark on with a little guidance and patience. Crotons, with their vibrant leaves and bold patterns, can bring life and color to any space. And the best part? You can easily multiply your collection through propagation.
In this article, we'll walk through the process of propagating croton cuttings, sharing detailed steps, tips, and tricks that even the most novice plant parent can follow. By the end, you'll be ready to grow your own crotons from cuttings and fill your home with these stunning plants.
Understanding Croton Basics
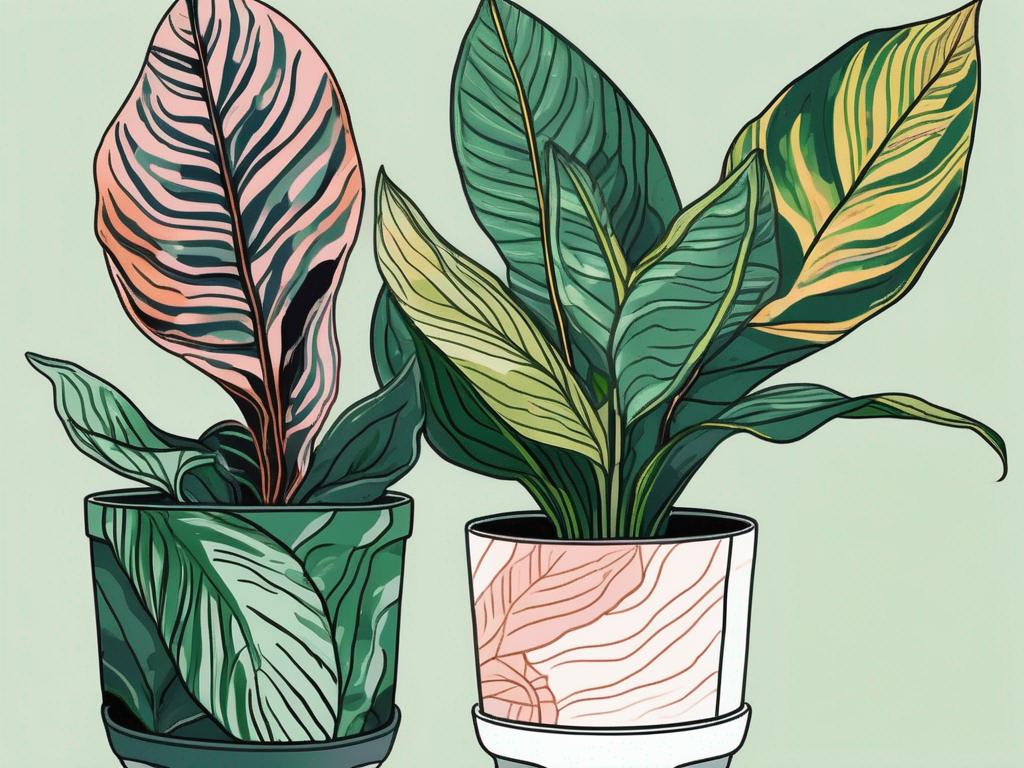
Before diving into the propagation process, let's take a moment to appreciate what makes crotons so appealing. These tropical plants, known scientifically as Codiaeum variegatum, are famous for their colorful foliage. They come in an array of leaf shapes and colors, from deep greens to fiery reds and oranges. It's like having a living piece of art in your home!
Crotons thrive in bright, indirect light. While they can tolerate some direct sun, too much can scorch their leaves. They're not fans of drafts either, so keep them away from windows or doors that let the cold in. Water them when the top inch of soil feels dry to the touch. Remember, they prefer a humid environment, so if your home is on the drier side, a pebble tray or humidifier can work wonders.
Now that you're acquainted with these beauties, let's move on to the exciting part—propagation!
Choosing the Right Tools and Materials
Before you start snipping away at your croton, it's important to gather the right tools and materials. Here's a checklist to get you started:
- Sharp, clean scissors or pruning shears: Dull tools can crush the stem rather than cut it cleanly, which could hinder the rooting process.
- Rooting hormone (optional): This can help speed up the rooting process, though it's not absolutely necessary.
- Small pots or containers: These will hold your cuttings while they develop roots. Make sure they have drainage holes.
- Potting mix: A well-draining mix is essential. You can use a standard houseplant mix or create your own with equal parts perlite and peat moss.
- Plastic bags: These help create a mini greenhouse effect, maintaining humidity around the cuttings.
Having these materials ready will make the process smoother and more enjoyable. Plus, you'll feel like a pro with everything at your fingertips!
Selecting the Perfect Cutting
Choosing the right cutting is one of the most important steps in successful propagation. A healthy, vibrant cutting will have a better chance of rooting and growing into a strong plant. Here's what to look for:
- Healthy stem: Pick a stem that looks healthy and robust. It should be about 4 to 6 inches long with at least three to five leaves.
- New growth: Stems with new growth are more likely to root successfully. Look for stems that have fresh, young leaves.
- Free from pests: Inspect the stem for any signs of pests or disease. You don't want to propagate any unwelcome visitors!
Once you've identified the perfect cutting, use your clean scissors or shears to make a cut just below a leaf node. This is where the roots will develop, so a clean cut is crucial.
Preparing the Cutting for Rooting
With your cutting in hand, it's time to prepare it for its rooting journey. Here’s how:
- Remove lower leaves: Gently remove the leaves from the bottom third of the cutting. This prevents them from rotting when placed in soil or water.
- Dip in rooting hormone: If you're using rooting hormone, dip the cut end into the powder or gel. This step is optional, but it can give the plant a little boost.
With the cutting prepped, you're ready to move on to the next stage—rooting!
Rooting in Water vs. Soil
Now comes the exciting decision: should you root your croton cutting in water or soil? Both methods have their merits, and the choice is yours. Let's explore both options.
Rooting in Water
Rooting in water is a popular method because it's fun to watch the roots grow. Here's how you do it:
- Place the cutting in water: Fill a glass or jar with water and submerge the cut end of the stem. Ensure the leaves are above the waterline.
- Change the water regularly: To prevent bacteria build-up, change the water every few days.
- Wait for roots to develop: It can take a few weeks for roots to appear. Once they're a couple of inches long, they're ready for planting in soil.
Rooting in Soil
If you prefer to root directly in soil, follow these steps:
- Plant the cutting: Create a small hole in your potting mix and gently place the cutting inside, ensuring the node is buried.
- Water and cover: Water the soil lightly and cover the cutting with a plastic bag to maintain humidity.
- Monitor growth: Keep the soil moist and place the pot in a warm, bright spot. After a few weeks, you should see new growth!
Both methods can yield great results, so feel free to experiment and see which works best for you.
Transplanting Rooted Cuttings
Once your cuttings have developed strong roots, it's time to transplant them into their new homes. Here's how to do it:
- Choose the right pot: Select a pot that's slightly larger than the root system. Ensure it has drainage holes to prevent waterlogging.
- Prepare the soil: Use a well-draining potting mix, similar to what you used for rooting.
- Plant the cutting: Gently place the rooted cutting in the pot, filling in around it with soil. Firm the soil lightly to secure the plant.
- Water and place: Water the plant thoroughly and place it in a spot with bright, indirect light.
Transplanting can be a little nerve-wracking, but with a gentle hand and a little patience, your crotons will settle in nicely.
Caring for Your New Croton Plants
Congratulations! You've successfully propagated and transplanted your croton cuttings. Now, let's make sure they thrive. Here are some care tips:
- Light: Crotons love bright, indirect light. Too little light can cause them to lose their vibrant color, while too much can scorch the leaves.
- Water: Water when the top inch of soil feels dry. Overwatering can lead to root rot, so be mindful of your watering schedule.
- Humidity: Crotons prefer a humid environment. Consider using a pebble tray or humidifier to increase humidity levels.
- Fertilizer: Feed your crotons with a balanced fertilizer every month during the growing season (spring and summer).
By following these care tips, your crotons will grow strong and healthy, adding a splash of color to your home.
Dealing with Common Croton Issues
Like any plant, crotons can face a few challenges. Here are some common issues and how to tackle them:
- Leaf drop: This can occur if the plant is exposed to cold drafts or if it's underwatered. Make sure the environment is consistent and that you're watering appropriately.
- Pests: Crotons can attract pests like spider mites and mealybugs. Wipe the leaves with a damp cloth or treat with insecticidal soap.
- Faded leaves: If the leaves are losing their color, the plant may not be getting enough light. Move it to a brighter spot.
Addressing these issues promptly will keep your crotons looking vibrant and healthy.
Incorporating Crotons into Your Home Design
With your beautiful crotons ready to show off, it's time to think about how to incorporate them into your home decor. Here are some ideas:
- Statement piece: Use a large croton as a focal point in a living room or entryway. Its bold colors can draw the eye and add interest.
- Group with other plants: Pair crotons with other tropical plants like philodendrons or ferns to create a lush, green corner.
- Color coordination: Match croton colors with your home decor. For example, if your room has warm tones, a croton with red and orange leaves can complement the space beautifully.
Crotons are versatile and can enhance any room with their vibrant hues and striking patterns.
Final Thoughts
Propagating croton cuttings is a rewarding process that brings the joy of plant growth right into your home. By following the steps we've discussed, you can successfully grow new croton plants and enjoy their vibrant presence in your space.
At Cafe Planta, we love sharing our passion for plants and helping you create a thriving plant collection. Whether you have questions or just want to connect, feel free to email us or reach out on Instagram. Let's grow together and discover the beauty of plants in our lives!