So, you've got your eye on those stunning Cymbidium orchids and you're itching to grow more. Propagating these beauties might seem like a mystery, but with a bit of guidance and patience, you'll soon be nurturing a whole new batch of vibrant orchids.
In this article, we'll walk through the steps to successfully propagate Cymbidium orchid cuttings. From preparing your materials to caring for new growth, every detail is covered to help you along this rewarding journey.
Understanding Cymbidium Orchids
Before diving into propagation, let's take a moment to understand what makes Cymbidium orchids unique. Known for their striking floral displays, Cymbidiums are beloved by many plant lovers for their long-lasting blooms and resilience. They thrive in cooler climates, which makes them an excellent choice for those who might not have a tropical environment.
These orchids are terrestrial, meaning they grow in soil rather than clinging to trees like some of their orchid cousins. This characteristic influences how we approach their propagation. Cymbidiums have pseudobulbs, which are storage organs that help the plant survive periods of drought. These pseudobulbs are key players in the propagation process.
Unlike some other orchids, Cymbidiums can be propagated from cuttings, specifically by dividing the pseudobulbs. This method ensures that each new plant is robust and has the potential to bloom beautifully. Now, let's explore how to get started with propagating these lovely plants.
Gathering Your Materials
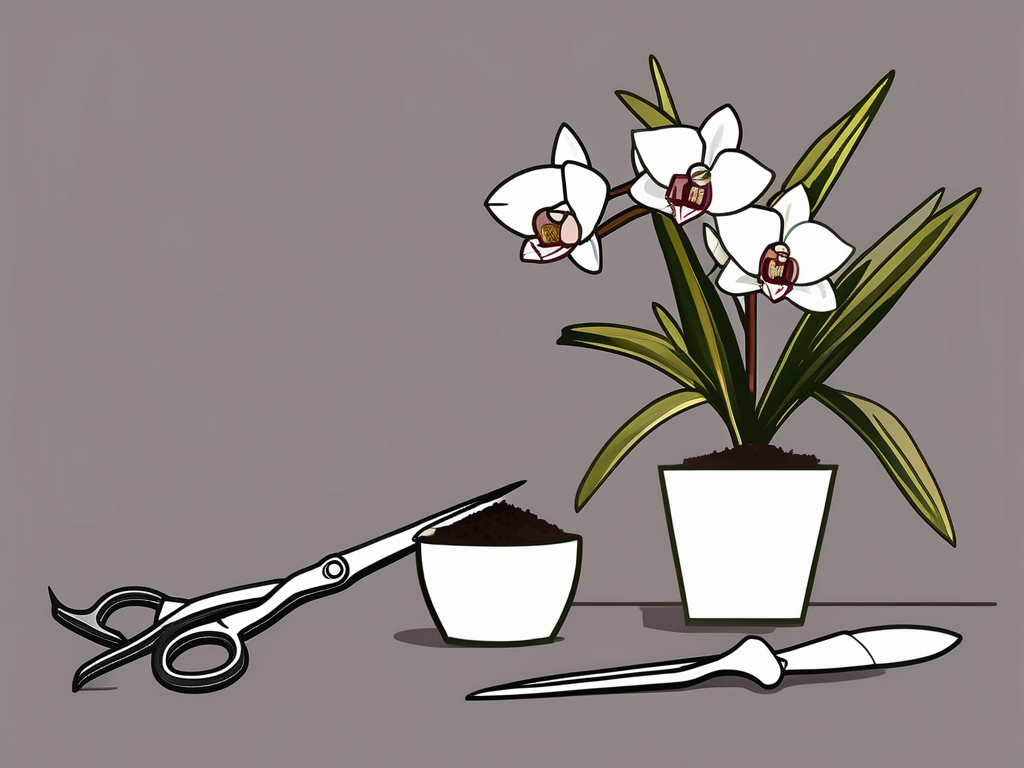
To successfully propagate Cymbidium orchids, you'll need a few essential materials. Having everything ready before you begin will make the process smoother and more enjoyable.
- Sterile cutting tool: A sharp knife or pruning shears will do the trick. Just make sure they're sterilized to prevent any potential infections to the plant.
- Potting mix: Cymbidiums prefer a mix that provides good drainage. A blend of bark, perlite, and peat moss is ideal.
- Pots: Choose pots with drainage holes. Cymbidiums don't like sitting in water, so proper drainage is crucial.
- Rooting hormone: Although not always necessary, it can help the cuttings establish roots more quickly.
- Watering can or spray bottle: You'll need this to keep your cuttings moist.
Once you've gathered these materials, you're ready to move on to the propagation process. Let's get our hands a little dirty!
Preparing the Parent Plant
Before you can start cutting and dividing, you'll need to prepare the parent Cymbidium orchid. This involves a bit of assessment and care to ensure the plant is healthy and ready for propagation.
First, examine the plant for any signs of disease or pests. You want to propagate from the healthiest sections to increase the chances of successful growth. Ideally, you should choose a plant that has several pseudobulbs, as this will give you more material to work with.
Water the plant thoroughly a day before you plan to take cuttings. This ensures the plant is well-hydrated and makes it easier to separate the pseudobulbs without causing too much stress. Once your plant is ready, it's time to make the first cut.
Taking the Cuttings
Now comes the exciting part—taking the cuttings. This step requires a steady hand and a bit of courage, but it's not as daunting as it might seem.
Carefully remove the plant from its pot and gently shake off any excess soil. You should be able to see the individual pseudobulbs. With your sterile cutting tool, cut through the rhizome connecting the pseudobulbs. Aim to have at least three pseudobulbs per division, as this will give each new plant a good chance to thrive.
Once you've separated the pseudobulbs, trim away any dead roots or foliage. This helps the plant focus its energy on new growth. If you're using rooting hormone, dip the cut ends into the powder before moving on to the next step.
Potting the Cuttings
With your cuttings ready, it's time to pot them up. This step is crucial for encouraging root development and ensuring the new plants have a healthy start.
Fill your pots with the potting mix, leaving enough space at the top for the cuttings. Place the cut pseudobulbs into the pots, ensuring they sit at the same depth as they were in the original pot. Fill in around them with more potting mix, gently pressing down to secure them in place.
Water the pots thoroughly, allowing excess water to drain away. It's important not to let the cuttings sit in water, as this can lead to rot. A good tip is to water them sparingly until new growth appears.
Caring for New Growth
Once your cuttings are potted, the focus shifts to nurturing their development. This involves providing the right environment and care to encourage healthy growth.
Place the pots in a spot with bright, indirect light. Too much direct sunlight can scorch the leaves, so aim for a balance. Cymbidiums also prefer cooler temperatures, so a spot with good air circulation is ideal.
- Watering: Keep the potting mix moist but not soggy. Overwatering is a common mistake, so it's better to err on the side of caution.
- Humidity: Cymbidiums enjoy a bit of humidity. If your home is dry, consider misting the plants or placing a humidity tray nearby.
- Fertilizing: Once you see new growth, you can start feeding your plants with a balanced orchid fertilizer every couple of weeks.
Patience is key here. It might take a few months for your new plants to establish themselves and show significant growth. But once they do, you'll have a flourishing collection of Cymbidium orchids to admire.
Common Challenges and Solutions
Propagating Cymbidium orchids isn't without its challenges, but with a little know-how, you can tackle most issues that arise. Here are some common problems and how to address them:
- Root rot: This often occurs from overwatering. Ensure your pots have adequate drainage and reduce watering frequency if you notice yellowing leaves or a soggy mix.
- Pests: Aphids and spider mites can be a nuisance. Regularly inspect your plants and treat any infestations with insecticidal soap or neem oil.
- Slow growth: If your plants seem to be lagging, check their light and temperature conditions. Adjusting these can often spur growth.
Remember, every plant is unique, and sometimes a bit of troubleshooting is necessary. Stay observant and responsive to your plants' needs, and they'll reward you with beautiful blooms.
Benefits of Propagating Your Own Orchids
Propagating Cymbidium orchids offers more than just a sense of accomplishment. It also provides numerous benefits for both you and your plant collection.
For starters, propagation allows you to expand your orchid collection without the need to purchase additional plants. This can be a cost-effective way to fill your home with greenery. Plus, sharing your propagated plants with friends and family is a wonderful way to spread joy and enthusiasm for gardening.
Additionally, propagation can lead to stronger plants. By choosing the healthiest pseudobulbs for propagation, you're essentially selecting the best genetic material to continue growing. This can result in more resilient plants that are better adapted to your specific environment.
Finally, there's a meditative quality to the process that many plant parents find therapeutic. Spending time with your plants, observing their growth, and nurturing them can be incredibly rewarding. It's a hobby that offers both beauty and relaxation.
Creating a Plant-Filled Space with Cymbidium Orchids
Once you've successfully propagated your Cymbidium orchids, you might be wondering how to incorporate them into your home decor. These stunning plants can add elegance and a touch of nature to any space.
Consider placing your orchids in a prominent spot where they can be admired. A bright windowsill or a well-lit shelf can be ideal. The blooms add a pop of color and can become a focal point in the room.
Grouping your Cymbidiums with other plants can create a lush, green corner. Mixing different types of orchids or pairing them with ferns and leafy plants can enhance the overall aesthetic. Just be mindful of their light and temperature needs to ensure all your plants thrive together.
For a modern look, use minimalist pots in neutral tones. This allows the vibrant colors of the orchids to stand out. Alternatively, decorative pots can add a splash of personality and complement your existing decor.
Sharing Your Success with Others
Once you've mastered the art of propagating Cymbidium orchids, why not share your success with others? Teaching friends or family how to propagate can be a fun and rewarding experience.
Consider hosting a small workshop or plant swap, where you can exchange tips and cuttings. It's a great way to connect with fellow plant people and expand your collection even further.
Sharing your plants as gifts is another wonderful option. A homegrown orchid makes a thoughtful present that shows care and attention. Plus, it might inspire others to start their own propagation adventures.
Remember, the joy of gardening is often multiplied when shared. By spreading your knowledge and enthusiasm, you contribute to a growing community of plant lovers who appreciate the beauty and serenity that plants bring into our lives.
Final Thoughts
We've covered a lot of ground on propagating Cymbidium orchid cuttings, from understanding their unique qualities to nurturing new growth. With patience and care, you'll soon have a thriving collection of these stunning orchids.
At Cafe Planta, we’re passionate about helping you care for your plants. Whether you’re seeking advice or looking to add new green friends to your home, we’re here to support you. Feel free to email us or reach out on Instagram. We believe in the power of plants to bring joy and connection, and we’re excited to be part of your plant journey.

