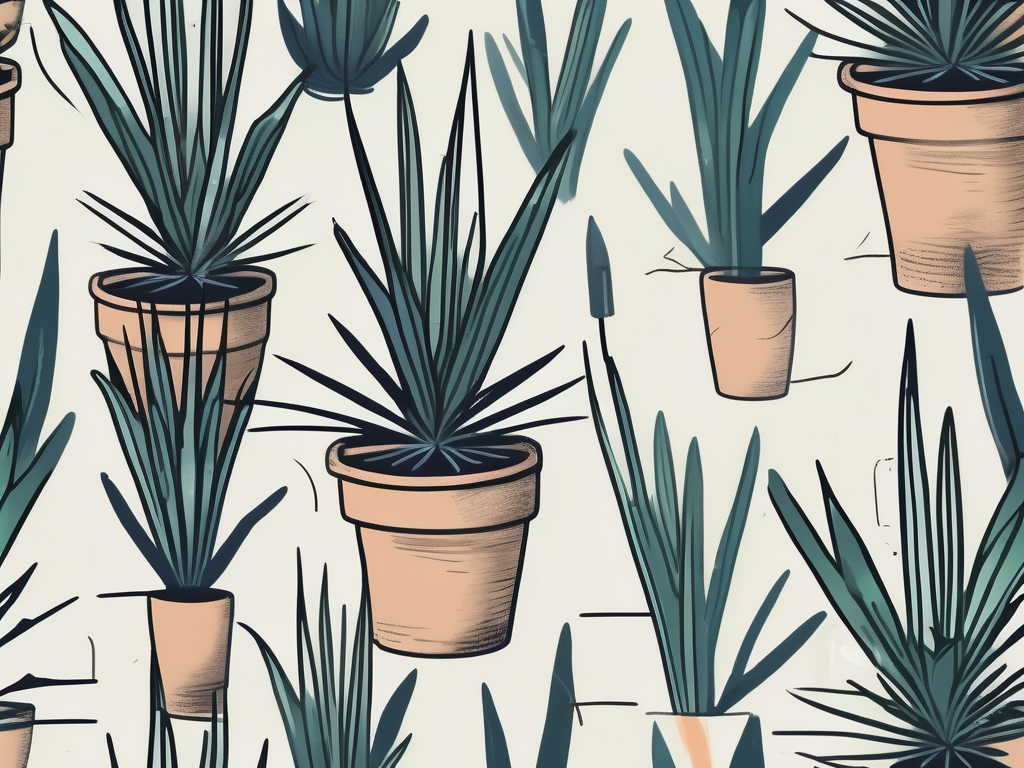
Yucca plants are like the rock stars of the plant world—tough, bold, and surprisingly adaptable. Not only do they make a striking statement in any room, but they're also relatively low-maintenance, which makes them a favorite among both new and seasoned plant people. If you've ever gazed at your yucca and thought, "I wish I had a few more of these around the house," you're in luck. Propagating yucca cuttings is a straightforward and rewarding process that can help you multiply your plant collection with minimal effort.
In this article, we'll explore how to propagate yucca cuttings successfully. From choosing the right time to take cuttings to ensuring they develop strong roots, we'll cover all the steps you need to know. Whether you're a curious beginner or a seasoned plant parent looking to expand your collection, this guide will provide the know-how to propagate yuccas like a pro.
Choosing the Right Time to Take Cuttings
Timing is everything when it comes to propagating plants, and yuccas are no exception. The best time to take cuttings from your yucca plant is during its active growing season, typically in spring or early summer. During this period, the plant is in full swing, making it more likely to root successfully. Think of it like hitting the ground running—the plant's natural energy boosts the chances of your cuttings taking root.
When the weather is warm and the days are longer, plants like the yucca are actively growing, which means they are more likely to recover from being cut. The cuttings themselves will also have more energy to start developing roots. If you try to propagate in the colder months, the process might be slower, or the cuttings might not root at all.
Another thing to keep in mind is the condition of the mother plant. Make sure your yucca is healthy and free from pests or diseases before you start snipping away. A strong, thriving plant will produce stronger cuttings, which translates to a higher success rate for propagation.
Gathering Your Tools and Materials
Before you start your propagation journey, gather all the tools and materials you'll need. Having everything on hand will make the process smoother and more enjoyable. Here's a quick checklist:
- Sharp, clean pruning shears or a knife: You'll want to make clean cuts to avoid damaging the plant.
- Rooting hormone (optional): This can help stimulate root growth, especially if you're new to propagation.
- Pots or containers: Use small pots with drainage holes to plant your cuttings.
- Well-draining potting mix: Yuccas prefer soil that doesn't hold too much moisture.
- Watering can: To keep the soil moist but not soggy.
- Labels: To keep track of your cuttings, especially if you're propagating more than one plant.
Once you have all your tools ready, you'll find that the actual process of taking cuttings and rooting them is much more straightforward. Plus, having the right materials ensures that your yucca cuttings have the best possible start in life.
Taking the Cuttings
When you're ready to take your yucca cuttings, it's important to do so with care. Start by selecting a healthy stem from the mother plant. Look for a stem that's green and firm, as this indicates it's in good condition. Avoid stems that appear wilted or have any signs of disease.
Using your sharp, clean pruning shears or knife, cut a section of the stem that's about 4 to 6 inches long. Make sure to make a clean cut to prevent any damage to the plant. If you want to take multiple cuttings, space them out to avoid over-pruning any single area of the plant.
Once you've got your cuttings, remove the lower leaves to expose about an inch of the stem. This part will be buried in the soil and will need to be free of foliage to root properly. If you're using rooting hormone, now's the time to dip the cut end of the stem into the powder. While it's not strictly necessary, rooting hormone can give your cuttings a little extra push toward developing roots.
Preparing the Cuttings for Planting
With your cuttings in hand, it's time to prepare them for planting. Allow the cut ends to dry and callus over for a day or two. This step is crucial because it helps prevent rot once the cuttings are planted in soil. Place the cuttings in a dry, shaded area and let them sit undisturbed.
While waiting for the cuttings to callus, prepare your pots or containers. Fill them with a well-draining potting mix. Yuccas aren't fans of sitting in water, so a mix that's light and airy will prevent waterlogging and help your cuttings thrive.
Once the cuttings have callused, you can plant them. Insert the cut end of each stem into the soil, burying it about an inch deep. Firm the soil around the base of the cutting to provide stability. Arrange the cuttings in the pots so that they're upright and won't easily topple over.
Rooting the Cuttings
The next step is all about creating the right environment for your yucca cuttings to develop roots. Place your pots in a warm, bright spot with indirect sunlight. Avoid direct sunlight, which can be too harsh and cause the cuttings to dry out.
Water the soil lightly to keep it moist, but be careful not to overwater. Excess moisture can lead to rot, which is one of the main challenges when propagating yucca cuttings. Check the soil regularly, and water only when the top inch feels dry to the touch.
Patience is key here. It can take several weeks for roots to develop, but you'll know it's happening when you see new growth emerging from the tops of the cuttings. This is a good indication that roots are forming below the soil surface.
Caring for Your New Yucca Plants
Once your yucca cuttings have rooted and started to grow, it's time to transition them into regular care. At this point, you can treat them much like mature yucca plants. Here's how to keep your new plants happy and healthy:
- Light: Yuccas thrive in bright, indirect light. A south- or west-facing window is ideal.
- Water: Allow the top inch of soil to dry out between waterings. Yuccas are drought-tolerant and prefer a drier environment.
- Temperature: These plants enjoy warmer temperatures, ideally between 60°F and 80°F.
- Fertilizer: During the growing season, feed your yucca with a balanced fertilizer every few months.
By following these care guidelines, you'll ensure your new yucca plants continue to thrive and add that eye-catching touch to your home.
Dealing with Common Problems
Even the most resilient plants can run into issues now and then. Here are some common problems you might encounter with your yucca cuttings and how to address them:
Root Rot
Root rot is often caused by overwatering or poor drainage. If you notice the leaves of your yucca cutting turning yellow or the stem becoming mushy, it might be a sign of root rot. To combat this, allow the soil to dry out more between waterings, and ensure your pot has adequate drainage.
Pests
While yuccas are relatively pest-resistant, they can occasionally be affected by mealybugs or spider mites. If you spot these pests, remove them with a cotton swab dipped in rubbing alcohol or use a gentle insecticidal soap.
Slow Growth
If your cuttings aren't showing signs of new growth, check their environment. Ensure they have enough light and the right amount of water. Sometimes a little patience is all that's needed, but adjusting their conditions can also help.
Using Yuccas in Interior Design
Yuccas are not only easy to propagate but also incredibly versatile when it comes to interior design. Their bold, sculptural form makes them a standout feature in any room. Here are a few ideas for incorporating your new yucca plants into your home decor:
As a Focal Point: Use a large yucca plant as a focal point in a room. Its striking appearance can anchor a space and draw the eye, making it perfect for living rooms or entryways.
In Groupings: Place a group of yucca plants together for a lush, green display. You can mix and match different sizes for an interesting visual contrast.
Modern and Minimalist: Yuccas fit well with modern and minimalist decor styles. Their clean lines and simple shape complement the sleek aesthetic of these designs.
Outdoor Spaces: If you live in a suitable climate, consider using yuccas in outdoor spaces like patios or balconies. Just be sure to acclimate them slowly to outdoor conditions.
By thoughtfully incorporating yuccas into your interior design, you can enhance the beauty and ambiance of your home while enjoying the benefits of having more plants around.
FAQs on Propagating Yucca Cuttings
As with any plant-related endeavor, you might have a few questions about propagating yucca cuttings. Here are some frequently asked questions and their answers to help you along the way:
Can I propagate yucca cuttings in water?
While it's possible to root yucca cuttings in water, it's generally more successful to use soil. Water propagation can sometimes lead to weaker root systems, making soil a better option for stronger, healthier plants.
How long does it take for yucca cuttings to root?
Yucca cuttings can take anywhere from 3 to 8 weeks to develop roots, depending on the conditions. Warmer temperatures and adequate light will speed up the process.
Do I need to use rooting hormone?
Rooting hormone isn't necessary, but it can improve the success rate of your cuttings. It's a useful tool, especially for beginners or if you're having trouble getting your cuttings to root.
These FAQs should help clear up any lingering doubts and set you on the path to propagating your yucca cuttings with confidence.
Final Thoughts
Propagating yucca cuttings is a fantastic way to expand your plant family and add a touch of nature to your home. With the right timing, tools, and care, you can successfully grow new yuccas and enjoy their striking beauty in your living space.
At Cafe Planta, we're passionate about helping you care for your plants and create beautiful, thriving collections. Whether you're looking for new plants to add to your home or need advice on plant care, we're here for you. Feel free to email us or reach out on Instagram. We believe in the power of plants to bring joy and connection, and we're thrilled to share this journey with you.


