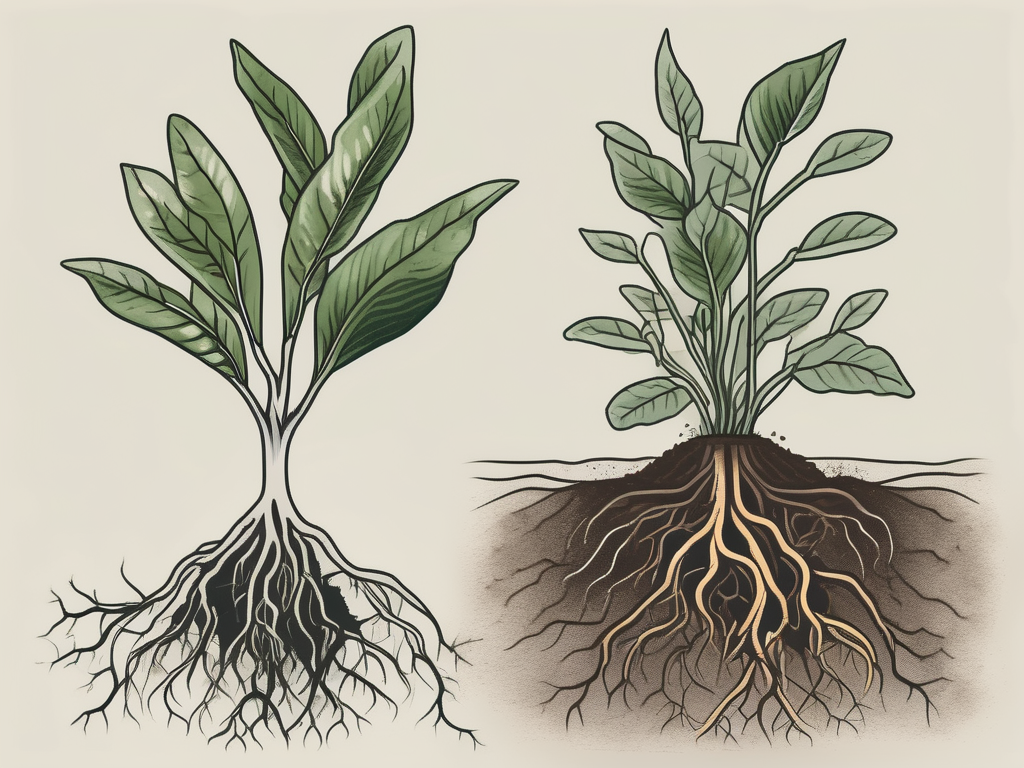
ZZ plants, with their striking glossy leaves and robust nature, have become a staple in many homes. Their reputation for resilience is well-earned, but even the hardiest of houseplants have their Achilles' heel. For the ZZ plant, root rot is a common nemesis, often lurking unseen until it’s too late.
In this article, we’ll explore how to prevent root rot in your ZZ plant, ensuring it remains a vibrant centerpiece in your home. We’ll cover everything from recognizing early signs to selecting the right soil and pot. Plus, we’ll share practical tips to keep your plant thriving.
Understanding Root Rot and Its Causes
Root rot is a sneaky adversary. It often starts beneath the soil, where it’s out of sight and, unfortunately, out of mind for many plant lovers. This condition is primarily caused by overwatering, leading to a lack of oxygen around the plant's roots. Fungi, such as Pythium and Phytophthora, thrive in these damp conditions, attacking and decaying the roots.
But why does this happen? The ZZ plant, native to Eastern Africa, is accustomed to sporadic rainfall and dry spells. It’s adapted to store water in its rhizomes, those potato-like structures beneath the soil. When the plant is consistently overwatered, these rhizomes become waterlogged and start to rot.
Signs of root rot include yellowing leaves, wilting, and a mushy texture at the base of the plant. If you notice these symptoms, it’s time to act quickly. While root rot can be fatal if left unchecked, catching it early gives your plant the best chance of recovery.
Selecting the Right Pot
Choosing the right pot for your ZZ plant is more than just a matter of aesthetics. It's about creating an environment where your plant can thrive and avoid the pitfalls of root rot. The pot you choose plays a crucial role in ensuring proper drainage, which is vital for preventing water from accumulating around the roots.
When selecting a pot, here are some key points to consider:
- Drainage Holes: Always opt for a pot with ample drainage holes at the bottom. These holes allow excess water to escape, helping prevent the soggy conditions that lead to root rot.
- Size Matters: Choose a pot that’s slightly larger than the root ball of your plant. A pot that’s too big holds more soil, which retains more water, increasing the risk of overwatering.
- Material: Consider pots made from porous materials, like terracotta. These materials help wick away excess moisture, reducing the chances of waterlogged soil.
Interestingly enough, a pot’s aesthetic appeal shouldn’t be ignored. After all, your ZZ plant is likely part of your home's decor. However, always prioritize function over form to ensure your plant stays healthy. Remember, a plant that’s thriving is the best decor of all!
Choosing the Right Soil Mix
The soil mix you use plays a pivotal role in your ZZ plant's health. A good soil mix promotes drainage while retaining just enough moisture for the plant's needs. This balance is crucial for preventing root rot.
Here’s how to create a well-draining soil mix:
- Base Soil: Start with a standard potting soil as your base. It provides the necessary nutrients your plant needs.
- Aeration Materials: Add perlite or pumice to the mix. These materials improve aeration and drainage by creating air pockets within the soil.
- Organic Matter: Incorporate some orchid bark or coco coir. These materials help retain moisture without waterlogging the soil.
This combination creates a soil environment that mimics the ZZ plant’s natural habitat. Remember, the goal is to allow water to pass through easily, preventing it from lingering around the roots.
Watering Wisely
Watering is where many plant parents go astray. While it’s tempting to water your plant as part of a routine, it’s essential to adapt your watering habits to your plant’s needs instead. For ZZ plants, less is often more.
Here are some tips to water your ZZ plant correctly:
- Check Before Watering: Stick your finger into the soil about an inch deep. If it feels dry, it’s time to water. If it’s still damp, hold off for a few more days.
- Water Thoroughly: When you do water, ensure you do it thoroughly. Water until it starts draining from the bottom of the pot. This ensures the roots get enough moisture without becoming waterlogged.
- Seasonal Adjustments: ZZ plants need less water in the winter months when they’re not actively growing. Adjust your watering schedule accordingly.
Remember, the ZZ plant’s natural habitat experiences dry spells. Emulating these conditions helps keep your plant healthy and prevents overwatering.
The Role of Humidity
While ZZ plants aren’t particularly fussy about humidity, it’s still an aspect worth considering, especially if you live in an area with extreme conditions. Too much humidity, combined with overwatering, can exacerbate root rot. Conversely, extremely dry air might cause the leaves to brown and curl.
For optimal growth, aim for a moderate humidity level. Here’s how to manage it:
- Location: Place your plant away from direct heat sources like radiators or vents, which can dry the air.
- Humidity Trays: Use a humidity tray filled with pebbles and water underneath the pot. As the water evaporates, it increases the humidity around the plant.
- Mist Gently: Occasionally mist your plant with water, especially during dry spells. Just be careful not to overdo it, as excess moisture can contribute to root rot.
Balancing humidity levels helps your ZZ plant stay comfortable and healthy, reducing stress and the likelihood of root rot.
Inspecting and Pruning
Regular inspection and pruning are essential parts of ZZ plant care. By keeping a close eye on your plant, you can catch potential issues early and prevent them from escalating into more significant problems.
Here's what to look for and do:
- Inspect Regularly: Check your plant at least once a week. Look for yellowing leaves, wilting, or any unusual signs that might indicate root rot.
- Prune Dead Leaves: Trim away any dead or yellowing leaves. This not only improves the plant’s appearance but also prevents the spread of potential diseases.
- Root Check: If you suspect root rot, gently remove the plant from its pot and inspect the roots. Healthy roots are firm and white, while rotting roots appear brown and mushy.
Inspecting and pruning help you maintain your plant's health and catch any issues before they become serious. Plus, it’s a great way to bond with your plant and ensure it’s living its best life.
Repotting When Necessary
ZZ plants don’t require frequent repotting, but doing so every couple of years can be beneficial. Repotting gives you a chance to refresh the soil, inspect the roots, and ensure your plant has enough space to grow.
Here’s how to repot your ZZ plant:
- Choose the Right Time: Repot in the spring or summer when the plant is actively growing. Avoid repotting during the dormant winter months.
- Prepare the New Pot: Select a pot that’s one size larger than the current one and fill it with fresh, well-draining soil.
- Handle with Care: Gently remove the plant from its current pot. If the roots are tangled or the plant is root-bound, carefully loosen them.
- Inspect the Roots: Trim away any rotting or damaged roots with clean scissors. This helps promote healthy new growth.
Repotting can seem daunting, but it’s a necessary step to ensure your ZZ plant remains healthy. Plus, it gives your plant a fresh start and room to grow.
Identifying and Treating Root Rot
Despite your best efforts, root rot can sometimes still occur. Identifying it early is crucial for giving your plant the best chance of recovery.
Here’s how to identify and treat root rot:
- Signs to Look For: Yellowing leaves, wilting, and a mushy base are common indicators of root rot. Inspect the roots for brown, mushy sections.
- Treatment Steps: If you find rot, trim away all the affected roots with sterilized scissors. Repot the plant in fresh, dry soil, and reduce watering frequency.
- Monitor Recovery: After treatment, keep an eye on your plant. It may take some time to recover fully, but new growth is a good sign it’s on the mend.
While dealing with root rot can be stressful, taking quick action and following these steps can help your plant bounce back. Remember, even seasoned plant parents face challenges, and every experience is a learning opportunity.
Creating an Ideal Environment
Ultimately, creating an ideal environment for your ZZ plant is about understanding its needs and providing the right conditions. This means more than just watering and soil; it’s about light, temperature, and overall environment.
Here are some tips to create the ideal environment:
- Light: ZZ plants prefer bright, indirect light. However, they can tolerate low light, making them versatile for different home settings.
- Temperature: Keep your plant in a warm environment, ideally between 65-75°F (18-24°C). Avoid exposing it to drafts or sudden temperature changes.
- Clean Leaves: Dust can accumulate on the leaves, hindering photosynthesis. Wipe them gently with a damp cloth to keep them clean and shiny.
By tailoring your plant's environment to its needs, you’re more likely to keep it healthy and happy. Plus, a thriving ZZ plant is a testament to your plant parenting skills!
Final Thoughts
Preventing root rot in your ZZ plant is all about understanding its needs and creating the right conditions for growth. From choosing the right pot and soil to watering wisely and monitoring humidity, each step plays a vital role in keeping your plant healthy and vibrant.
At Cafe Planta, we’re here to support your plant journey. Whether you’re looking for new additions to your collection or need advice, we’re just a email or a DM away. We believe in the power of plants to transform spaces and bring people together, and we’re excited to help you cultivate a thriving plant collection in your home.

