If you're looking for a way to bring a touch of exotic beauty to your home, the Desert Rose (Adenium obesum) might just be the plant for you. Known for its striking flowers and unique trunk, this plant is a delightful addition to any plant lover’s collection. Even better, propagating a Desert Rose in water is a fun project that can expand your plant family without much fuss.
This article will guide you through the process of propagating Desert Rose in water step-by-step. We’ll cover everything from selecting the right cutting to transferring your new plant to soil. Whether you’re a seasoned plant parent or just beginning your green journey, you’ll find all the tips you need to succeed.
Choosing the Right Cutting
Before you start propagating, you need to choose the right cutting from your Desert Rose plant. A healthy cutting is the foundation of successful propagation, so it’s essential to get this step right. Let’s break down what you should look for.
Firstly, aim for a cutting that’s about 6-8 inches long. You want it to be thick enough to have some stored energy but not too woody, as younger stems root more easily. Check the health of the stem—avoid any with signs of disease or rot, like black or mushy spots.
Interestingly enough, the time of year can affect your success rate. The best time to take cuttings is during the growing season, typically spring or early summer. Plants are more active during these months, making them more likely to root.
Once you’ve found a suitable stem, use a clean, sharp knife or pruning shears to make your cut. Aim for a clean slice at a 45-degree angle to increase the surface area for rooting. This angle also helps reduce the risk of water pooling on top of the cut, which can cause rot.
Preparing the Cutting
With your cutting in hand, it’s time to prepare it for rooting. This step is all about setting the stage for successful water propagation.
Firstly, remove any leaves from the bottom half of the cutting. Leaves submerged in water can rot, which not only smells bad but can also harm the cutting. Leaving a few leaves at the top is okay, as they help the plant with photosynthesis.
Next, let the cutting dry for a day or two. This might sound odd, but giving the cut end some air time helps form a callus. The callus acts as a protective barrier against rot, increasing your chances of success.
Some plant people also like to dip the cut end in rooting hormone, which can be found at most garden centers. While not strictly necessary, it can give your cutting a little extra boost by stimulating root growth. If you decide to use it, just dip the cut end lightly before moving on to the next step.
Setting Up the Water Propagation
Now that your cutting is ready, it’s time to set it up in water. This part is straightforward but requires a bit of attention to detail.
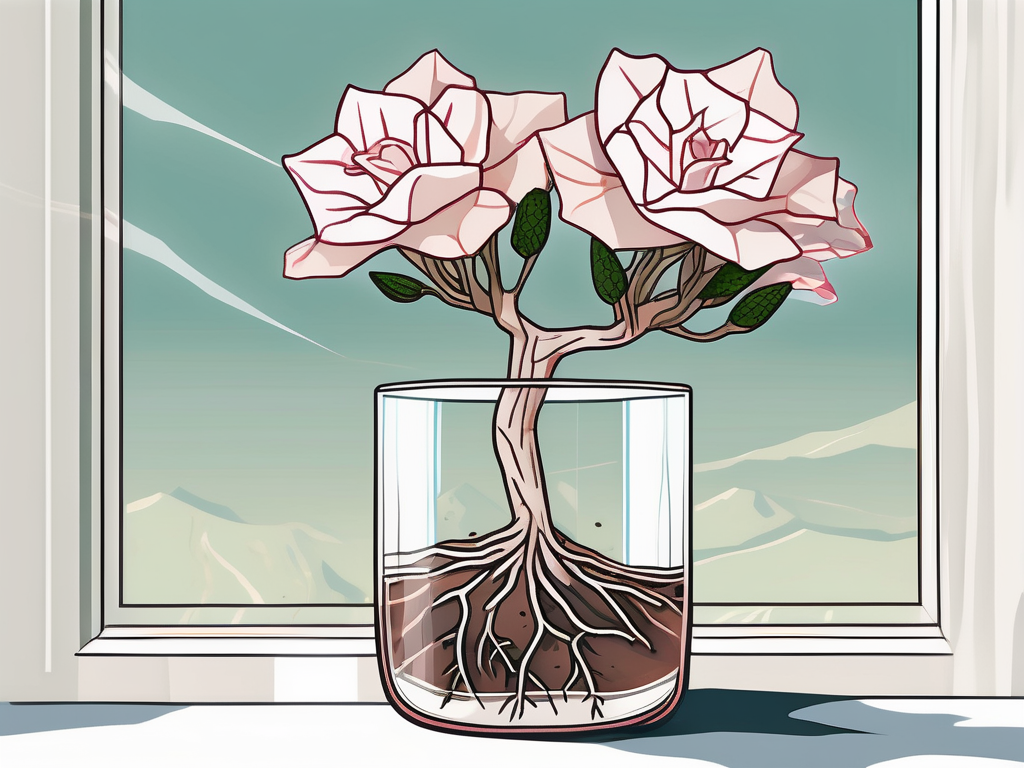
Start by choosing a clear container, like a glass jar or a vase. Clear containers are great because they let you keep an eye on the root development. Fill the container with room-temperature water, making sure there’s enough to submerge the cut end of the stem but not so much that it covers any leaves.
Place your cutting in the water, ensuring that it’s stable and won’t tip over. You might need to prop it up with some small stones or marbles. Position the container in a spot with bright, indirect light. Direct sunlight can be too harsh, while too little light will slow down root growth.
Change the water every few days to keep it fresh and oxygenated. Stale water can lead to the growth of algae or bacteria, which you definitely want to avoid. Each time you change the water, give the container a quick rinse to keep it squeaky clean.
Monitoring Root Development
One of the most exciting parts of propagating plants is watching the roots grow. But it does require a bit of patience and a keen eye.
It can take anywhere from a few weeks to a couple of months for roots to start forming. You’ll know they’re on their way when you see tiny white nubs emerging from the cut end. Once these appear, you’re on the right track!
Keep an eye out for the first signs of new growth, but also watch for any signs of trouble. If the water becomes cloudy or the stem looks like it’s rotting, change the water immediately and trim off any affected parts.
While it’s hard to say for sure when each cutting will root, generally speaking, you can expect to see a decent root system after about a month. Just remember, patience is key. Rushing the process can lead to disappointing results.
Transferring to Soil
Once your cutting has developed a good root system, it’s time to transfer it to soil. This is a crucial step, as it helps your plant get the nutrients it needs to continue growing.
Choose a well-draining soil mix, ideally one designed for succulents or cacti. These mixes usually contain sand or perlite, which helps prevent waterlogging—a common issue with Desert Roses.
Gently remove the cutting from the water and let any excess water drip off. Be careful not to damage the delicate roots as you do this. Dig a small hole in your soil mix and place the cutting inside, covering the roots completely.
Water the plant lightly to help it settle into its new home, but be cautious not to overdo it. Remember, Desert Roses prefer to dry out between waterings, so less is more here.
Caring for Your New Plant
Your newly rooted Desert Rose is now ready to thrive, but it needs a bit of special care as it adjusts to its new environment.
Place your plant in a spot where it will receive plenty of bright, indirect sunlight. Direct sunlight can be a bit too harsh, especially for a young plant that’s just finding its feet. If you see the leaves getting sunburned (they turn brown or crispy), try moving your plant to a slightly shadier spot.
Water your plant sparingly. During the growing season, you can water once the soil has completely dried out. In the winter months, reduce watering even further, as the plant’s growth slows down.
Keep an eye out for any pests, like aphids or spider mites. If you spot them, a simple spray of soapy water can help keep them at bay. Regularly check the leaves and stems for any signs of trouble, and act quickly if you notice anything unusual.
Dealing with Common Issues
Sometimes, even with the best care, things can go a bit awry. Here are a few common issues you might encounter and how to tackle them.
One common problem is root rot, usually caused by overwatering. If your plant appears to be wilting or the soil smells funky, it might be time to check the roots. Remove any rotten parts and let the plant dry out before replanting in fresh soil.
Another issue could be a lack of flowering. If your Desert Rose isn’t blooming, it might need more light or a bit of fertilizer. A balanced, water-soluble fertilizer applied during the growing season can encourage blooms.
If your plant is looking leggy or isn’t growing as it should, it might not be getting enough light. Try moving it to a sunnier spot and see if that helps.
When to Propagate Again
After you've successfully propagated your first Desert Rose, you might find yourself eager to do it all over again. So, when's the best time to go for round two?
As mentioned earlier, the growing season is ideal for propagation. If your plant is healthy and producing new growth, it’s usually okay to take a few more cuttings. Just make sure not to overdo it—you don’t want to stress the parent plant.
It's also a good idea to propagate when the plant has naturally pruned itself, shedding leaves or branches. This is a sign that it’s ready to focus its energy elsewhere, making it a perfect opportunity to propagate.
Turning Propagation into a Social Activity
Propagation can be a rewarding solo project, but it can also be a fun social activity. Why not invite friends over for a propagation party?
You can share cuttings, tips, and stories—all while enjoying each other's company. It’s a great way to bond over a shared love for plants and maybe even discover some new favorites along the way.
Plus, swapping cuttings with friends can diversify your plant collection, introducing you to species you might not have tried otherwise. It’s like a plant gift that keeps on giving.
Final Thoughts
Propagating Desert Rose in water is an engaging and rewarding way to expand your plant collection. With a bit of patience and the right care, you’ll soon have a thriving new plant to enjoy.
At Cafe Planta, we're passionate about all things green and love sharing tips to help your plants thrive. Whether you’re looking for new houseplants, care accessories, or just want to chat about your plant journey, feel free to email us or send us a message on Instagram. We believe plants have the power to bring us closer to nature and each other, and we’re excited to be part of your plant journey.


