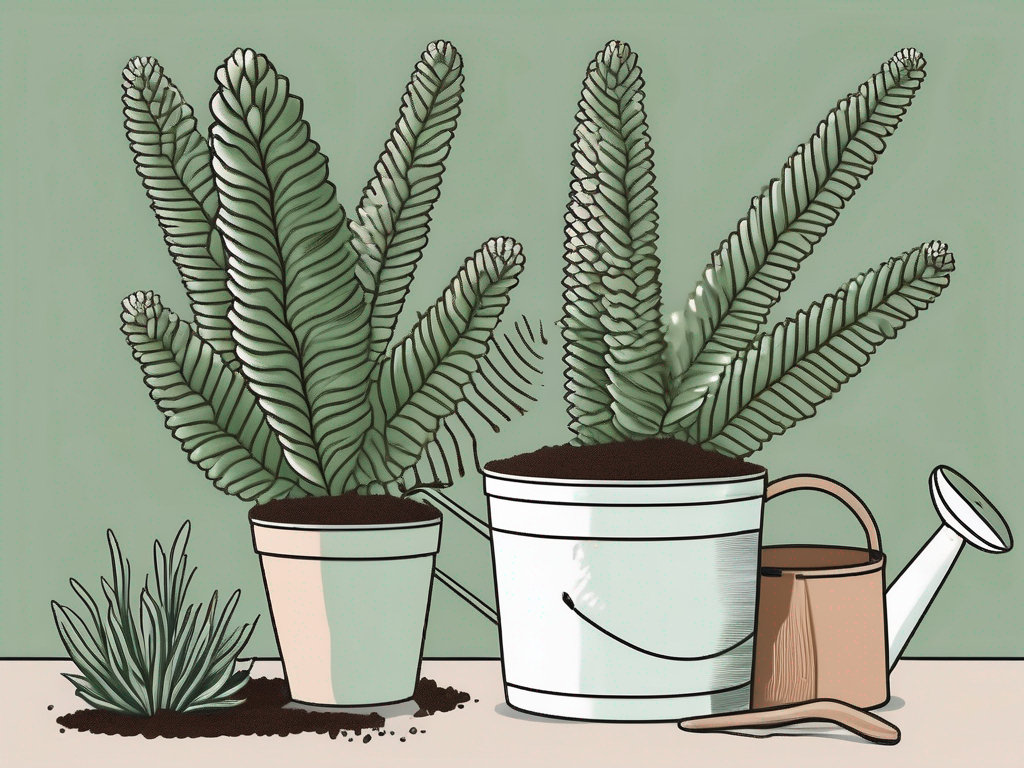
Burro's Tail, with its charming trailing stems and plump, bead-like leaves, is a favorite among plant lovers for its unique appearance. But as with any plant, getting the soil right is crucial for its health and longevity. If you've ever wondered how to give your Burro's Tail the best start, you're in the right place.
In this article, we'll cover everything you need to know about the ideal soil mix for Burro's Tail. From understanding its natural habitat to choosing the right components for your soil mix, we've got you covered. So, let's get started on creating the perfect home for your succulent friend!
Understanding Burro's Tail and Its Natural Habitat
Before we get into the nitty-gritty of soil composition, it’s helpful to know a bit about the natural environment of Burro's Tail. This succulent, native to Mexico, thrives in rocky, well-draining soils. In its natural habitat, Burro's Tail is accustomed to conditions where water quickly drains away, preventing the roots from sitting in moisture for too long.
Why does this matter for us plant parents? Well, replicating these conditions at home gives your Burro's Tail the best shot at thriving. The rocky soil ensures that the plant gets the water it needs while avoiding the dreaded root rot, a common issue with succulents when they're overwatered or left in soggy soil.
So, the key takeaway here is that Burro's Tail prefers a gritty, well-draining soil. But how do we achieve that in a pot on your windowsill? Let’s break it down.
Components of the Ideal Soil Mix
Creating the perfect soil mix for your Burro's Tail involves balancing several components to mimic its natural environment. Here’s a closer look at what you’ll need:
- Cactus or Succulent Potting Mix: This base provides the essential nutrients and structure for your plant. You can find it in most garden centers, and it's designed to drain quickly.
- Perlite: A lightweight, volcanic rock that improves soil aeration and drainage. It’s a staple in any succulent soil mix.
- Pumice: Another volcanic rock, pumice is slightly denser than perlite and provides excellent drainage. It also adds weight to the soil, helping stabilize your Burro's Tail.
- Coarse Sand: Not your typical beach sand, but a gritty, coarse variety that helps with drainage and prevents compaction.
Mixing these components in the right proportions will mimic the rocky, well-drained soil Burro's Tail loves. But what are those proportions? Let’s dive into the recipe.
The Perfect Soil Recipe
Creating the perfect soil mix for your Burro's Tail doesn’t require a degree in horticulture, just a few ingredients and some mixing. Here’s a simple recipe to get started:
- 2 parts cactus or succulent potting mix
- 1 part perlite
- 1 part pumice
- 1 part coarse sand
Combine these ingredients thoroughly in a large container. The mix should feel gritty and dry, with plenty of aeration. The goal is to allow water to flow through quickly, so your Burro's Tail roots stay healthy and dry.
Once mixed, fill your pot about three-quarters full with the soil mix. Place your Burro's Tail in the pot, ensuring it's at the right height, and fill in around the roots with more soil mix. Give it a gentle pat to settle the soil and water lightly to help the plant settle. Easy peasy!
Choosing the Right Pot for Burro's Tail
Now that we've nailed down the soil, let's talk pots. The right container is just as crucial as the soil mix because it affects drainage. A pot with good drainage holes is a must to prevent water from accumulating at the bottom.
Terracotta pots are an excellent choice for Burro's Tail because they’re porous, allowing moisture to evaporate through the walls. This helps prevent overwatering, a common pitfall for succulent care. Plus, terracotta pots have a classic, rustic look that complements the aesthetic of the Burro's Tail.
If terracotta isn’t your style, don’t worry. Any pot with a drainage hole will do. Just be mindful of your watering habits, as non-porous materials like plastic or ceramic can retain moisture longer.
Watering Tips for Burro's Tail
Speaking of watering, getting this right is crucial for the health of your Burro's Tail. The rule of thumb for succulents is "less is more." Overwatering is a common mistake, so here are some handy tips:
- Water deeply but infrequently: Allow the soil to dry out completely between waterings. This mimics the plant's natural environment where it experiences dry spells.
- Check the soil: Stick your finger about an inch into the soil. If it feels dry, it’s time to water. If it’s still damp, give it a few more days.
- Adjust according to the season: In winter, when the plant is dormant, reduce watering significantly. In the growing season, you might need to water a bit more often.
Remember, the goal is to keep the roots healthy and prevent rot by avoiding soggy soil. Your Burro's Tail will thank you for it!
Fertilizing Your Burro's Tail
Although Burro's Tail isn’t a heavy feeder, a little extra nourishment during the growing season can help it thrive. Here’s how you can feed your plant without overdoing it:
- Choose a balanced fertilizer: A cactus or succulent fertilizer with a balanced NPK ratio (like 10-10-10) is ideal.
- Feed sparingly: Fertilize once a month during spring and summer. Avoid fertilizing in fall and winter when the plant is resting.
- Follow the instructions: Dilute the fertilizer to half the recommended strength to avoid nutrient burn.
Fertilizing with care ensures your Burro's Tail has the nutrients it needs to stay healthy without overwhelming it.
Repotting Your Burro's Tail
Like any houseplant, Burro's Tail will eventually outgrow its pot, and repotting becomes necessary. Here's when and how to do it:
- When to repot: Typically, every 2-3 years or when you notice roots growing out of the drainage holes.
- Choose a slightly larger pot: Aim for a pot that's one size up from the current one.
- Prepare your mix: Use the same soil recipe mentioned earlier for consistency.
- Handle with care: Burro's Tail leaves are delicate and can fall off easily. Support the plant gently as you transfer it to the new pot.
Repotting gives your plant fresh soil and more space to grow, keeping it happy and healthy.
Common Problems and Solutions
Even with the best care, you might encounter a few hiccups along the way. Here are some common issues with Burro's Tail and how to address them:
- Leaf drop: This can happen if the plant is moved or bumped. Ensure it’s in a stable spot and avoid handling it too much.
- Yellowing leaves: This usually indicates overwatering. Allow the soil to dry completely before watering again.
- Pests: Watch out for mealybugs and spider mites. Use a gentle insecticidal soap or neem oil to treat infestations.
By keeping an eye on your plant and addressing issues promptly, you’ll ensure your Burro's Tail stays in top shape.
Decorating with Burro's Tail
Beyond care, Burro's Tail makes a fabulous addition to your home decor. Its trailing nature adds a touch of whimsy and elegance to any space. Here are some ideas to showcase your plant:
- Hanging baskets: Let the stems cascade down from a hanging planter for a dramatic effect.
- Bookshelves: Add a Burro's Tail to a high shelf where it can trail down gracefully.
- Group with other succulents: Pair it with other succulents for a diverse, textured look.
With a bit of creativity, Burro's Tail can become a stunning focal point in your home, bringing life and color to your decor.
Final Thoughts
So, there you have it—a complete guide to providing your Burro's Tail with the perfect soil and care it deserves. By choosing the right soil mix, pot, and care routine, you’ll ensure your plant thrives and becomes a cherished part of your home.
At Cafe Planta, we're passionate about helping you care for your plants. Whether you're looking for new plant friends or need advice, we're here to help. Feel free to email us or reach out on Instagram. We're excited to share our love of plants and help you create a thriving home garden!

