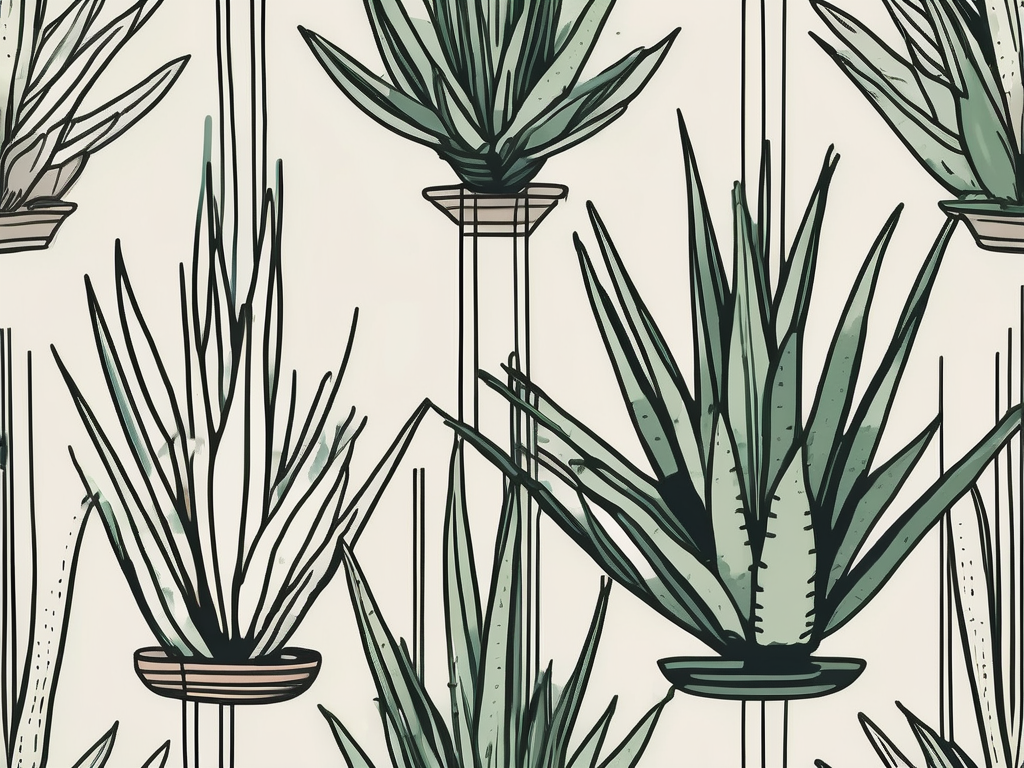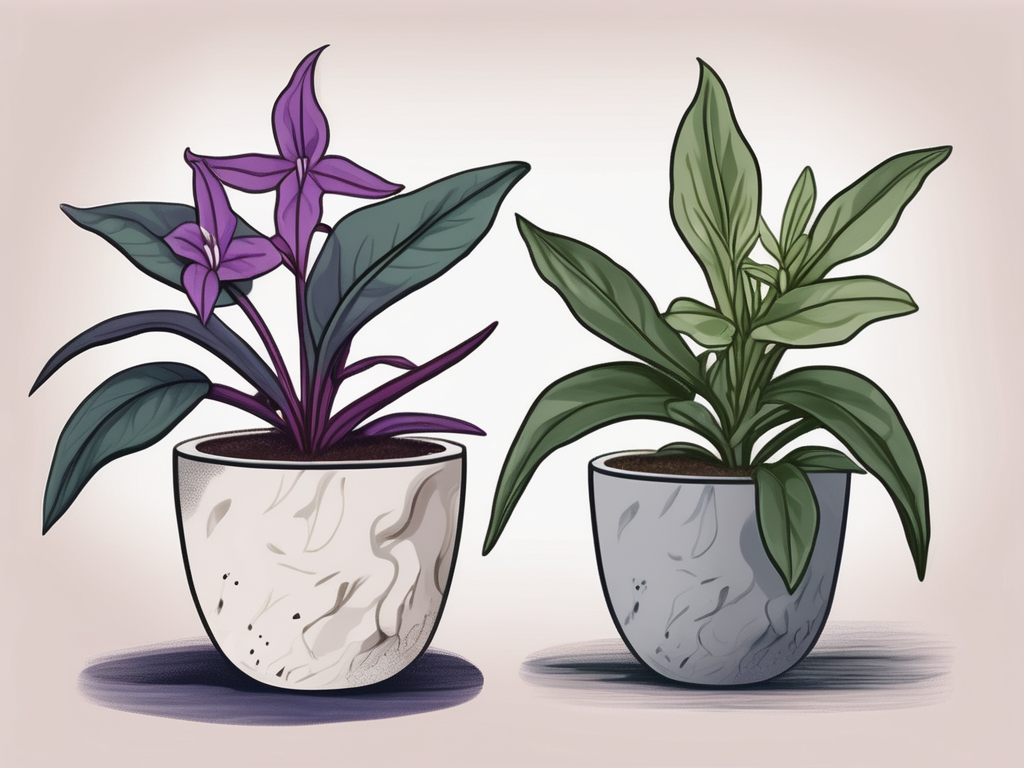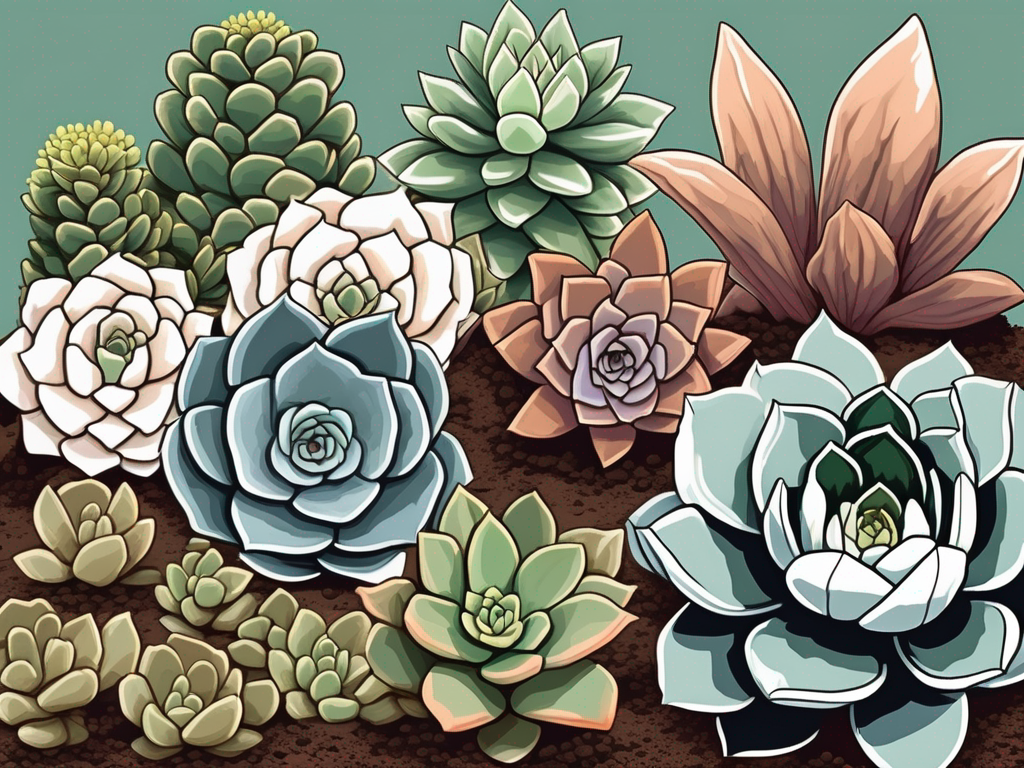
So, you’ve recently fallen for the charming rosette of Echeveria, and now you're on a quest to keep it thriving. One of the most crucial aspects of Echeveria care is getting the soil just right. Surprisingly, it’s a bit more nuanced than just grabbing any old dirt from the garden.
This article will guide you through the ins and outs of choosing the best soil for your Echeveria, covering topics from soil composition to troubleshooting common issues. Whether you’re a seasoned plant lover or just starting your green journey, you’ll find valuable tips to ensure your Echeveria feels right at home.
Understanding Echeveria Needs
Before we get our hands dirty, it’s worth understanding what Echeveria really needs from its soil. These succulent beauties hail from semi-desert regions, so their natural habitat provides clues to the kind of environment they thrive in.
Echeverias are accustomed to well-draining soil that doesn’t hold onto water for too long. In their native lands, rainfall is sparse, and the soil is sandy and gritty. Replicating these conditions at home is key to preventing root rot, a common adversary for succulent plant parents.
In essence, the best soil for Echeveria is light, airy, and drains quickly. This prevents water from pooling around the roots, which can lead to rot. It might seem simple, but getting the perfect mix can be a bit of an art.
Choosing the Right Soil Mix
Now that we know what Echeveria needs, let’s talk about the ideal soil mix. While you can purchase pre-made cactus or succulent soil from garden centers, crafting your own mix might be more rewarding and cost-effective.
Basic Ingredients
To create the optimal mix, you’ll need a few basic ingredients:
- Potting Soil: This provides the base and nutrition for your Echeveria. Use a standard potting soil as a starting point.
- Perlite or Pumice: These elements are crucial for aeration and drainage. They help keep the soil light and prevent compaction.
- Coarse Sand: Adding coarse sand helps mimic the natural gritty environment Echeverias love. Avoid fine sand, which can compact and hinder drainage.
Creating Your Mix
Here’s a simple recipe you can follow:
- 2 parts potting soil
- 1 part perlite or pumice
- 1 part coarse sand
Mix these ingredients thoroughly to ensure even distribution. Feel free to adjust the proportions slightly based on your plant’s response and your environmental conditions.
Factors Affecting Soil Choice
While the above mix is a great starting point, several factors might influence your final soil choice. Let’s explore some of these considerations.
Climate and Environment
If you live in a particularly humid region, your Echeveria may require even better drainage to combat moisture retention. You can increase the amount of perlite or pumice to improve aeration.
Conversely, in arid climates, you might need a mix that retains a bit more moisture. Slightly increasing the potting soil component can help achieve this balance.
Container and Pot Choice
The type of pot you use can influence the soil’s performance. Terracotta pots are popular because they’re porous, allowing moisture to evaporate more quickly. This can be beneficial in preventing overwatering.
On the other hand, ceramic or plastic pots retain moisture longer, so you may need to adjust your soil mix to enhance drainage further.
Signs of Soil Trouble
Even with the best-laid plans, things can go awry. Here are some signs that your Echeveria might be unhappy with its soil setup.
Root Rot
Root rot is a dreaded issue for any plant parent. If your Echeveria’s leaves are turning mushy or developing black spots, it’s time to check the roots. Healthy roots should be white or light brown; black or mushy roots indicate rot.
To address this, you might need to repot your plant into a fresh, well-draining mix. Trim away any affected roots before replanting.
Compacted Soil
If water is pooling on the surface of the soil and not soaking in, compaction could be the culprit. This can happen over time as soil particles settle. Lightly aerating the soil or repotting into a looser mix can solve this issue.
Repotting: When and How
Knowing when to repot your Echeveria is just as important as choosing the right soil. Here’s how to tell if it’s time for a change.
Signs It’s Time to Repot
Consider repotting if you notice:
- Roots growing out of the drainage holes
- Soil drying out too quickly
- General poor health, despite other care efforts
Repotting Steps
When repotting, gently remove the plant from its current pot, being careful with the roots. Shake off old soil and inspect the roots for any signs of rot. Place your Echeveria in a slightly larger pot with fresh soil. Water sparingly at first to help the roots settle in.
Top Dressing: An Extra Layer of Care
Top dressing isn’t just for aesthetics; it can also benefit your Echeveria’s health. A layer of small stones or gravel on the soil surface helps reduce evaporation and keeps the base of the plant dry.
However, be cautious not to cover the soil completely, as this can hinder water infiltration. A thin layer is often enough to provide the benefits without causing issues.
Watering and Soil: A Balancing Act
Even with the perfect soil, watering habits play a huge role in your Echeveria’s health. Here’s how to strike the right balance.
Watering Guidelines
Generally, Echeverias prefer the “soak and dry” method. Water thoroughly, allowing excess to drain away, then let the soil dry out completely before watering again. This mimics their natural environment, where rain is infrequent.
Adapting to Seasons
Keep in mind that watering needs change with the seasons. In winter, when growth slows, your Echeveria will need less water. Monitor the soil moisture and adjust accordingly.
Common Mistakes and How to Avoid Them
Even experienced plant parents can stumble when it comes to soil care. Here are a few common pitfalls and how to steer clear of them.
Using Garden Soil
It might seem convenient, but garden soil is often too dense for potted Echeverias. It doesn’t drain well and can lead to compaction. Stick to the recommended soil mix for best results.
Neglecting Drainage
Always ensure your pot has drainage holes. Without them, water has nowhere to go, and your plant will likely suffer from root rot.
Soil Amendments: When and Why
Sometimes, your Echeveria might need a little extra help. Here’s when to consider soil amendments.
Fertilizers
While Echeverias don’t need much feeding, a diluted succulent fertilizer during the growing season can promote healthy growth. Be cautious not to over-fertilize, as this can burn the roots.
Organic Matter
If your Echeveria seems nutrient-deficient, adding a small amount of compost or organic matter can help. This should be done sparingly, as too much can retain excessive moisture.
Final Thoughts
Choosing the right soil for your Echeveria is all about mimicking its natural environment. By ensuring proper drainage and tailoring your soil mix to your specific conditions, you’ll help your plant stay healthy and happy.
At Cafe Planta, we’re here to support your plant journey. Whether you’re looking for unique houseplants or need advice, we’re just an email or Instagram message away. Let’s connect and bring a little more greenery into your life!