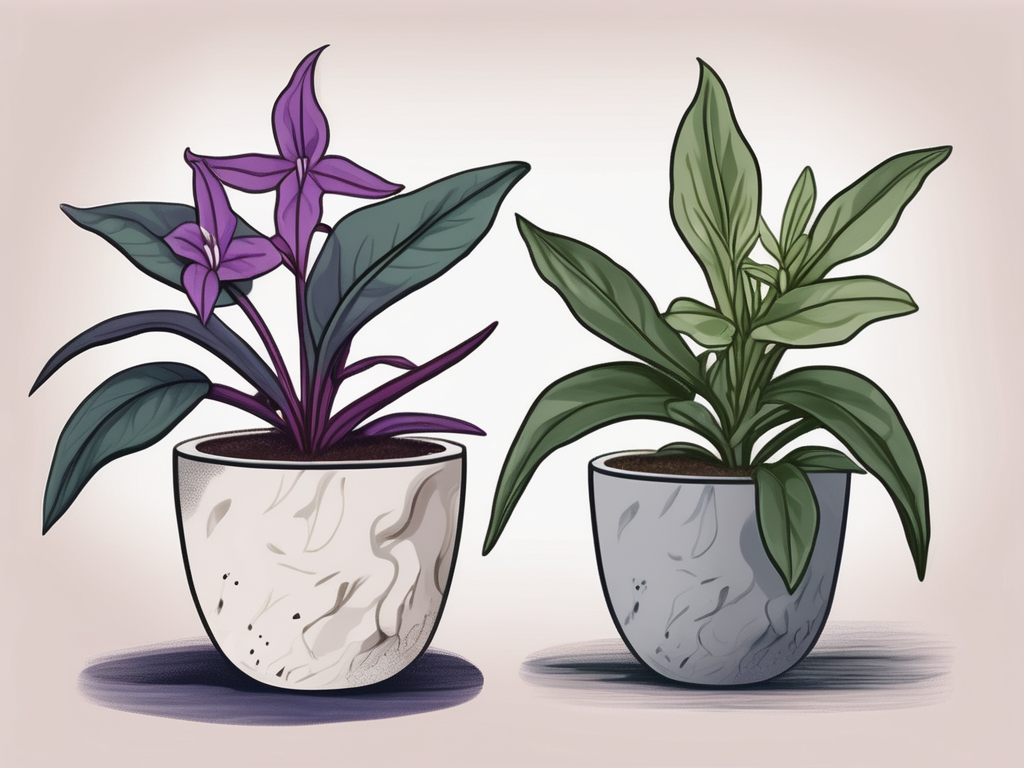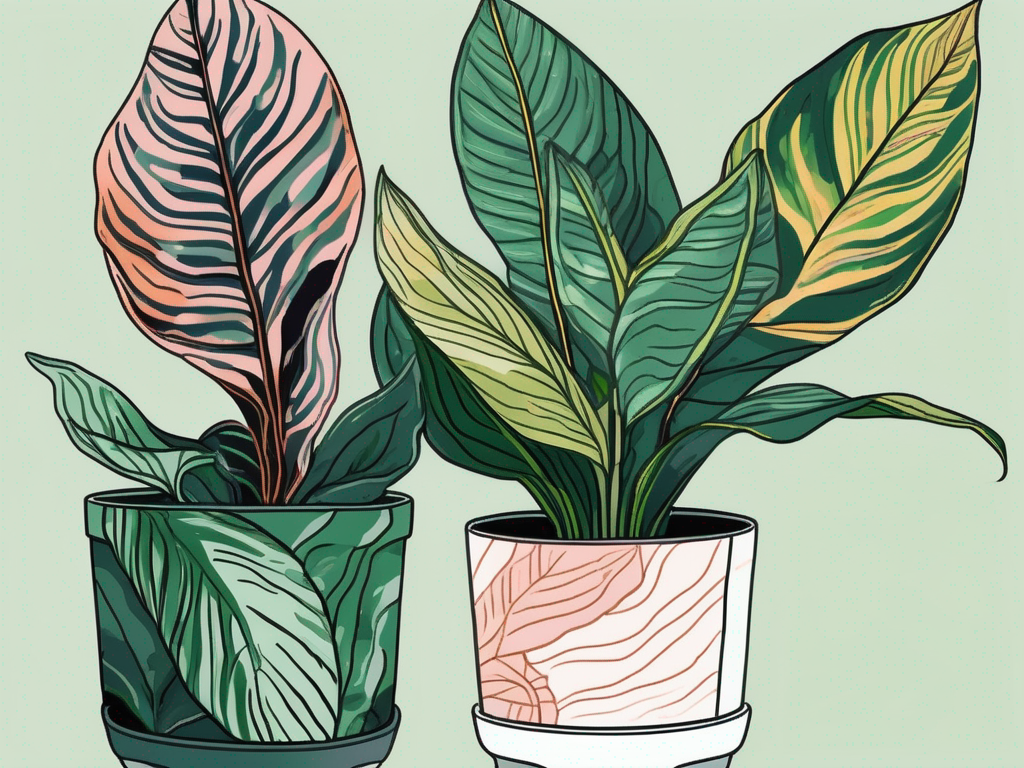
Oyster plants, with their striking purple undersides and lush green tops, can be a delightful addition to any home. Known for their vibrant appearance and relatively low maintenance, they're a favorite among plant lovers. But to keep these plants thriving, it's crucial to pay attention to their soil needs. After all, the right soil can make all the difference between a flourishing oyster plant and one that's just surviving.
This article will guide you through everything you need to know about selecting the best soil for your oyster plant. We'll explore what makes a soil mix ideal, how to create your own, and even touch on some common pitfalls to avoid. So, whether you're a seasoned plant parent or just starting your journey, this guide aims to equip you with the knowledge you need to keep your oyster plant healthy and happy.
Understanding Oyster Plant Needs
Before diving into soil specifics, it's helpful to understand what oyster plants need in general. Originating from Central America, these plants thrive in warm, humid environments. They're used to well-drained soil that allows their roots to breathe, and they love a spot with bright, indirect light. When it comes to moisture, oyster plants prefer to be watered regularly, but they don't like sitting in waterlogged soil.
When selecting soil, keeping these natural preferences in mind is essential. The ideal soil will support their growth by providing adequate drainage, retaining the right amount of moisture, and offering necessary nutrients. If you're going to buy a commercial potting mix, look for one that's designed for tropical plants or succulents, as these often have the qualities oyster plants need.
But what if you want to create your own mix? It's not as daunting as it sounds! The key is to balance materials that promote drainage with those that hold onto enough moisture to keep your plant happy between waterings. Let's explore this further.
Ingredients for the Perfect Soil Mix
Creating the perfect soil mix for your oyster plant involves a combination of ingredients that each serve a purpose. Here's a rundown of what you might include:
- Potting Soil: This is the base of your mix. It's fertile and retains moisture well but can be too dense on its own.
- Perlite: These small white pellets help improve aeration and drainage within the soil.
- Sand: A small amount of coarse sand can further enhance drainage and prevent compacting.
- Coco Coir or Peat Moss: Both of these materials retain moisture while still allowing for necessary drainage.
When mixing, aim for a combination that feels light and airy but holds its shape when squeezed. A typical ratio might be 2 parts potting soil, 1 part perlite, and 1 part coco coir or peat moss. Adjust as needed based on the specific conditions in your home, such as humidity levels and how often you water.
Step-by-Step Soil Mixing
Ready to mix your own soil? Here's a simple step-by-step guide to help you get started:
1. Gather Your Materials
Make sure you have all your ingredients and tools on hand. You'll need a large container or bucket for mixing, a trowel or your hands for blending, and of course, the soil components listed above.
2. Measure and Combine
Start by measuring out the potting soil, perlite, and coco coir or peat moss. Adjust the quantities based on how much soil you need. For example, if you're repotting a single oyster plant, a small batch will do. Mix them together in your container, breaking up any clumps as you go.
3. Test the Texture
Take a handful of the mix and squeeze it. It should hold together lightly but crumble when poked. If it feels too dense, add more perlite. If it's too loose, a bit more potting soil can help.
4. Adjust for Your Environment
Consider your home's climate. If it's particularly dry, a bit more coco coir can help retain moisture. In a humid environment, you might want to increase the perlite for extra drainage.
Repotting Your Oyster Plant
Once you've got your soil ready, you might be looking at your oyster plant and wondering if it's time for a repot. Here are some signs your plant might need a new home:
- Roots growing out of the drainage holes
- Soil that dries out too quickly after watering
- A plant that seems top-heavy or unstable
If any of these sound familiar, it's probably time to repot. Here's a simple process to follow:
1. Choose the Right Pot
Select a pot that's about 1-2 inches larger in diameter than the current one. Make sure it has drainage holes to prevent water from sitting at the bottom.
2. Prep the Plant
Gently remove the oyster plant from its current pot. You might need to squeeze the sides of a plastic pot to loosen it, or run a knife around the edge of a clay pot. Shake off excess soil and tease apart any tightly bound roots.
3. Set Up the New Pot
Place a layer of your new soil mix at the bottom of the pot. Position the plant so it's sitting at the same level it was before, then fill in around the sides with more soil. Firm it down gently to remove air pockets.
4. Water Thoroughly
After repotting, give your oyster plant a good drink. Water until it runs out of the drainage holes, then let it drain completely. This helps settle the soil around the roots.
Common Soil Issues and Solutions
Even with the best soil mix, things can sometimes go awry. Here are a few common issues and how to tackle them:
Soil Compaction
If your soil becomes too compacted, it can restrict root growth and reduce aeration. This often happens when the soil is too dense or hasn't been aerated in a while. To fix this, consider repotting with a fresh mix including plenty of perlite or sand.
Overwatering
Waterlogged soil is a common problem that can lead to root rot. Ensure your pot has adequate drainage, and adjust your watering schedule. Let the top inch of soil dry out between waterings.
Poor Drainage
If water isn't draining well, you might need to add more perlite or sand to your mix. Also, check that the drainage holes in your pot aren't blocked.
Choosing Commercial Soil Mixes
If mixing your own soil isn't your thing, there's no shame in opting for a commercial mix. Here's what to look for when buying pre-made soil:
- Check the label for mentions of "well-draining" or "suitable for tropical plants."
- Inspect the texture - it should feel light and airy, not dense or heavy.
- Consider a mix with added nutrients or slow-release fertilizers if you want to simplify your plant care routine.
Remember, it's okay to experiment with different brands to find what works best for your oyster plant and environment. Each home is different, and sometimes it takes a little trial and error to get things just right.
Soil Amendments and Fertilizers
Beyond the basic soil mix, you might consider using soil amendments or fertilizers to further support your plant's health. Here's a quick overview:
Soil Amendments
These are materials added to the soil to improve its physical properties. They can help with drainage, aeration, or moisture retention. Common amendments include:
- Vermiculite: Retains moisture and nutrients, releasing them slowly to the plant.
- Pumice: Similar to perlite, but heavier, providing excellent drainage and aeration.
Fertilizers
Oyster plants don't need a lot of fertilization, but a balanced, water-soluble fertilizer can give them a boost during the growing season (spring and summer). Follow the package instructions, and remember that less is often more when it comes to fertilizing houseplants.
Signs of Healthy Soil
So, how do you know if your soil mix is working? Here are some signs your oyster plant is happy with its environment:
- Vibrant Leaves: The leaves should be a healthy green on top with vivid purple undersides.
- Consistent Growth: During the growing season, you should see new leaves or shoots.
- Stable Moisture Levels: The soil should stay moist between waterings without becoming waterlogged.
Keeping an eye on these indicators can help you catch any issues early and make adjustments as needed.
Common Mistakes to Avoid
Even the most experienced plant parents can make mistakes. Here are a few common pitfalls to watch out for:
- Using Garden Soil: It's tempting to use soil from your garden, but it's often too dense and can introduce pests or diseases.
- Skipping Drainage: Always ensure your pots have drainage holes. Without them, water can accumulate and cause root rot.
- Ignoring Environment: Remember to consider your home's humidity and light levels when choosing a soil mix and watering schedule.
By avoiding these common mistakes, you'll give your oyster plant the best chance to thrive.
Final Thoughts
Choosing the right soil for your oyster plant is a crucial step in ensuring its health and vibrancy. With the right mix of potting soil, perlite, and coco coir, your plant will have the support it needs to grow and flourish.
At Cafe Planta, we're all about helping you connect with nature through plants. If you have any questions about plant care or want to share your plant journey, feel free to email us or send us a message on Instagram. We're here to help you create a beautiful, thriving plant collection in your home.

