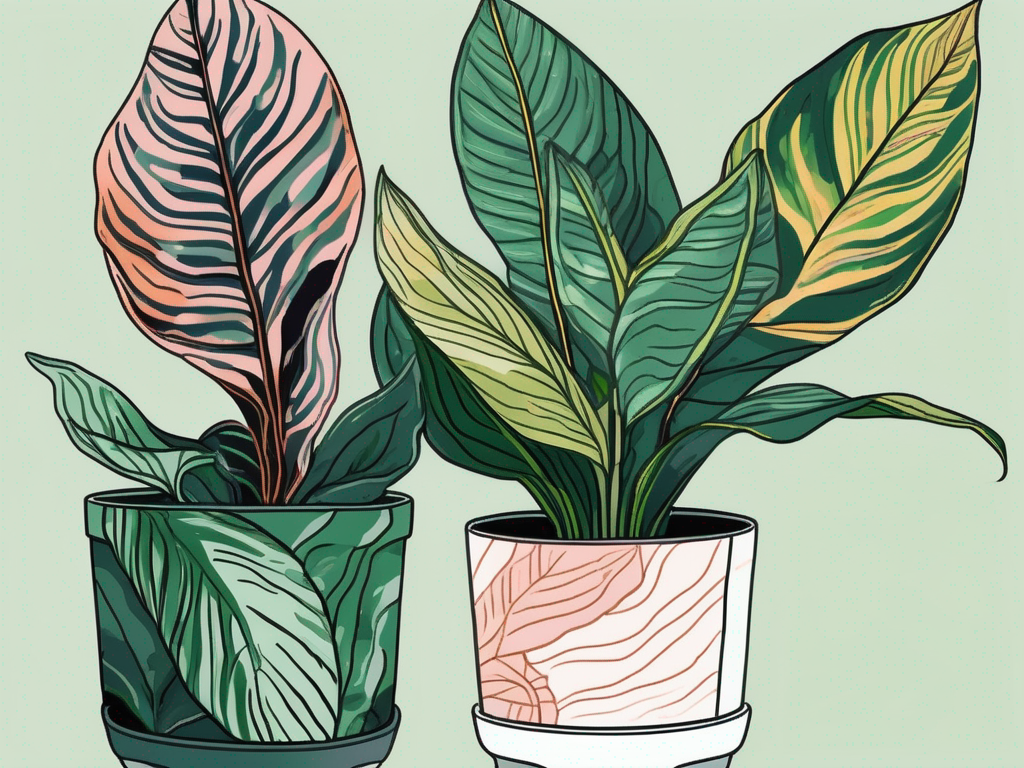
Rattlesnake plants, also known as Calathea lancifolia, are a favorite among plant lovers for their striking leaves that can add a splash of life to any indoor space. These plants are not just about looks—they also bring a bit of a challenge when it comes to care, especially in terms of soil. Choosing the right soil mix is crucial for keeping your Rattlesnake plant healthy and thriving.
So, what exactly makes the perfect soil for a Rattlesnake plant? In this piece, we'll explore everything from the ideal soil texture and composition to tips for mixing your own blend. Whether you're a seasoned plant parent or just getting started, let's get into the nitty-gritty of soil care for this unique houseplant.
The Importance of Well-Draining Soil
Rattlesnake plants hail from the tropical rainforests of Brazil, where the soil is naturally loose and well-draining. This means that the roots are accustomed to getting water without sitting in it for too long. In a home environment, mimicking these conditions is key to keeping your plant happy.
Why is drainage so important? If the soil retains too much water, it can lead to root rot—a common issue that can quickly kill your plant. To prevent this, the soil should allow excess water to drain away while still retaining some moisture for the roots to absorb.
Here's what you should look for in well-draining soil:
- Looseness: The soil should be crumbly and not compact, allowing air to circulate around the roots.
- Moisture Retention: While it should drain well, the soil also needs to hold moisture so the plant can stay hydrated between waterings.
- Organic Matter: Ingredients like peat moss or coconut coir can help retain moisture while still allowing for drainage.
When you pick up a handful of well-draining soil, it should feel light and airy, not wet and clumpy. If your soil feels too dense, it might be time to rethink your mix.
Essential Ingredients for the Perfect Mix
Creating the right soil mix for your Rattlesnake plant involves a bit of science and a lot of love. The key ingredients in a good mix will provide the perfect balance of drainage and moisture retention. While there are ready-made mixes available, making your own can be more rewarding and allows you to tailor it to your plant's specific needs.
Peat Moss or Coconut Coir
Both peat moss and coconut coir are excellent for moisture retention without becoming waterlogged. They act like a sponge, holding just enough water for the plant's needs while letting excess drain away. Peat moss is the traditional choice, but coconut coir is more sustainable and just as effective.
Perlite or Pumice
These are lightweight volcanic rocks that help improve drainage and aeration in the soil. They prevent compaction and make sure the roots have plenty of air, which is crucial for healthy growth. Either perlite or pumice will work, so choose based on what's available.
Compost or Leaf Mold
A little organic matter goes a long way. Compost or leaf mold adds nutrients to the mix, providing essential food for your plant. These components also improve the soil's structure over time, making it more conducive to healthy root growth.
Once you have these ingredients, you're ready to mix up the perfect soil blend. A good starting ratio is:
- 1 part peat moss or coconut coir
- 1 part perlite or pumice
- 1 part compost or leaf mold
Feel free to tweak this mix based on your specific environment and the needs of your Rattlesnake plant.
Adjusting for Your Environment
While the soil mix is important, it's worth noting that the needs of your Rattlesnake plant can vary based on its environment. Factors like humidity, temperature, and light can all affect how often you need to water and, consequently, how your soil should be mixed.
Humidity
Rattlesnake plants thrive in environments with high humidity. If your home is dry, you might find that your soil dries out quicker than in a more humid setting. In this case, you may want to add a bit more peat moss or coconut coir to help retain moisture.
Light
These plants prefer bright, indirect light. Too much direct sunlight can dry out the soil quickly, while too little light can lead to overwatering. Adjust your watering schedule based on how much light your plant receives, and check the soil more frequently if it's in a sunny spot.
Temperature
Temperature fluctuations can also impact soil moisture. In warmer climates, the soil may dry out faster, requiring adjustments to your watering routine or soil mix. Conversely, in cooler areas, you might need a soil that allows for better drainage to prevent root rot.
By paying attention to these environmental factors, you can better tailor your soil mix and care routine to fit your plant's needs.
Signs Your Soil Needs an Upgrade
Even with the best intentions, sometimes the soil just isn't quite right for your Rattlesnake plant. Fortunately, the plant often gives clear signals when it's unhappy with its home. Keeping an eye out for these signs can help you make necessary adjustments before problems become serious.
Yellowing Leaves
If you notice your plant's leaves turning yellow, it could be a sign of overwatering. This often means the soil is retaining too much moisture and not draining properly. Consider adding more perlite or pumice to improve the drainage.
Brown Leaf Tips
Brown tips can indicate the opposite problem—underwatering. If your soil dries out too quickly, try increasing the organic matter in your mix to help retain moisture. Of course, make sure you're also watering regularly!
Slow Growth
If your plant seems to be stuck in a rut, it might not be getting the nutrients it needs. Refresh the soil with new compost or a balanced houseplant fertilizer to give it a boost.
By keeping an eye out for these signs, you can quickly diagnose soil-related issues and take steps to correct them.
Repotting Your Rattlesnake Plant
Repotting is an essential part of plant care, allowing your Rattlesnake plant to stretch its roots and grow even healthier. Typically, you'll want to repot your plant every two years or so, or whenever you notice it's becoming root-bound.
When to Repot
Look for these signs that it's time to repot:
- Roots growing out of the drainage holes
- The plant looks top-heavy or is outgrowing its pot
- Soil dries out quickly or seems compacted
How to Repot
Repotting doesn't have to be a daunting task. Here's a simple step-by-step guide:
- Choose a new pot: Select one that's about 1-2 inches larger in diameter than the current pot.
- Prepare the new soil mix: Use the ideal mix discussed earlier.
- Remove the plant: Gently take the plant out of its current pot. You might need to tap the sides or loosen the soil around the edges.
- Prune the roots: Trim any roots that are overly long or circling the pot.
- Place in the new pot: Add some soil to the bottom, set the plant in, and fill around it with more soil, pressing gently.
- Water well: Water the plant thoroughly to help settle the soil.
Once repotted, give your Rattlesnake plant a few weeks to adjust to its new home.
Making Your Own Potting Mix
If you're feeling adventurous, making your own potting mix can be a rewarding experience. Not only does it allow you to customize the blend to your plant's needs, but it can also be more cost-effective in the long run.
Gathering Ingredients
Start by gathering the essential ingredients:
- Peat moss or coconut coir: For moisture retention
- Perlite or pumice: For drainage
- Compost or leaf mold: For nutrients
- Optional extras: Worm castings for added nutrients, or sand for improved drainage in wetter climates
Mixing Your Blend
Once you have your ingredients, it's time to mix:
- Start with equal parts: Begin with equal parts of peat moss or coconut coir, perlite or pumice, and compost or leaf mold.
- Adjust as needed: Depending on your environment, you might need more perlite for better drainage or more organic matter for moisture retention.
- Add extras: If using, mix in any optional extras like worm castings or sand.
- Test the mix: Moisten a small amount and squeeze it in your hand. It should hold together but crumble easily when disturbed.
With your custom potting mix ready to go, your Rattlesnake plant is sure to thrive!
Common Mistakes with Rattlesnake Plant Soil
It can be easy to slip up when caring for Rattlesnake plants, especially when it comes to soil. The good news is that most mistakes are easily fixable once you know what to look for. Let's go over a few common pitfalls and how to avoid them.
Overwatering
It's tempting to keep your plant well-watered, but too much love can lead to trouble. Overwatering is the most common mistake and usually stems from soil that doesn't drain well. Stick to a regular watering schedule, and always check if the top inch of soil is dry before adding more water.
Using Heavy Soil
Regular garden soil or heavy potting mixes can suffocate the roots by trapping too much moisture. Always opt for a light, airy mix, and remember to include ingredients like perlite or pumice for drainage.
Ignoring Environmental Factors
As we've discussed, factors like light, humidity, and temperature all affect your soil's behavior. Ignoring these can lead to either too dry or too wet soil. Pay attention to your plant's surroundings and adjust the soil mix and care routine as needed.
By being mindful of these common mistakes, you'll be well on your way to a thriving Rattlesnake plant.
Using Store-Bought Mixes
If making your own soil mix feels like too much work or you're short on time, store-bought options can be a great alternative. Many garden centers offer mixes specifically designed for tropical plants, which often work well for Rattlesnake plants.
When choosing a store-bought mix, look for these features:
- Well-draining: The mix should include perlite, pumice, or sand for drainage.
- Moisture-retentive: Ingredients like peat moss or coconut coir help retain moisture without waterlogging.
- Nutrient-rich: A good mix will also include compost or another source of natural nutrients.
While store-bought mixes can be convenient, don't hesitate to tweak them to better suit your plant. If the mix seems too dense, add extra perlite or pumice, or if it's drying out too quickly, mix in more organic matter.
Ultimately, the best soil for your Rattlesnake plant is one that suits both its needs and your care routine.
Final Thoughts
We've covered a lot of ground—from the importance of well-draining soil to mixing your own potting blend. By understanding your Rattlesnake plant's specific needs and adjusting your soil and care routine accordingly, you'll set the stage for a happy and healthy plant.
At Cafe Planta, we're always here to help you with your plant care questions. Whether you're looking for the perfect houseplant or just need some advice, feel free to email us or reach out via Instagram. We love connecting with fellow plant lovers and are excited to support you on your plant journey!

