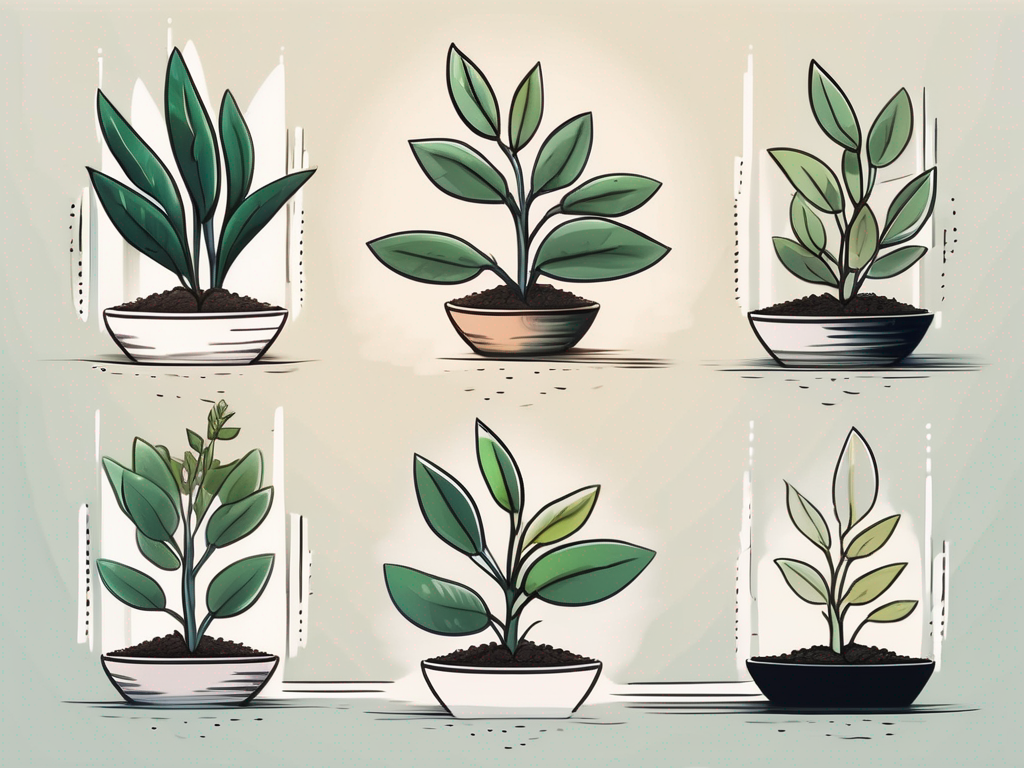
If you're looking for a houseplant that's both resilient and visually striking, the ZZ plant, or Zamioculcas zamiifolia, is a fantastic choice. Known for its glossy, waxy leaves and ability to thrive on neglect, the ZZ plant is a popular pick for both novice and experienced plant lovers. But have you ever wondered what the growth journey of this plant looks like over time?
In this article, we'll explore the fascinating growth journey of the ZZ plant, providing a time-lapse perspective that brings its transformation to life. We'll also cover practical tips for caring for your ZZ plant, including potting, dealing with pests, and how to incorporate it into your home decor. Let's dive in and uncover the secrets behind this captivating plant.
The Intriguing Life Cycle of a ZZ Plant
The ZZ plant's life cycle is a slow yet rewarding process. Unlike some houseplants that shoot up quickly, the ZZ plant takes its time, making its growth journey all the more fascinating to watch. One might even say it's a lesson in patience. When you first bring a ZZ plant home, it might seem like it's not doing much, but rest assured, it's busy working on its roots beneath the soil.
The plant starts with a rhizome, which is a bulbous, potato-like structure beneath the soil. This rhizome stores water and nutrients, allowing the plant to survive in environments where other plants might struggle. Above the soil, you'll notice the thick, waxy leaves that give the ZZ plant its signature look. Over time, new stems will emerge from the rhizome, unfurling into shiny, dark green leaves.
Interestingly, ZZ plants grow in a zigzag pattern, which is how they got their name. The leaves grow in pairs along the stem, creating a visually pleasing pattern. The growth is slow, but once you've had your ZZ plant for a while, you'll start to notice those tiny changes that make plant parenting so exciting. Keep an eye out for new shoots, and remember, good things come to those who wait!
Choosing the Right Spot for Your ZZ Plant
ZZ plants are incredibly adaptable, which is one of the reasons they're so popular. They can tolerate low light, making them perfect for those darker corners of your home where other plants might not survive. However, if you want your ZZ plant to thrive and grow a bit faster, finding the right spot is key.
While they can handle low light, ZZ plants do best in bright, indirect light. Think of a spot near a north or east-facing window. Direct sunlight can be too harsh and may scorch the leaves, so it's best to avoid placing them in the line of fire of the sun's rays. If you're worried about lighting, don't fret. These plants are tough and can adapt to different conditions, but providing the right light will encourage more robust growth.
One thing to keep in mind is that ZZ plants appreciate stability. Try to find a spot where the temperature and humidity levels don't fluctuate too much. They prefer temperatures between 65-75°F (18-24°C) and can tolerate a bit of humidity, but they don't like drafts or sudden temperature changes. So, avoid placing them near vents, heaters, or drafty windows.
Potting and Soil Tips for Success
Choosing the right pot and soil is crucial for your ZZ plant's health. Since these plants are native to East Africa, they're used to drought-like conditions, meaning they're highly susceptible to overwatering. The key here is to find a pot with good drainage. Terra cotta pots are a great choice because they allow the soil to dry out between waterings.
When it comes to soil, a well-draining, gritty mix is best. You can create your own by mixing regular potting soil with perlite or sand. The goal is to prevent the soil from becoming too compact and retaining too much moisture. Remember, ZZ plants have rhizomes that store water, so they don't need to be watered frequently.
When potting your ZZ plant, make sure the rhizomes are just beneath the soil surface. If you notice your plant becoming root-bound or the rhizomes pushing above the soil, it might be time to repot. Typically, repotting every two years is sufficient, but if your plant is growing rapidly, you may need to do it sooner.
Watering: Less is More
If there's one thing you should remember about ZZ plants, it's that they prefer to be a bit dry. Overwatering is the most common mistake with these plants, and it's often the quickest way to cause issues. The good news is that ZZ plants are quite forgiving, so if you've slipped up, there's usually time to correct the mistake.
In general, you should let the soil dry out completely between waterings. This might mean watering only once a month, depending on the environment. It's always better to underwater than overwater. If you're unsure, stick your finger into the soil about an inch deep. If it feels dry, it's time to water. If it's still moist, wait a few more days.
During the colder months, reduce watering even further. ZZ plants go dormant in the winter, and their growth slows down, meaning they need even less water. It's a simple rule of thumb: if in doubt, wait it out!
Dealing with Pests and Common Problems
ZZ plants are generally pest-resistant, which makes them even more appealing. However, like any plant, they can occasionally fall victim to common pests such as spider mites or mealybugs. The best way to prevent pest issues is to keep your plant healthy and stress-free. A stressed plant is more susceptible to infestations.
If you do notice pests, there are a few steps you can take:
- Wash the leaves: Gently wipe down the leaves with a damp cloth or give the plant a good rinse in the shower.
- Neem oil: This natural pesticide can be applied to the leaves to deter pests.
- Insecticidal soap: A safe option for treating infestations without harming your plant.
Besides pests, watch out for yellowing leaves, which can indicate overwatering. If you notice yellow leaves, check the soil moisture and adjust your watering schedule accordingly. Brown tips can be a sign of low humidity or too much sunlight, so try moving your plant to a different spot if you notice this issue.
Integrating ZZ Plants into Your Home Decor
Beyond just being low-maintenance, ZZ plants are a stylish addition to any room. Their unique leaves and striking form make them a perfect choice for adding a touch of greenery. The glossy leaves catch the light beautifully, and their sculptural quality can complement various decor styles, from minimalist to bohemian.
Consider placing your ZZ plant on a plant stand or a bookshelf where it can be admired. They also look great in decorative pots that match your home's aesthetic. The beauty of ZZ plants is that they don't need to be front and center to make an impact. Even in a corner, they can brighten the space and create a focal point.
For those with a creative streak, try mixing different pot sizes and styles, or add other plants to create a lush, layered look. Remember, ZZ plants are versatile and can fit in almost anywhere, so have fun experimenting with different arrangements.
Propagating Your ZZ Plant
Once you've fallen in love with your ZZ plant, you might want to try your hand at propagation. Fortunately, propagating ZZ plants is straightforward, although it does require some patience. There are two main methods: leaf cuttings and division.
Leaf Cuttings: This method involves cutting a healthy leaf from the plant, dipping it in rooting hormone, and placing it in a pot with moist soil. Over time, new rhizomes will develop, and a new plant will start to grow. It can take several months before you see significant growth, but it's a rewarding process.
Division: If your plant is large enough, you can divide the rhizomes during repotting. Carefully separate the rhizomes, making sure each piece has roots and leaves attached, then pot them individually. This method is quicker and often more successful than leaf cuttings.
Whichever method you choose, propagation is a fantastic way to expand your plant collection or share the love with friends and family. Just remember to be patient, as new growth can take time.
The Time-Lapse Perspective: Watching Your ZZ Plant Grow
One of the most enjoyable aspects of owning a ZZ plant is watching it grow and change over time. Because ZZ plants grow slowly, setting up a time-lapse camera can be a fun way to capture its development. You won't see dramatic changes overnight, but over weeks or months, you'll notice new shoots emerging and leaves unfurling.
To create a time-lapse, choose a stable spot for your camera where it can capture the plant consistently. Use a timer to take photos at regular intervals, then compile them into a video. The result is a fascinating glimpse into the plant's quiet yet determined growth, a perfect reminder of nature's wonders.
Final Thoughts
The growth journey of the ZZ plant is a testament to nature's resilience and beauty. By choosing the right spot, potting wisely, and keeping an eye on watering, you can enjoy the slow but rewarding process of watching your ZZ plant thrive.
At Cafe Planta, we're passionate about helping you care for your plants. Whether you're looking for plant care accessories or want to chat about your ZZ plant's progress, we're here to help. Feel free to email us, or drop us a message on Instagram. We're excited to share our love of plants with you and help you build a beautiful collection for your home.