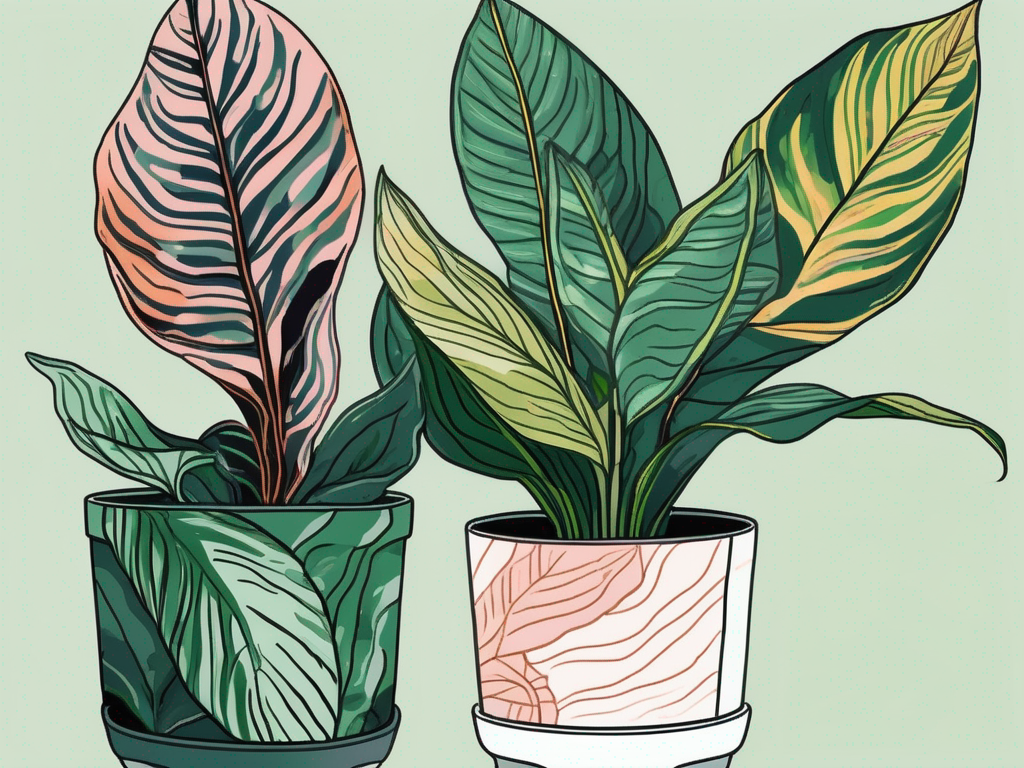
Aglaonemas, with their vibrant foliage and easy-going nature, have become a favorite for many plant lovers. But like any good relationship, the secret to a thriving aglaonema lies beneath the surface—literally, in the soil. Getting the soil just right can make the difference between a plant that's just surviving and one that's absolutely flourishing.
In this article, we'll chat about what makes the perfect soil recipe for aglaonemas, including the components you'll need, tips for maintaining soil health, and how to troubleshoot common soil-related issues. Whether you're new to the plant scene or a seasoned plant parent, there’s something here for you to learn and enjoy.
Understanding Aglaonema’s Natural Habitat
Before we mix up the perfect soil, it’s helpful to get to know where aglaonemas come from. These beauties hail from the tropical and subtropical regions of Asia and New Guinea, where they thrive under the canopy of dense forests. They’re used to warm, humid environments with filtered sunlight and well-draining soil. This natural setting gives us a clue about what they need to prosper indoors.
In their native habitat, aglaonemas grow in soil that’s rich in organic matter. The forest floor is a treasure trove of decomposed leaves, twigs, and other organic materials, which provide the nutrients these plants need. The soil is loose, allowing for good drainage while retaining enough moisture to keep roots happy. Mimicking this environment can set your aglaonema up for growth and vibrancy.
So, when thinking about your houseplant's soil, remember: it's all about balance. You want a mix that's airy yet moisture-retentive, rich in nutrients but not too heavy. It sounds like a tall order, but with a little understanding, you'll be crafting the perfect blend in no time.
The Essential Ingredients for Aglaonema Soil
Now that we have a sense of what aglaonemas like, let’s talk about the soil components that will meet those needs. Creating a custom blend might seem daunting, but it’s similar to baking a cake—once you know the ingredients and their proportions, it’s a piece of... well, you know.
Here are the basic components for the ideal aglaonema soil mix:
- Potting Soil: This acts as the base of your mix. It provides the structure and some nutrients. Choose a high-quality, well-aerated potting soil. Avoid heavy garden soil, which can compact and suffocate roots.
- Perlite: These airy, lightweight particles improve drainage and aeration. They prevent the soil from becoming waterlogged, which is crucial for preventing root rot.
- Coco Coir or Peat Moss: Both options help retain moisture without making the soil soggy. Coco coir is more sustainable and has a neutral pH, while peat moss is slightly acidic.
- Bark Chips: These add structure to the soil, mimicking the natural debris in a forest. They also aid in drainage and aeration.
- Worm Castings or Compost: These organic materials enrich the soil with nutrients and beneficial microbes, essential for healthy plant growth.
By combining these ingredients, you’re creating a soil mix that drains well, retains moisture, and provides nutrients—all the things your aglaonema needs to thrive. Feel free to tweak the proportions based on your specific climate and plant conditions. After all, soil recipes are more art than science!
Mixing the Perfect Aglaonema Soil
With your ingredients ready, it’s time to get your hands dirty (literally!). Mixing your soil doesn’t require any fancy equipment—just a large container and maybe a pair of gloves if you're not a fan of dirt under your nails.
Here’s a simple recipe to start with:
- 2 parts potting soil
- 1 part perlite
- 1 part coco coir or peat moss
- ½ part bark chips
- ½ part worm castings or compost
To mix, simply combine all the ingredients in your container, making sure everything is evenly distributed. Your soil should feel light and crumbly in your hands. Give it a squeeze—it should hold its shape but crumble easily when poked. That’s a good sign you’ve got the right consistency.
Remember, this recipe is a starting point. Depending on your local climate and the specific conditions in your home, you may need to adjust the mix. For instance, if you live in a particularly dry area, you might add a bit more coco coir to help with moisture retention. Conversely, in a more humid environment, increasing the perlite can help improve drainage.
Planting Your Aglaonema
With your soil mix ready, it’s time to plant your aglaonema. If you’re repotting an existing plant, carefully remove it from its current pot, gently loosening any compacted soil around the roots. It’s a good opportunity to check for any root rot or damage—trim away any unhealthy roots with clean scissors.
Choose a pot with drainage holes to prevent water from pooling at the bottom. Fill the pot about one-third full with your soil mix, then place your aglaonema in the center. Add more soil around the plant, pressing gently to eliminate air pockets and secure the plant in place. Leave a bit of space at the top so you can easily water without overflow.
After planting, give your aglaonema a good drink, letting the water drain completely. This helps settle the soil around the roots and ensures the plant is well-hydrated after the repotting process. Now, find a cozy spot with indirect sunlight and let your aglaonema settle into its new home.
Maintaining Soil Health Over Time
Creating the perfect soil mix is just the beginning. To keep your aglaonema healthy, you’ll need to maintain the soil’s condition over time. Think of it as a little routine maintenance to keep everything running smoothly.
Here are some simple tips to keep your soil in top shape:
- Regular Watering: Keep an eye on your aglaonema's watering needs. Water when the top inch of soil feels dry. Overwatering is a common mistake, so always check before you pour.
- Feeding: During the growing season (spring and summer), feed your plant with a balanced liquid fertilizer every 4-6 weeks. This replenishes nutrients that may leach out of the soil over time.
- Aeration: Occasionally, gently poke holes in the soil with a skewer or chopstick. This helps air reach the roots and prevents compacting.
- Repotting: Every couple of years, or when your plant seems to have outgrown its pot, refresh the soil by repotting. This ensures the roots have space to grow and access fresh nutrients.
By keeping an eye on these factors, you’ll ensure that your aglaonema’s soil remains a healthy, nurturing environment. It might sound like a lot, but once you get into the rhythm, it becomes second nature.
Troubleshooting Common Soil Issues
Even with the best soil mix and care, sometimes things go awry. If your aglaonema isn’t looking its best, the soil might be the culprit. Here are some common soil-related issues and how to tackle them:
Yellowing Leaves
If your aglaonema’s leaves are turning yellow, it might be a sign of overwatering. Check if the soil is staying wet for too long. If so, improve drainage by adding more perlite or switching to a pot with better drainage.
Root Rot
Root rot is often the result of poor drainage and overwatering. If you suspect root rot, gently unpot the plant and inspect the roots. Healthy roots are white and firm, while rotted ones are brown and mushy. Trim away any rotted roots and repot in fresh soil with better drainage properties.
Slow Growth
If your plant’s growth seems stalled, it might need more nutrients. Consider feeding it with a balanced fertilizer or adding a top dressing of compost or worm castings. Ensure the plant is also getting adequate light and water.
By addressing these issues promptly, you can help your aglaonema bounce back and thrive. Remember, every plant is different, so a bit of patience and observation goes a long way.
Additional Tips for Aglaonema Care
We’ve talked a lot about soil, but overall care is crucial for a happy aglaonema. Here are a few more tips to keep your plant looking its best:
- Lighting: Aglaonemas prefer bright, indirect light. Avoid direct sunlight, which can scorch the leaves.
- Humidity: These plants love humidity. If your home is dry, consider placing a humidifier nearby or misting the leaves occasionally.
- Temperature: Keep your aglaonema in a warm spot, ideally between 65-75°F. Avoid cold drafts or sudden temperature changes.
- Pruning: Trim away any yellow or dead leaves to keep the plant tidy and encourage new growth.
These tips, combined with the right soil, will help your aglaonema thrive. And remember, plants are living things that change with their environment. Stay attentive and enjoy the process of caring for your leafy friend.
The Role of Soil pH in Plant Health
While we’ve covered a lot about the physical properties of soil, pH is another important factor. Aglaonemas prefer slightly acidic to neutral soil, with a pH range of 5.5 to 6.5. This affects how well your plant can absorb nutrients, which directly impacts its health.
You can test your soil’s pH with a simple home test kit. If your soil is too acidic, you might add a bit of lime to raise the pH. Conversely, if it’s too alkaline, incorporating some sulfur or peat moss can help lower it.
It might seem like a small detail, but getting the pH right can significantly affect your plant’s ability to grow and thrive. So, keep an eye on it, especially if your aglaonema isn’t looking its best.
Final Thoughts
Creating the perfect soil mix for your aglaonema involves understanding its natural habitat and providing a blend that supports drainage, moisture retention, and nutrient availability. By carefully selecting and combining the right components, you can create an environment where your plant thrives.
At Cafe Planta, we’re all about helping you succeed on your plant journey. Whether you’re looking for new plants, care accessories, or just some friendly advice, we’re here to help. Feel free to email us or reach out on Instagram. We love sharing our passion for plants and are excited to help you create a thriving collection in your home.