Have you ever marveled at the vibrant colors and unique patterns of bromeliads and thought about expanding your collection? Bromeliads are a fantastic choice for any plant lover looking to add a tropical vibe to their home. What's even better is that these beauties can be propagated easily, allowing you to grow more plants from one.
In this post, we'll cover everything you need to know about propagating bromeliads from cuttings, including the steps for successful propagation, care tips for your new plants, and how to incorporate them into your home decor. Whether you're a seasoned plant parent or just starting out, you'll find helpful advice to enhance your plant journey.
Understanding Bromeliad Propagation
Bromeliads are known for their stunning foliage and unique growth habits. Unlike many plants, bromeliads don't grow from seeds in the typical sense. Instead, they produce pups, or offsets, which can be separated from the mother plant to grow new bromeliads. Think of these pups as little plant clones, ready to strike out on their own!
Propagation through pups is not only straightforward but also incredibly rewarding. Watching these tiny offsets grow into full-sized plants is a joy that every plant lover should experience. The best part? Once your bromeliads start producing pups, you'll have an endless supply of new plants to enjoy.
It's important to note that not all bromeliads will produce pups at the same rate. Some might take months, while others could take years. Patience is key, but the wait is well worth it when you finally get to propagate your plant family.
When to Propagate Your Bromeliads
Timing is everything when it comes to propagating bromeliads. The ideal time to separate pups is when they've reached about one-third to half the size of the mother plant. At this stage, the pups are usually strong enough to survive on their own, but still small enough to be easily removed.
Another crucial factor is the health of the mother plant. You'll want to make sure it's in good condition before you start separating pups. A healthy mother plant will produce healthier pups, which increases your chances of successful propagation.
Keep an eye on the weather, too. Bromeliads prefer to be propagated during warm, humid months when they can readily adapt to their new environment. If you're trying to propagate during colder months, consider using a humidity dome or keeping your new plants indoors until the weather warms up.
How to Remove Bromeliad Pups
Now, let's get into the nitty-gritty of removing bromeliad pups. First, you'll need a few tools: a sharp, sterilized knife or pair of scissors, gloves (bromeliads can be a bit spiky), and a clean workspace.
Here's a step-by-step guide to help you through the process:
- Identify the pups: Look for smaller plants growing around the base of the mother plant. These are your pups.
- Check the size: Ensure the pups are at least one-third to half the size of the mother plant.
- Prepare your tools: Sterilize your knife or scissors to prevent any infections.
- Cut the pup: Carefully cut the pup away from the mother plant. Make sure to include some of the root structure for better chances of survival.
- Inspect the cut: Check the cut area for any signs of damage or disease.
Once you've removed the pups, you're ready to move on to the next step: planting them in their new homes.
Potting Your Bromeliad Cuttings
Choosing the right potting mix is essential for the success of your bromeliad pups. These plants thrive in a well-draining mix, so a combination of orchid bark, perlite, and peat moss is usually a good choice. You want the soil to be airy and light, allowing for excellent drainage to prevent root rot.
Here's how to pot your bromeliad pups:
- Select a pot: Make sure it has drainage holes. Bromeliads don't like to sit in water.
- Fill with potting mix: Prepare the pot by filling it halfway with your chosen mix.
- Place the pup: Gently position the pup in the center of the pot. Make sure the base of the plant is level with the top of the soil.
- Fill around the pup: Add more potting mix around the pup, lightly pressing it down to secure the plant.
- Water lightly: Give your newly potted pup a light watering. You want the soil to be moist but not soggy.
Once your pups are potted, find a spot where they can receive bright, indirect light, and enjoy watching them grow!
Caring for Your New Bromeliads
Caring for newly potted bromeliad pups involves some specific steps to ensure they thrive. While these plants are generally low-maintenance, they do have a few preferences you should keep in mind.
- Light: Bromeliads love bright, indirect light. Direct sunlight can scorch their leaves, so a spot near a window with filtered light is perfect.
- Water: These plants are unique because they prefer to be watered in the central cup formed by their leaves. Be careful not to overwater the soil.
- Humidity: Bromeliads enjoy humid conditions. If you live in a dry climate, consider using a humidity tray or misting the plants occasionally.
- Temperature: Keep your bromeliads in a warm environment. They generally prefer temperatures between 60°F and 80°F.
- Fertilizer: While not always necessary, a diluted liquid fertilizer during the growing season can help boost their growth.
By providing these conditions, your bromeliad pups will have the best chance to grow into beautiful, mature plants.
Dealing with Common Problems
Even with the best care, bromeliads can sometimes encounter issues. Here are a few common problems and how to address them:
- Browning leaves: This can be a sign of too much direct sunlight or low humidity. Move your plant to a shadier spot and increase humidity.
- Rotting base: Overwatering is often the culprit. Ensure your plant is in well-draining soil and reduce watering frequency.
- Pests: Bromeliads can attract pests like mealybugs and scale. Wipe the leaves with a damp cloth and use insecticidal soap if needed.
- Slow growth: If your plant isn't growing, it might need more light or nutrients. Adjust its location and consider a light feeding.
Addressing these issues promptly will keep your bromeliads healthy and vibrant.
Incorporating Bromeliads into Your Home Decor
Bromeliads aren't just easy to propagate and care for—they're also a stunning addition to any home decor. Their bright colors and unique shapes can complement a variety of design styles, from tropical to modern.
Here are some ideas for integrating bromeliads into your home:
- Create a centerpiece: Use a group of bromeliads as a table centerpiece. Their vibrant colors and textures make them a standout feature.
- Vertical gardens: Bromeliads are excellent for vertical gardens due to their low soil requirements. Create a living wall in your home with a variety of bromeliad colors.
- Hang them up: Use hanging planters to display your bromeliads. Their cascading leaves look beautiful when suspended.
- Mix and match: Combine bromeliads with other tropical plants like ferns and orchids for a lush, jungle-like feel.
With a bit of creativity, bromeliads can transform your home into a vibrant, plant-filled oasis.
Expanding Your Bromeliad Collection
Once you've mastered propagating bromeliads, you might be eager to expand your collection. With so many varieties available, there's always something new to discover.
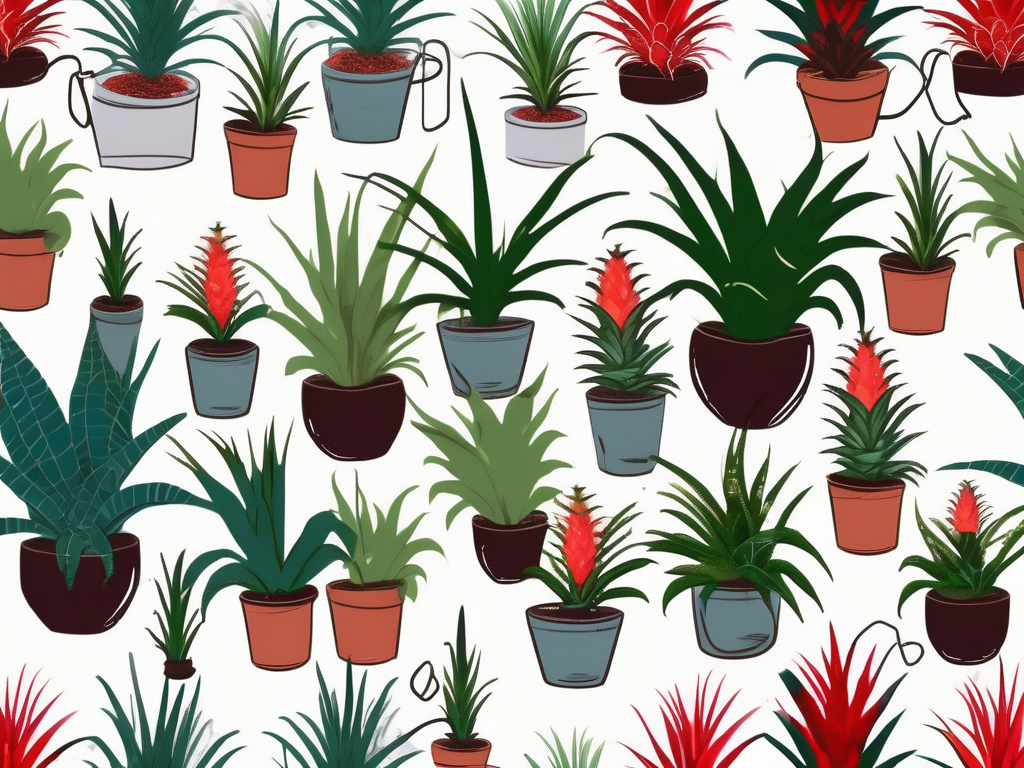
Consider exploring different species and hybrids to add diversity to your collection. Each type of bromeliad has its unique charm, whether it's the striking colors of the Guzmania or the architectural appeal of the Aechmea.
You can also join plant swaps or local plant groups to find new bromeliads. Sharing and trading plants with other plant lovers is a great way to grow your collection without spending a fortune.
The joy of collecting bromeliads lies in their diversity and the endless possibilities for creativity in your indoor garden. Whether you're adding to your collection or sharing your pups with friends, there's always a new adventure to be had in the world of bromeliads.
Final Thoughts
Propagating and caring for bromeliads can be a delightful journey that adds beauty and diversity to your home. By understanding the needs of these unique plants and following the steps outlined here, you'll be well on your way to growing a thriving collection.
At Cafe Planta, we love helping plant lovers create beautiful, inviting spaces. If you have any questions about your plants, feel free to email us or message us on Instagram. We're here to support you on your plant journey and help you connect with the beauty of nature in your home.