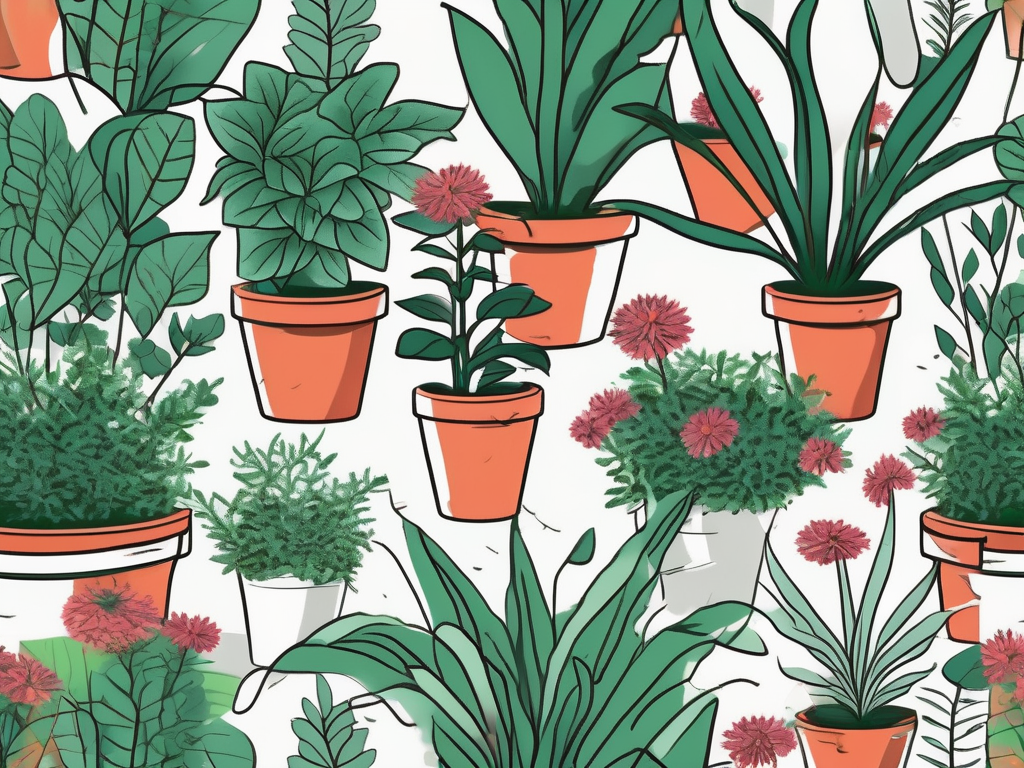
The Busy Lizzie, also known as Impatiens, is a favorite among plant lovers for its vibrant blooms and ease of care. Whether you're looking to add a splash of color to your garden or brighten up a windowsill, these plants are a fantastic choice. Their cheerful flowers and lush foliage make them a must-have for both seasoned plant parents and beginners alike.
In this guide, we'll explore the ins and outs of propagating Busy Lizzie cuttings and how to care for these delightful plants. From getting the right materials to ensuring they thrive in your home, you'll find everything you need to know to grow your own Busy Lizzies from cuttings. Let's get started!
Getting to Know Busy Lizzies
Before we jump into propagation, it's helpful to understand what makes Busy Lizzies so special. Known for their ability to bloom in various colors—ranging from pinks and purples to reds and whites—these plants are incredibly versatile. They're perfect for adding a burst of life to any space.
Busy Lizzies are part of the Impatiens family, which includes several species, but the most common for home gardening is the Impatiens walleriana. These annuals thrive in shaded or partially shaded areas, making them ideal for those tricky spots in your garden where the sun doesn't quite reach. Their preference for cooler, indirect light also makes them a lovely addition to indoor spaces.
One of the reasons Busy Lizzies are so popular is that they're relatively low-maintenance. With the right conditions, they can bloom continuously throughout the growing season, rewarding you with months of colorful displays. Plus, they're not fussy about soil types, although they do prefer it to be well-draining.
The Best Time to Take Cuttings
Timing is everything when it comes to propagation. For Busy Lizzies, the best time to take cuttings is during the spring or early summer. At this time, the plant is in its active growth phase, which means it's producing new shoots and leaves.
Taking cuttings during this period increases your chances of success, as the plant's natural growth hormones are at their peak. This helps the cuttings develop roots more quickly and efficiently, setting the stage for a healthy new plant.
If you're planning to propagate during the cooler months, it's not impossible, but it might take a bit more patience. The plant's growth slows down in autumn and winter, which can delay root formation. If you do decide to try it out of season, just be prepared for a slightly longer process.
Gathering Your Materials
To get started with Busy Lizzie cuttings, you'll need a few basic materials. Here's what you'll need to gather before you begin:
- Healthy Parent Plant: Choose a mature Busy Lizzie with vibrant, healthy growth. Avoid plants that show signs of disease or pest infestations.
- Sharp Scissors or Pruning Shears: These will be used to take the cuttings. Ensure they are clean and sharp to prevent damaging the plant.
- Small Pots or Seed Trays: These will hold the cuttings while they root. Ensure they have drainage holes to prevent waterlogging.
- Potting Mix or Rooting Medium: A well-draining potting mix or a specific rooting medium like perlite or vermiculite works best.
- Rooting Hormone (optional): While not essential, rooting hormone can speed up the rooting process.
- Watering Can or Spray Bottle: You'll need this to keep the cuttings hydrated.
Having these materials on hand will make the propagation process smooth and stress-free. Once you're set up, you're ready to start taking cuttings!
How to Take Busy Lizzie Cuttings
Taking cuttings might sound daunting, but it's actually quite simple. Follow these steps to ensure you're doing it right:
- Select the Right Stem: Choose a non-flowering stem that's healthy and robust. It should be around 4–6 inches long.
- Make the Cut: Using your sharp scissors or pruning shears, cut just below a node (the point where leaves attach to the stem). This is where new roots will form.
- Remove Lower Leaves: Gently pinch off any leaves from the lower half of the cutting. This prevents them from rotting when submerged in soil or water.
- Apply Rooting Hormone (optional): Dip the cut end of the stem into rooting hormone to encourage root growth.
- Plant the Cutting: Insert the cutting into your prepared pot or tray, ensuring the node is buried. Firm the soil around it to support the cutting upright.
- Water Gently: Use your watering can or spray bottle to moisten the soil. Be careful not to drench it; you want it damp, not soggy.
And that's it! With your cuttings planted, you're now on the road to growing your own Busy Lizzies.
Caring for Your Cuttings
Once your cuttings are planted, the next step is to care for them as they develop roots. Here are some tips to help them thrive:
- Light and Temperature: Place your cuttings in a bright, indirect light location. Avoid direct sunlight, which can scorch the delicate leaves. Keep the environment warm, ideally around 70°F (21°C).
- Humidity: Busy Lizzie cuttings love humidity. To create a humid environment, cover the pot with a plastic bag or use a propagator lid. Just ensure there's some air circulation to prevent mold.
- Watering: Keep the soil consistently moist but not waterlogged. Check it regularly by sticking your finger in the soil; if it feels dry, give it a light watering.
- Patience: Rooting can take a couple of weeks, so be patient. You'll know roots have formed when you see new growth or feel resistance when you gently tug on the cutting.
With these care tips, your Busy Lizzie cuttings will be well on their way to becoming robust plants.
Transplanting Rooted Cuttings
Once your cuttings have developed a healthy root system, it's time to transplant them into their permanent home. Here's how:
- Choose a Suitable Pot: Select a pot that is slightly larger than the root system. Ensure it has drainage holes.
- Prepare the Potting Mix: Use a well-draining potting mix. You can add perlite or sand to improve drainage if needed.
- Gently Remove the Cuttings: Carefully take the cuttings out of their current pots, taking care not to damage the roots.
- Plant in the New Pot: Place the cutting in the center of the new pot and fill around it with potting mix. Firm the soil gently to remove air pockets.
- Water Thoroughly: Give the plant a good watering to settle the soil and help the roots establish.
After transplanting, continue to care for your Busy Lizzie as you would any mature plant. Soon, you'll have a thriving plant ready to brighten up your home.
Common Problems and Solutions
Even with the best care, Busy Lizzies can run into a few issues. Here are some common problems and how to address them:
- Yellowing Leaves: This is often a sign of overwatering. Allow the soil to dry out slightly between waterings, and ensure your pot has good drainage.
- Pests: Aphids and spider mites are common pests. Treat infestations with insecticidal soap or neem oil, and keep the plant clean.
- Powdery Mildew: This fungal disease appears as a white powder on leaves. Improve air circulation around the plant and treat with a fungicide if necessary.
By staying vigilant and addressing issues promptly, you can keep your Busy Lizzies healthy and vibrant.
Designing with Busy Lizzies
Busy Lizzies are not just easy to grow; they're also versatile design elements in your home or garden. Here are some creative ways to use them:
- Container Gardens: Mix Busy Lizzies with other shade-loving plants like ferns and hostas in a container for a lush, layered look.
- Hanging Baskets: Use trailing varieties of Busy Lizzie in hanging baskets to create a cascade of color.
- Window Boxes: Plant Busy Lizzies in window boxes for a cheerful display that brightens up your home from the outside.
- Indoor Displays: Place them on a windowsill or tabletop to bring a touch of nature indoors. Pair with complementary houseplants for variety.
With their vibrant colors and compact growth habit, Busy Lizzies can fit into almost any design scheme, adding a touch of joy wherever they're placed.
Maintaining Healthy Busy Lizzies
Once your Busy Lizzies are settled in their new homes, it's all about maintenance to keep them blooming beautifully. Here are a few ongoing care tips:
- Regular Feeding: Feed your Busy Lizzies every couple of weeks with a balanced, water-soluble fertilizer during the growing season. This will support continuous blooming.
- Pruning: Trim back leggy growth to encourage bushier plants. Remove spent blooms to promote new flowers.
- Monitoring for Pests: Regularly check your plants for signs of pests or disease. Early detection makes treatment easier and more effective.
- Seasonal Care: If grown outdoors, consider bringing Busy Lizzies indoors before the first frost, as they are not frost-tolerant.
With these simple steps, your Busy Lizzies will remain healthy and full of blooms year after year.
Final Thoughts
Propagating and caring for Busy Lizzies is a rewarding experience that brings vibrant color and life into your home. From selecting the right cuttings to nurturing them into full-grown plants, each step is an opportunity to connect with nature and enjoy the beauty of these delightful flowers.
At Cafe Planta, we're here to help you on your plant journey. Whether you're looking for unique plants, care accessories, or just some plant-themed apparel, we've got you covered. If you have questions, feel free to email us or reach out on Instagram. Let's grow together!


