If you've recently discovered the joys of having a cactus or two in your home, there's a good chance you've found yourself pondering the repotting process. Cacti are unique and beautiful plants, but they can be a bit prickly in more ways than one when it comes to handling and care.
In this article, we're going to chat about everything you need to know for successful cactus repotting. From when and why to do it, to the best techniques for ensuring your cactus thrives, we'll cover all the essential details. Let's dive in and get those hands (carefully) dirty!
Understanding When to Repot Your Cactus
First things first, let's talk timing. When should you consider repotting your cactus? Unlike some houseplants, cacti don't need frequent repotting. In fact, they prefer to be left alone for the most part. However, there are a few signs that indicate it's time to give your spiky friend a new home.
- Roots peeking out: If you notice roots emerging from the drainage holes, it's a clear sign your cactus is outgrowing its pot.
- Top-heavy: A cactus that's starting to lean or wobble might need a larger pot to support its growth.
- Stunted growth: If your cactus isn't growing as it should, it might be due for a repot to refresh its soil and offer more space.
Generally, repotting is best done during the growing season, which is spring to early summer. This timing allows the cactus to recover and establish itself in its new pot before the dormant winter months.
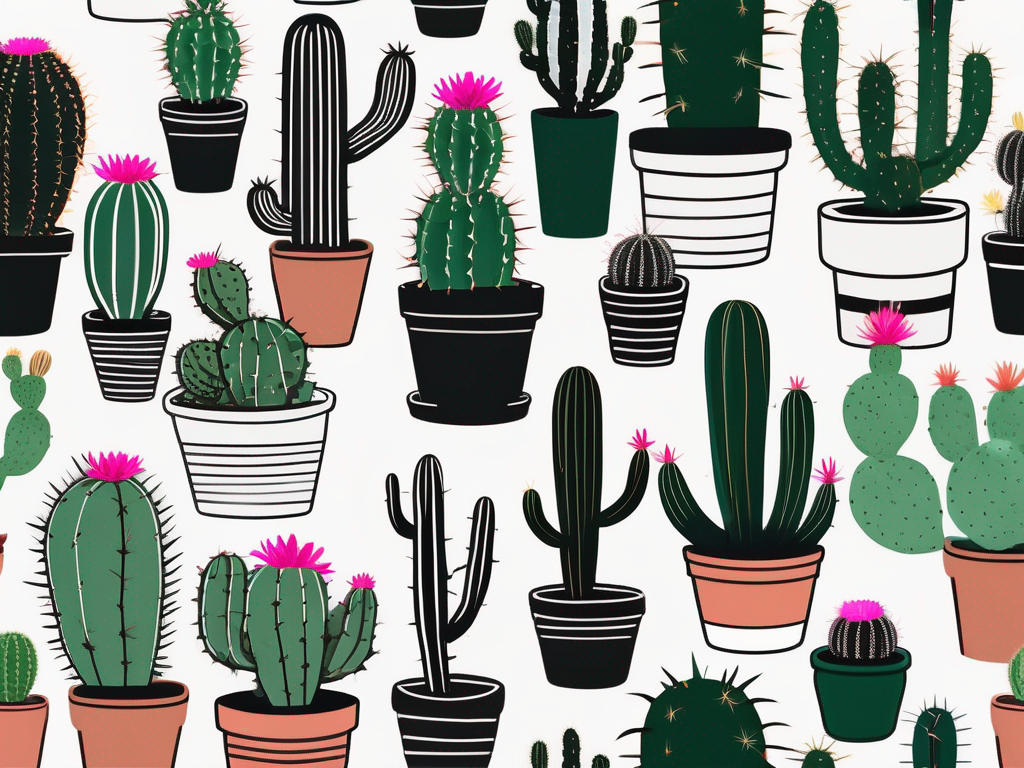
Choosing the Right Pot
Picking the perfect pot for your cactus is more than just about aesthetics. The right pot can greatly affect your plant's health and growth. Here are a few things to keep in mind:
- Size matters: Choose a pot that's slightly larger than the current one. An inch or two bigger in diameter is usually sufficient.
- Drainage is crucial: Always opt for pots with drainage holes to prevent water accumulation, which can lead to root rot.
- Material considerations: While terracotta pots are great for their breathability, plastic pots are lightweight and retain moisture longer. Consider your watering habits when choosing the material.
Remember, while it's tempting to go for the prettiest pot on the shelf, functionality should be your top priority to ensure your cactus stays healthy and happy.
Preparing the Right Soil
Cacti aren't your typical houseplants, so they need a specific soil mix to thrive. The standard potting soil you use for your other plants likely won't cut it. Here's what to look for when preparing cactus soil:
- Good drainage: A well-draining soil mix is essential to prevent waterlogged roots. You can either buy a pre-made cactus mix or create your own by mixing regular potting soil with sand, perlite, or pumice.
- Aeration: The soil should be light and airy to allow roots to breathe. Avoid dense, compact soils.
- Low organic matter: While organic matter is great for many plants, cacti prefer a soil with less of it to mimic their natural, arid environments.
Taking the time to prepare the right soil mix will set your cactus up for success and help it thrive in its new pot.
Safely Removing the Cactus from Its Pot
Now comes the part that can make even seasoned plant lovers a little nervous—removing the cactus from its pot. With their sharp spines, handling cacti requires a bit of strategy. Here are some tips to make it a safe and painless process:
- Use gloves: Thick gardening gloves or even wrap the cactus with newspaper to protect your hands.
- Loosen the soil: Gently squeeze or tap the sides of the pot to help loosen the soil and roots.
- Careful extraction: Hold the cactus (protected by gloves or newspaper) and gently tip the pot upside down, tapping the bottom to release the plant.
If the cactus is stubborn, be patient. Avoid tugging too hard to prevent damaging the roots or the plant itself. Sometimes a gentle nudge with a stick can help coax it out.
Trimming and Examining the Roots
Once your cactus is out of the pot, it's a great opportunity to check its roots. Healthy roots are crucial for nutrient absorption and overall plant health. Here's what to do:
- Inspect for rot: Look for any signs of root rot, which appears as mushy, discolored roots. Trim these away with clean, sharp scissors.
- Trim excess roots: If your cactus has an extensive root system, you can trim some of the longer roots. This encourages new root growth and helps the plant settle into its new pot.
- Let it dry: Allow the roots to dry for a day before repotting. This helps prevent potential infections from cuts or tears.
Taking the time to care for the roots will help ensure your cactus has a strong foundation in its new pot.
Repotting Your Cactus
With the roots ready, it's time to move your cactus to its new home. This is a straightforward process, but a few details can make all the difference:
- Add soil to the new pot: Start by filling the new pot with a layer of your prepared cactus soil mix.
- Position the cactus: Gently place the cactus in the center of the pot. Ensure it's upright and at the same depth as it was in the old pot.
- Fill in around the roots: Add more soil around the roots, pressing lightly to remove air pockets but not so much that the soil becomes compacted.
Once repotted, give your cactus a week or so before watering. This waiting period allows any root damage to heal, reducing the risk of rot.
Watering After Repotting
Watering is a crucial aspect of cactus care, especially after repotting. However, it's important to resist the urge to water immediately. Here's how to manage watering post-repotting:
- Wait to water: Hold off on watering for about a week. This gives the cactus time to adjust and heal any potential root injuries.
- Water sparingly: When you do water, ensure the soil is thoroughly soaked, but let it dry out completely between waterings.
- Mind the season: During the dormant winter months, cacti need much less water. Adjust your watering schedule accordingly.
By being mindful of your watering practices, you'll help your cactus thrive in its new pot.
Dealing with Common Issues
Even with the best intentions, sometimes things don't go as planned. Here are some common issues you might encounter and how to address them:
- Yellowing: This can indicate overwatering. Ensure your pot has good drainage and adjust your watering frequency.
- Wilting: If your cactus appears limp, it might be underwatered. Check the soil moisture and water accordingly.
- Pests: Occasionally, cacti can attract pests like spider mites or mealybugs. A gentle spray of water or a natural insecticide can help manage these pests.
By keeping an eye on these potential problems, you can quickly address them and keep your cactus in top shape.
Creating a Cactus-Friendly Environment
Beyond the pot and soil, your cactus's environment plays a big role in its overall health. Here are some tips to create a welcoming space for your plant:
- Light: Cacti love bright light. A south-facing window is ideal, but be mindful of too much direct sun, which can scorch the plant.
- Temperature: These plants appreciate warm, dry conditions. Keep them away from drafty windows or air conditioning vents.
- Humidity: Cacti thrive in low-humidity environments. If your home is particularly humid, consider using a dehumidifier or placing the cactus in a drier room.
By creating an environment that mimics their natural habitat, you'll ensure your cactus continues to grow strong and healthy.
Final Thoughts
Repotting your cactus may seem like a daunting task, but with the right guidance, it's a rewarding process that can greatly benefit your plant's health and growth. Remember to pay attention to timing, choose the right pot and soil, and handle your cactus with care.
At Cafe Planta, we're passionate about helping you care for your plants. Whether you're looking for new additions to your collection or need advice on plant care, we're here to support you. Feel free to email us, or reach out on Instagram. Let's connect and share the love of plants together!


