If you're a plant lover, you've probably come across the Cymbidium orchid at some point. These stunning plants are known for their elegant flowers, but today we'll focus on something often overlooked: the leaves. Understanding the leaves of your Cymbidium orchid is crucial for its care and maintenance.
This article will cover everything you need to know about Cymbidium orchid leaves, from their appearance to care tips and common issues. Whether you're a seasoned plant parent or just starting out, you'll find useful insights to help your Cymbidium thrive.
Recognizing Healthy Cymbidium Orchid Leaves
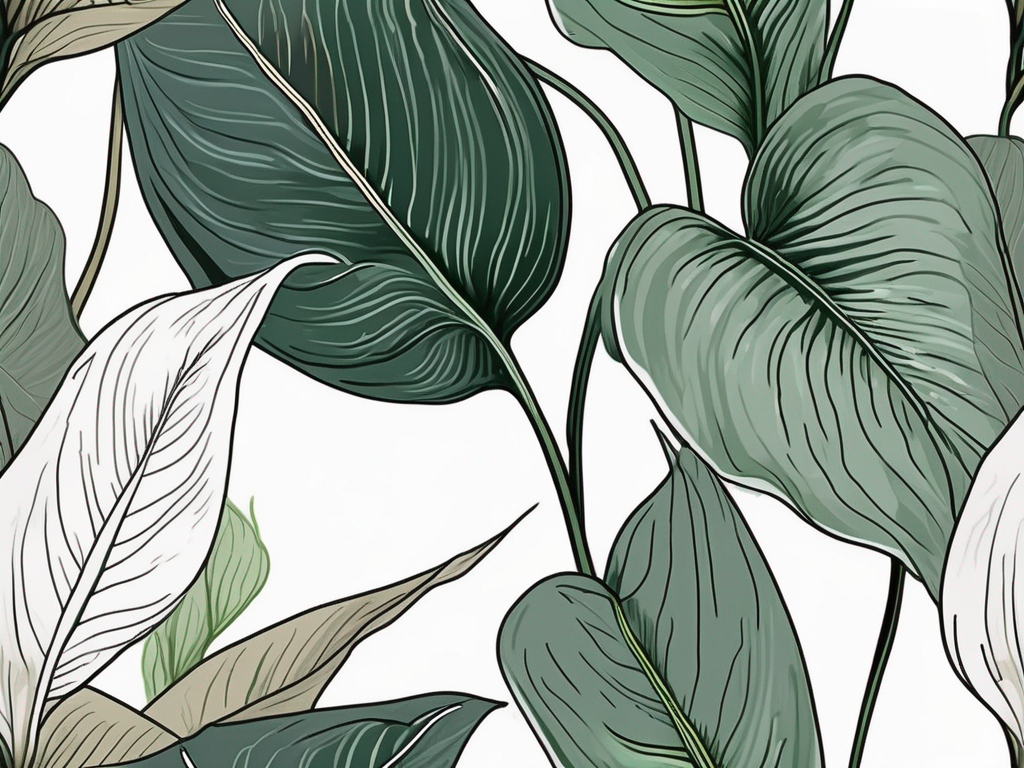
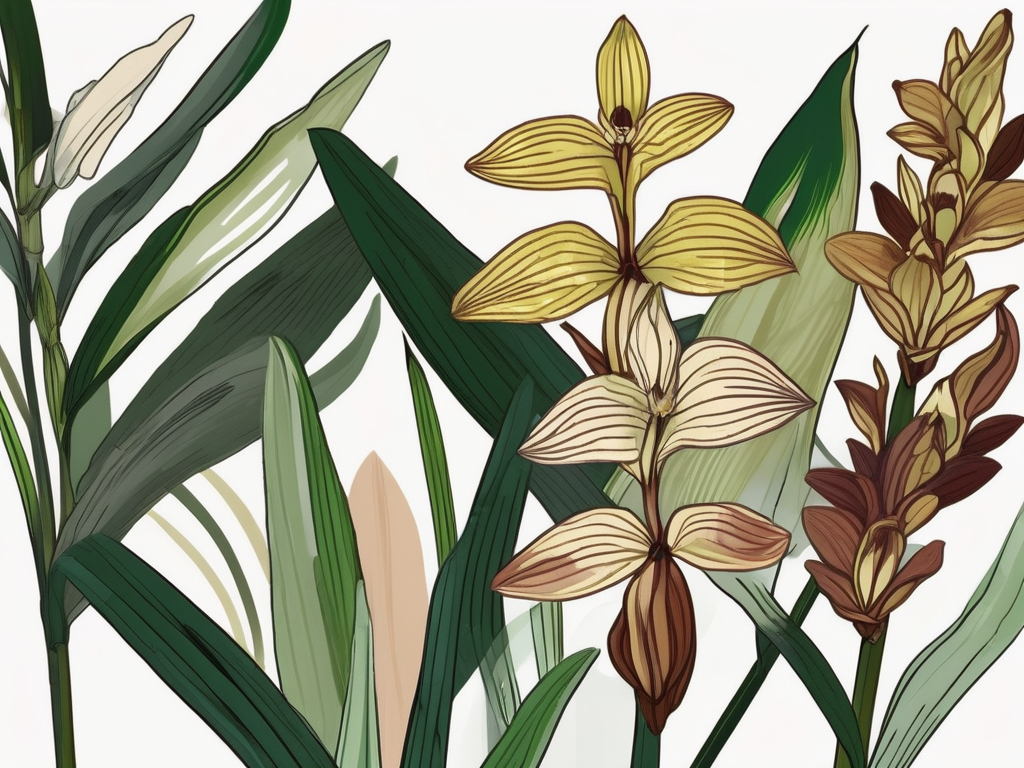
Cymbidium orchid leaves are typically long, narrow, and arch gracefully from the plant, creating a lush backdrop for the vibrant blooms. But what do healthy leaves really look like? Knowing this can help you quickly identify any potential issues with your plant.
Healthy Cymbidium leaves should be a rich, vibrant green. This color indicates that the plant is photosynthesizing well and receiving adequate light and nutrients. The texture of the leaves should be firm but not brittle. If you gently run your fingers along the leaf, it should feel smooth without any rough patches or spots.
Another indicator of a healthy leaf is its flexibility. While the leaves should be firm, they should also have some give. If the leaves snap or break easily, it might be a sign of dehydration or a nutrient deficiency. Just like how we need a balanced diet, plants need their nutrients too!
If you’re noticing any discoloration, such as yellowing or browning, it might be time to reassess your care routine. More on that in the next sections. For now, remember that keeping an eye on your plant's leaves is one of the best ways to catch issues early.
Understanding Light Requirements
Light is essential for all plants, and Cymbidiums are no exception. They require bright, indirect light to keep their leaves healthy and vibrant. Direct sunlight can be too harsh, causing the leaves to scorch and turn yellow or brown.
In their natural habitat, Cymbidiums grow under the canopy of larger plants, so they’re used to filtered light. Mimicking this environment at home can help your plant thrive. If you notice the leaves are turning a lighter shade of green, it might be a sign they’re getting too much light. On the other hand, if they’re dark green and a bit floppy, they might need more light.
Placing your Cymbidium near an east or west-facing window usually provides the right amount of light. If you’re using artificial lighting, aim for about 12-14 hours of light per day. Just be sure not to place them too close to the source, as the heat might damage the leaves.
Remember, adjusting the light conditions gradually is key. Sudden changes can stress the plant, leading to leaf drop or other issues. So, if you’re moving your Cymbidium, do it a little at a time. Your plant will thank you!
Watering Your Cymbidium Orchid
Watering is one of those aspects of plant care that can be a bit tricky, but it’s crucial for keeping your Cymbidium orchid’s leaves healthy. These orchids prefer to have their roots moist but not soggy. Overwatering can lead to root rot, while underwatering can cause the leaves to become dry and brittle.
A good rule of thumb is to water your Cymbidium when the top inch of the soil feels dry to the touch. The frequency will depend on factors like humidity, temperature, and the size of your pot. In general, watering once a week is a good starting point. During the growing season, you might need to water more frequently, while in winter, you can reduce the frequency.
When watering, make sure to soak the entire root system. You can do this by watering until you see excess water draining from the bottom of the pot. This ensures that the roots get enough moisture without sitting in water, which can cause rot.
Using room temperature water is best, as cold water can shock the plant. And if possible, use rainwater or distilled water to avoid the buildup of minerals that can harm your plant over time. Remember, the leaves of your Cymbidium will often reflect how well you’re watering, so keep an eye on them for clues.
The Role of Humidity
Humidity plays a significant role in the health of Cymbidium orchids, particularly their leaves. These plants naturally grow in humid environments, so maintaining similar conditions at home can help them thrive.
Ideally, Cymbidiums prefer a humidity level of around 50-70%. If you live in a dry climate, you might need to take extra steps to increase humidity around your plant. One simple way to do this is by placing a tray of water near the plant. As the water evaporates, it will increase the humidity in the immediate area.
Another option is to use a humidifier, especially during winter months when indoor heating can dry out the air. You can also mist your plant lightly, but be cautious not to overdo it, as excessive moisture on the leaves can lead to fungal issues.
Keep an eye on the leaves for signs of low humidity, such as curling or browning edges. If you notice these, it might be time to boost the moisture levels around your plant. Just like adjusting light conditions, any changes in humidity should be gradual to avoid stressing your Cymbidium.
Pest Management for Cymbidium Leaves
Even with the best care, pests can sometimes find their way to your Cymbidium orchid. The leaves are often the first place you’ll notice signs of an infestation. Common pests include aphids, spider mites, and mealybugs.
Aphids are small, soft-bodied insects that can cause leaves to curl and yellow. They often congregate on the undersides of leaves, making them easy to miss at first glance. Spider mites, on the other hand, are tiny and can create a web-like substance on the leaves. Mealybugs appear as small cottony masses and can cause leaves to drop if not managed quickly.
To keep your Cymbidium pest-free, regularly inspect the leaves for signs of insects. If you spot any, act swiftly. A strong spray of water can dislodge some pests, while others might require wiping the leaves with a mixture of water and mild dish soap. For more stubborn infestations, consider using an insecticidal soap or neem oil, which are both effective and safe for your plant.
Prevention is also key. Keeping your plant healthy and stress-free makes it less susceptible to pests. Additionally, avoiding overcrowding and ensuring good air circulation can help keep those pesky bugs at bay.
Dealing with Fungal Issues
Fungal issues can be a headache for Cymbidium orchid owners, especially when they affect the leaves. These issues often manifest as spots or patches on the leaves and can sometimes be mistaken for pest damage.
Common fungal infections in Cymbidiums include leaf spot and root rot. Leaf spot appears as small, dark lesions that can spread if not addressed, while root rot, although it starts in the roots, can cause the leaves to yellow and wilt.
To prevent fungal issues, it's important to maintain good airflow around your plant and avoid letting water sit on the leaves. If you notice signs of infection, remove the affected leaves to prevent the spread. You can also treat the plant with a fungicide specifically designed for orchids.
Keep in mind that overwatering and high humidity can exacerbate fungal problems, so always aim for balance in your care routine. If you're ever unsure, a quick check of your watering and humidity practices might offer some clues.
Repotting and Soil Considerations
Repotting your Cymbidium orchid can seem like a daunting task, but it’s crucial for maintaining healthy leaves. Over time, the potting medium can break down, affecting drainage and air circulation around the roots.
Typically, Cymbidiums need repotting every 2-3 years. Signs that it might be time include roots growing out of the pot or the plant becoming top-heavy. When repotting, choose a medium specifically designed for orchids, often a mix of bark, perlite, and charcoal.
When transferring your plant, be gentle with the roots. Trim away any dead or rotting roots before placing the plant in its new pot. After repotting, avoid fertilizing for a few weeks to let the plant adjust. This will help the leaves recover and start fresh.
Remember, a well-draining potting mix not only supports root health but also helps maintain the overall well-being of your Cymbidium orchid, particularly the leaves.
Fertilizing for Vibrant Leaves
Fertilizing your Cymbidium orchid is another important component of leaf health. These plants have specific nutrient needs, and a balanced fertilizer can help meet them.
During the growing season, typically spring through early fall, feed your Cymbidium every two weeks with a balanced orchid fertilizer. A 20-20-20 formula is a good choice, as it provides equal parts nitrogen, phosphorus, and potassium. These nutrients help promote healthy leaf growth and vibrant blooms.
In the winter months, reduce feeding to once a month. Over-fertilizing can lead to salt buildup, which can burn the roots and affect the leaves. If you notice white crusts on the soil surface, it might be time to flush the pot with water to remove excess salts.
As always, following the instructions on your fertilizer package will ensure you're providing the right amount of nutrients without overdoing it. Your Cymbidium's leaves will often reflect the plant's overall health, so keeping them vibrant is a good indicator of proper fertilizing practices.
Final Thoughts
Caring for Cymbidium orchid leaves involves attention to detail and understanding their needs. From light and water requirements to pest management and fertilizing, every aspect plays a role in maintaining healthy, vibrant leaves.
At Cafe Planta, we're passionate about helping you care for your plants. Whether you're looking for unique houseplants or need advice on plant care, we're here for you. Feel free to reach out via email or connect with us on Instagram. We believe in the power of plants to bring people together and inspire a deeper connection with nature. Let's grow together!

