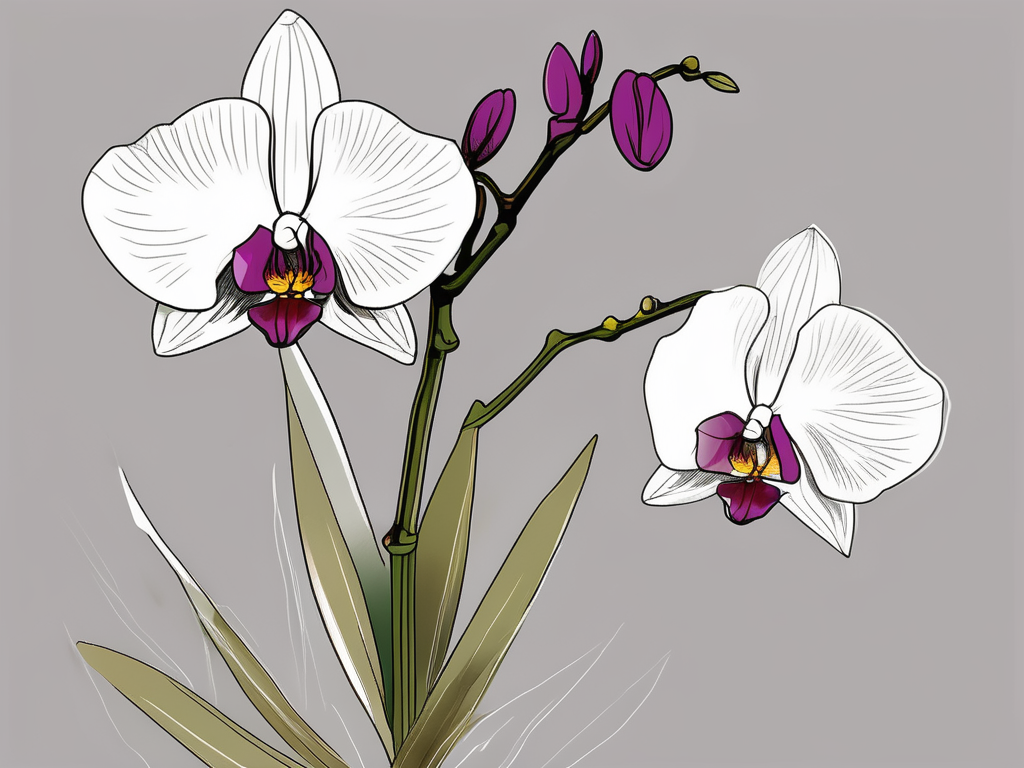
So, you’ve got a beautiful Dendrobium orchid and you’re thinking about propagating it. Maybe it’s flourishing so well that you want more of its charming presence around your home, or perhaps you’re looking to share some plant love with friends or family. Whatever the reason, learning how to take cuttings from your Dendrobium orchid can be both exciting and rewarding.
In this blog post, we’ll walk you through the entire process of propagating Dendrobium orchids through cuttings. We’ll cover everything from the basics of what you need, to tips on ensuring your cuttings take root successfully. By the end, you’ll be ready to try your hand at growing new orchids from your existing plant.
Getting to Know Dendrobium Orchids
Dendrobium orchids are one of the largest orchid genera, boasting over 1,200 species. These beauties come in various shapes and colors, making them a favorite among plant lovers. They’re known for their adaptability and ability to thrive in different environments, from tropical rainforests to arid deserts.
Before you start snipping away, it’s crucial to understand a bit about the plant you're working with. Dendrobiums are epiphytic orchids, which means they naturally grow on trees, relying on air and rain for moisture. This gives them a unique root system designed to cling to surfaces rather than dig into soil.
When propagating these orchids, you’ll often focus on the canes. These are the thick, fleshy stems that store nutrients and water. Understanding how these canes function will help you make informed decisions about where and how to take your cuttings.
Tools and Materials You'll Need
Before diving into the propagation process, gather the necessary tools and materials. Having everything on hand will make the process smoother and more enjoyable. Here’s a list of what you’ll need:
- Sharp, sterile scissors or pruning shears: Clean cuts prevent damage and reduce the risk of infection.
- Rooting hormone (optional): This can help encourage root growth, but it’s not strictly necessary.
- Clean pots or containers: Choose containers with good drainage to prevent waterlogging.
- Orchid potting mix: A mix designed for orchids will provide the aeration and drainage your cuttings need.
- Spray bottle: Keeping the humidity up without overwatering is key.
- Plastic bags or a humidity dome: These help maintain a humid environment for your cuttings.
Once you’ve gathered your supplies, it’s time to find the perfect spot and start cutting. Make sure you have a clean workspace to keep everything organized.
Choosing the Right Cane for Cuttings
Not just any cane will do when you’re propagating your Dendrobium orchid. You’ll want to select a healthy, mature cane—one that’s already finished blooming and is at least a year old. Younger canes are still developing, and cutting them can hinder their growth.
Inspect the cane for any signs of disease or damage. A healthy cane should be firm, plump, and blemish-free. Look for canes with visible nodes, as these are the points where new growth will emerge.
When choosing a cane, consider the overall health of your plant. Avoid taking too many cuttings at once, as this can stress your orchid. If your plant is already struggling, it’s best to hold off on propagation until it’s in better shape.
Making the Cut: Step-by-Step Instructions
Now that you’ve identified the perfect cane, it’s time to make your cuttings. Follow these steps to ensure a clean and successful process:
- Sanitize your tools: Use rubbing alcohol or a bleach solution to sterilize your scissors or pruning shears. This step is crucial to prevent the spread of disease.
- Identify the nodes: Look for the small, raised bumps along the cane. These are the nodes where new roots and shoots will develop.
- Cut between the nodes: Make your cut just below a node. Each cutting should have at least two nodes to increase the chances of successful propagation.
- Seal the cut ends: Dip the cut ends in rooting hormone if you’re using it. This can help stimulate root growth.
- Prepare your potting mix: Fill your pots or containers with orchid potting mix, ensuring it’s damp but not soggy.
- Plant the cuttings: Insert the cut end of each cane into the potting mix, covering at least one node. Ensure the cutting is stable and upright.
With your cuttings in place, it’s time to create the right environment for them to thrive.
Creating the Ideal Environment for Rooting
Rooting Dendrobium cuttings requires a balance of humidity, warmth, and light. Here’s how to create an optimal environment for your new plants:
- Humidity: Aim for high humidity levels, around 50-70%. Cover the pots with plastic bags or use a humidity dome to trap moisture. Open it occasionally to allow fresh air circulation.
- Temperature: Keep the cuttings in a warm place with temperatures between 65°F and 75°F (18°C to 24°C).
- Light: Provide bright, indirect light. Avoid direct sunlight, as it can scorch the cuttings.
Check the moisture level regularly and mist the cuttings with a spray bottle to maintain humidity. Be cautious not to overwater, as this can lead to rot.
Patience and Monitoring
Propagating orchids takes time, so patience is key. It may take several weeks to months for roots to develop, depending on the conditions and the specific Dendrobium species you’re working with.
During this period, keep a close eye on your cuttings. Look out for signs of rot or mold, which can develop in overly humid conditions. If you notice any issues, adjust the environment by increasing air circulation or reducing humidity.
As your cuttings grow, they’ll begin to send out new roots and shoots. This is an exciting time, as it means your propagation efforts are paying off!
Transplanting Your New Orchids
Once your cuttings have established roots and new growth, it’s time to transplant them into their own pots. Here’s how to do it:
- Select a suitable pot: Choose a pot that allows room for growth but isn’t too large. Orchids prefer snug environments for their roots.
- Prepare fresh orchid mix: Use a specialized orchid potting mix to provide the right balance of drainage and aeration.
- Remove the cutting: Gently remove the cutting from its current container, taking care not to damage the new roots.
- Plant in the new pot: Position the cutting in the center of the pot and fill in around it with the fresh mix. Ensure the plant is stable and upright.
- Water sparingly: Give the newly potted orchid a light watering, but avoid soaking it. Allow it to dry slightly between waterings.
After transplanting, continue providing the same care as before, focusing on humidity, warmth, and indirect light to encourage further growth.
Common Challenges and Troubleshooting
Propagating orchids isn’t always a smooth journey. Here are some common challenges you might face and how to address them:
- Rotting cuttings: If your cuttings start to rot, it’s likely due to excessive moisture. Reduce watering and improve air circulation to prevent mold growth.
- No new growth: If you’re not seeing any new shoots or roots, check the environment. Are the humidity and temperature levels appropriate? Adjust as needed.
- Pests: Keep an eye out for pests like spider mites or aphids. If you spot them, treat your plants with insecticidal soap or neem oil.
Persistence is crucial, and sometimes it takes a bit of trial and error to get things right. Don’t be discouraged if your first attempt isn’t successful. Learn from the experience and try again!
Integrating Dendrobium Orchids into Your Home Decor
Now that you’ve successfully propagated your Dendrobium orchids, it’s time to think about how they’ll fit into your home. Orchids can be stunning additions to any space, bringing a touch of elegance and nature indoors.
Consider placing your new orchids in areas with bright, indirect light. They can thrive on windowsills or in rooms with plenty of natural light. Orchids also do well in bathrooms, where the humidity from showers can mimic their natural environment.
To add a decorative flair, choose stylish pots or planters that complement your home’s aesthetic. Grouping several orchids together can create a visually appealing display, highlighting their unique colors and forms.
Whether you’re placing them in your living room, kitchen, or even your office, Dendrobium orchids can enhance the beauty and tranquility of any space.
Sharing Your Success with Others
One of the joys of propagating orchids is the ability to share them with friends and family. Consider giving a propagated orchid as a gift, complete with a personalized note about its origin and care instructions.
Sharing plants can be a wonderful way to connect with others and spread the joy of gardening. Plus, knowing that your plant is thriving in another home can be incredibly rewarding.
Encourage your recipients to try their hand at propagation as well, passing on the knowledge and love for these beautiful plants.
Final Thoughts
Propagating Dendrobium orchids through cuttings is a rewarding process that allows you to expand your plant collection and share the joy of orchids with others. Remember to be patient and attentive to your cuttings' needs as they develop.
At Cafe Planta, we’re here to support you on your plant journey. Whether you need advice or are looking for new additions to your collection, we’re just an email or Instagram DM away. Let’s grow our love for plants together!

