Growing calla lilies from seeds might seem like an art reserved for experienced gardeners, but with the right guidance, anyone can enjoy the beauty of these stunning flowers right in their home. Whether you're a seasoned plant lover or just starting out, nurturing calla lilies from seeds can be a rewarding experience that adds a touch of elegance to any space.
This article will walk you through everything you need to know about growing calla lily seeds. From preparing your seeds and understanding their unique needs to potting, caring, and designing spaces with these beautiful plants, you'll gain all the insights needed to successfully grow and enjoy calla lilies in your home.
Understanding Calla Lilies
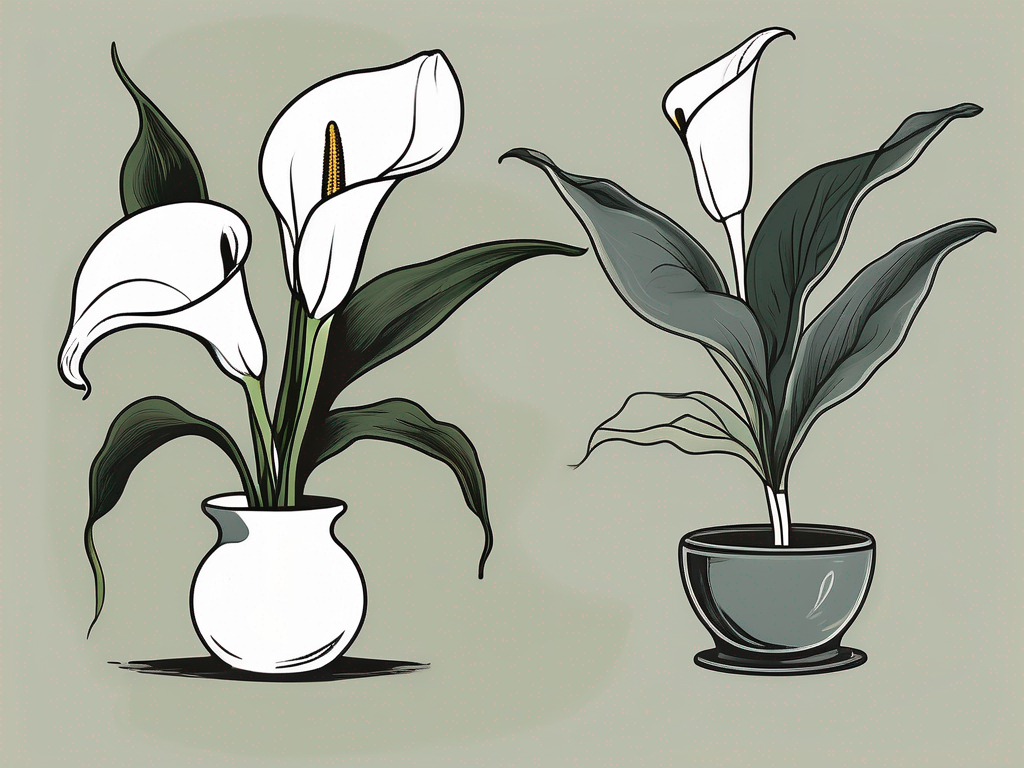
Before diving into the intricacies of growing calla lilies from seeds, it’s important to get to know the plant itself. Calla lilies are native to southern Africa and are known for their elegant, trumpet-shaped flowers. These blooms come in a variety of colors, including white, pink, yellow, and purple, making them a versatile choice for any plant collection.
Calla lilies are not actually true lilies. They belong to the Araceae family, and their unique flowering structure makes them quite popular in floral arrangements and gardens. Understanding this background helps us appreciate their growing needs and the care they require.
Interestingly, calla lilies are not only grown for their aesthetic appeal but also for their symbolism. They often represent purity, rebirth, and beauty, which is why you'll frequently find them in weddings and other ceremonies. Knowing these little tidbits adds a layer of appreciation as you embark on the journey of growing them from seeds.
Choosing the Right Seeds
Picking the right seeds is the first step towards growing healthy calla lilies. While it may be tempting to grab the first packet you see, it's worth investing a little time in choosing quality seeds. High-quality seeds will have a higher germination rate, leading to healthier, more vibrant plants.
When selecting seeds, it’s beneficial to buy from reputable sources or nurseries. This ensures that the seeds are viable and free from disease. If you’re ordering online, checking reviews and ratings can give you some insight into the seed quality you'll be receiving.
Moreover, consider the color and variety of calla lilies you want. Different varieties might have slightly different growing needs, so doing a bit of research can help you pick the perfect seeds for your space and climate. Once you've chosen your seeds, storing them properly until you’re ready to plant is key. Keep them in a cool, dry place to maintain their viability.
Preparing for Planting
Once you've secured your seeds, the next step is preparing for planting. This involves gathering the necessary materials and setting up a conducive environment for the seeds to germinate. Here's a simple checklist to get you started:
- Potting Mix: Use a well-draining potting mix. Calla lilies prefer a soil that retains moisture but doesn't stay soggy.
- Containers: Choose containers with drainage holes to prevent waterlogging. You can start with small pots and transfer them to larger ones as they grow.
- Location: Find a spot with bright, indirect sunlight. Direct sunlight can be too harsh for seedlings.
- Watering Can: Opt for a watering can with a fine spout to gently water the seeds without washing them away.
Having everything ready before you start planting helps the process go smoothly and ensures your seeds have the best start possible. Arrange your setup in a place that's easy to access and maintain, as you'll be checking on your seeds regularly in the coming weeks.
How to Plant Calla Lily Seeds
Planting calla lily seeds requires a bit of patience, but the process itself is straightforward. Here’s a step-by-step guide to help you get started:
- Soak the Seeds: Begin by soaking your seeds in water for 24 hours. This helps soften the seed coat and encourages germination.
- Prepare the Soil: Fill your containers with the potting mix, leaving about an inch of space at the top.
- Plant the Seeds: Place the seeds on the soil surface, spacing them out to give each seed room to grow. Cover them lightly with a thin layer of soil.
- Water Gently: Use your watering can to moisten the soil. Be careful not to overwater, as this can lead to rot.
- Cover and Wait: Cover the pots with plastic wrap to create a mini greenhouse effect. Place them in a warm area with indirect sunlight.
Germination can take a few weeks, so patience is essential. During this period, check the soil regularly to ensure it remains moist. Once you see sprouts emerging, it's time to remove the plastic wrap and gradually introduce the seedlings to more light.
Caring for Your Seedlings
Once your calla lily seeds have sprouted, the care routine shifts a bit. Seedlings are delicate and require consistent attention to ensure they grow into strong, healthy plants.
Light: Ensure they receive bright, indirect sunlight. If natural light is insufficient, consider using a grow light to supplement.
Watering: Keep the soil consistently moist but not soggy. Overwatering can lead to root rot, so always check the top inch of soil before watering.
Fertilizing: Once your seedlings have a few sets of true leaves, you can start feeding them with a diluted liquid fertilizer every two weeks.
Transplanting: As your seedlings grow, they’ll need more space. When they outgrow their initial pots, transplant them into larger containers or directly into the garden if the weather permits.
By giving your seedlings the right care, you'll help them develop into robust calla lilies that can thrive in your home or garden. Keep a close eye on their progress, and adjust your care routine as needed to meet their developing needs.
Dealing with Common Issues
Growing plants from seeds comes with its fair share of challenges, and calla lilies are no exception. But with a bit of knowledge, you can easily tackle most issues that arise.
Pests: Common pests like aphids and spider mites can be managed with neem oil or insecticidal soap. Regularly inspect your plants and act promptly if you notice any infestation.
Diseases: Fungal issues such as root rot or powdery mildew can occur if the environment is too damp. Ensure proper ventilation and avoid overwatering to prevent these problems.
Yellowing Leaves: This can be a sign of overwatering, nutrient deficiency, or insufficient light. Evaluate your care routine and make adjustments as needed.
Addressing these issues promptly will help keep your calla lilies healthy and thriving. It's a learning curve, and even experienced plant parents encounter hiccups along the way. The key is to stay observant and be willing to adapt your care routine.
Designing with Calla Lilies
Calla lilies can be a stunning addition to your indoor or outdoor space. Their striking blooms and elegant foliage make them perfect for creating a focal point in any setting. Here’s how you can incorporate them into your home design:
- Indoor Displays: Use calla lilies in decorative pots on windowsills or as a centerpiece on your dining table to add a touch of sophistication.
- Outdoor Gardens: Plant them in garden beds or borders for a splash of color during blooming season. Pair them with complementary plants for a cohesive look.
- Floral Arrangements: Their long, sturdy stems make them ideal for bouquets and floral arrangements. They can serve as the star of the show or complement other flowers.
By thoughtfully incorporating calla lilies into your design, you can enhance the beauty of your space and create an inviting atmosphere. Don’t be afraid to experiment with different arrangements and placements to find what works best for your home.
Harvesting Seeds for Future Planting
If you're feeling adventurous, you can harvest seeds from your calla lilies to grow new plants in the future. Here’s how you can do that:
- Let Flowers Mature: Allow the flowers to fully mature and wither on the plant. This is when seed pods begin to develop.
- Collect Seed Pods: Once the seed pods turn brown and start to split open, carefully collect them from the plant.
- Extract Seeds: Open the pods to extract the seeds. Spread them out on a paper towel to dry for a few days.
- Store Seeds: Store the dried seeds in a cool, dry place. Label them with the date to keep track of their viability.
Harvesting your own seeds is a great way to continue growing calla lilies without having to purchase new seeds each season. Plus, it gives you a deeper connection to the plants you’re nurturing.
Benefits of Growing from Seeds
While growing from seeds can take a bit more time and effort than buying established plants, it comes with its own set of benefits:
- Cost-Effective: Seeds are generally cheaper than buying mature plants, allowing you to grow more plants for less money.
- Variety: You have access to a wider variety of calla lilies, including unique colors and rare hybrids.
- Personal Satisfaction: Watching your plants grow from tiny seeds to blooming beauties is incredibly rewarding.
By taking the seed route, you’ll gain a deeper appreciation for the growth process and enjoy the unique experience of nurturing plants from their earliest stages.
Final Thoughts
Growing calla lilies from seeds is a fulfilling journey that allows you to connect with nature and bring beauty into your home. From selecting the right seeds to nurturing them through each stage of growth, you'll find joy in every step of the process.
At Cafe Planta, we're here to support you in your plant journey. Whether you have questions or need more supplies, feel free to reach out via email or drop us a message on Instagram. We're excited to share our love of plants with you and help you create a beautiful, thriving plant collection in your home.

