Have you ever thought about adding a bit of greenery to your home but felt unsure where to start? Kimberly Queen ferns might be just what you need. These ferns, with their vibrant green leaves, can brighten up any space and are relatively easy to grow from seeds.
In this article, we'll go through everything you need to know about Kimberly Queen fern seeds. From understanding how to plant and care for them to incorporating them into your home decor, we've got you covered. Let's get started!
The Allure of Kimberly Queen Ferns
Kimberly Queen ferns are often praised for their striking appearance and hardy nature. Unlike some of their more delicate cousins, these ferns are tough and resilient, making them a favorite among plant lovers. But what makes them so special?
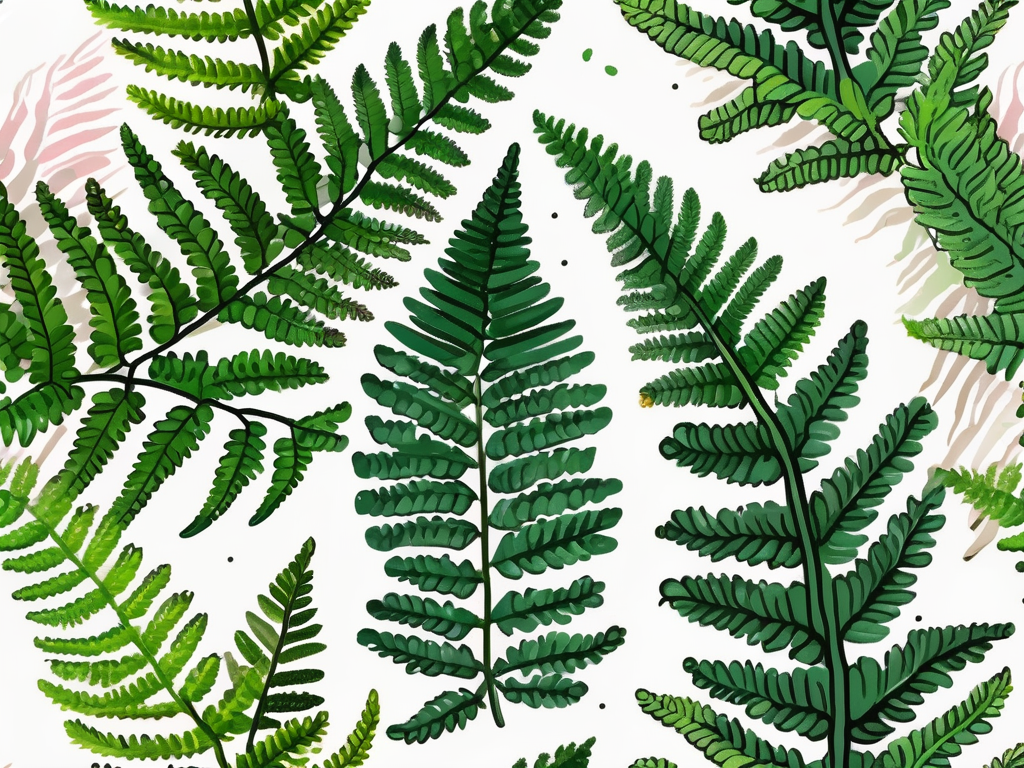
First off, their upright, sword-like leaves give them a neat and tidy look, which is perfect for those who love order in their plant collection. They don't sprawl out like some ferns, which means they fit nicely into tight spaces. Plus, they're excellent at purifying the air, so they're not just a pretty face. They do wonders for your indoor air quality as well.
While they're native to Australia, their adaptability means they can thrive in various environments, making them a versatile choice for many homes. Whether you're in a sunny apartment or a more shaded house, there's a place for a Kimberly Queen fern in your space.
Getting Started with Fern Seeds
Growing Kimberly Queen ferns from seeds is an exciting journey, but it's helpful to know what you're getting into. Unlike your typical sunflower or bean seeds, fern seeds are a bit different. Technically, what you're working with are spores, which are much smaller and require a bit more attention to detail.
But don't worry! While it might sound complicated, it's a rewarding process once you get the hang of it. Here's a brief overview of what to expect:
- Patience is key: Ferns take their time to grow, so prepare for a journey rather than a sprint.
- Keep it moist: Fern spores need constant moisture to germinate. It's like a spa day, every day.
- Light matters: While they don't need direct sunlight, a bright, indirect spot is ideal.
Once you've got these basics down, you're well on your way to growing your very own Kimberly Queen fern.
Planting Your Fern Seeds
So, you've got your fern spores—now what? Planting them is a bit of an art, but with a little care and attention, you'll be on your way to a lush, green fern in no time.
First, you'll want to prepare a shallow container with a mixture of peat moss and sand. This mix provides the right balance of moisture retention and drainage. Spread the spores evenly across the surface—it's like sprinkling fairy dust, but with a purpose!
Next, cover the container with clear plastic or a glass lid to create a humid environment. Think of it as a mini greenhouse. Place the container in a spot with bright, indirect light. Remember, direct sunlight can be too harsh, so keep an eye on where those rays are coming from.
Now, it's a waiting game. Keep the soil consistently moist by misting it regularly. The spores will eventually develop into a green film, which is a sign that your ferns are on their way. Once you see tiny fern leaves, it's time to celebrate—you've got seedlings!
Caring for Your Growing Ferns
Once your ferns start to grow, they require a little more attention to ensure they thrive. Here are some tips to keep them happy and healthy:
- Watering: Ferns love humidity, so keep the soil moist but not soggy. Misting the leaves can also help, especially in dry environments.
- Lighting: As they grow, adjust their lighting. They’ll continue to enjoy bright, indirect light, but as they mature, they can handle slightly more light.
- Feeding: Feed your ferns with a balanced liquid fertilizer every month during the growing season to give them a nutrient boost.
By following these simple care guidelines, you'll help your Kimberly Queen ferns flourish, adding that lovely green touch to your home.
Dealing with Common Fern Problems
Even the hardiest plants can encounter issues, and Kimberly Queen ferns are no exception. Luckily, most problems have straightforward solutions.
If you notice your fern's leaves turning brown, it could be a sign of too much direct sunlight or insufficient humidity. Try moving your plant to a shadier spot and misting more frequently.
Pests like spider mites can also be an issue. If you spot any unwelcome guests, a gentle spray of water mixed with dish soap can help clear them out. Just be sure to rinse your plant afterward to avoid any soap residue.
Fungal issues can arise from overly moist conditions, so ensure that your soil has good drainage and avoid letting water sit in the saucer under the pot.
Incorporating Ferns into Your Home Decor
One of the beauties of Kimberly Queen ferns is their versatility in home decor. Their structured form makes them ideal for a variety of settings.
Consider placing them in a hanging basket to take advantage of their elegant droop. If you have a bookshelf or a high shelf, a fern can add a lovely green cascade. For modern spaces, a sleek pot with a single fern can serve as a striking focal point.
Don't be afraid to play with different textures and colors in your pots. The deep green of the fern pairs beautifully with both neutral tones and vibrant shades, allowing for creativity in your decor.
Potting and Repotting Your Ferns
As your Kimberly Queen fern grows, it will eventually outgrow its pot. Recognizing when it's time to repot is crucial for continued health.
If you notice roots growing out of the drainage holes or the soil drying out much faster than usual, these are signs that your plant needs more space. Choose a pot that's one size larger, and make sure it has good drainage.
When repotting, gently remove your fern from its current pot and loosen any compacted roots. Place it in the new pot with fresh soil, and water it well to help it settle in. Repotting can be a bit stressful for the plant, so it's best done in the growing season when the fern can recover more easily.
Choosing the Right Soil for Your Fern
While we've touched on the soil a bit, it's worth diving deeper into what makes the perfect potting mix for your Kimberly Queen fern.
Ferns prefer a well-draining mix that retains some moisture. A combination of peat moss, perlite, and a little sand usually does the trick. This mix ensures the roots get plenty of air while still having access to the moisture they crave.
Avoid heavy, compacted soils, as they can lead to root rot. Instead, aim for a light, fluffy texture that allows roots to spread and breathe.
Creating a Humidity-Friendly Environment
Ferns thrive in humid environments, which can be challenging if you live in a dry area. But don't worry—there are ways to create a cozy atmosphere for your plant.
- Misting: Regularly misting your fern can help maintain the moisture it loves.
- Humidity trays: Place your pot on a tray filled with pebbles and water. As the water evaporates, it adds humidity around the plant.
- Grouping plants: Surrounding your fern with other plants can naturally increase humidity as they release moisture into the air.
By taking these steps, you'll create an environment where your Kimberly Queen fern can truly thrive, and it will thank you with lush, healthy growth.
Final Thoughts
Kimberly Queen ferns are a fantastic addition to any home. With their striking appearance and air-purifying abilities, they offer both aesthetic and practical benefits. By understanding how to plant and care for them, you can enjoy the beauty and freshness they bring to your space.
At Cafe Planta, we're passionate about helping you care for your plants. Whether you're just starting out or looking to expand your collection, we have a variety of houseplants and accessories to suit your needs. If you have any questions, feel free to email us or reach out via Instagram. We're here to help you create a thriving plant-filled home!

