Monstera plants have taken the spotlight in many homes and offices, thanks to their stunning foliage and relatively easy care routine. But like any thriving plant, a Monstera occasionally needs a little extra room to grow. Repotting isn't just about upgrading the pot size; it's a chance to refresh the plant's home and ensure it continues to thrive.
In this guide, we'll walk through the ins and outs of repotting your Monstera. From recognizing when it's time for a change to choosing the right pot and soil, we've got you covered. We'll also explore the steps involved in the repotting process and offer tips to help your Monstera settle into its new digs without a hitch.
Recognizing the Signs Your Monstera Needs Repotting
Like any plant parent, you might wonder when it's time to give your Monstera a new home. Plants, much like humans, can outgrow their living spaces. So, how can you tell when your Monstera is ready for an upgrade? Here are a few telltale signs to keep an eye on:
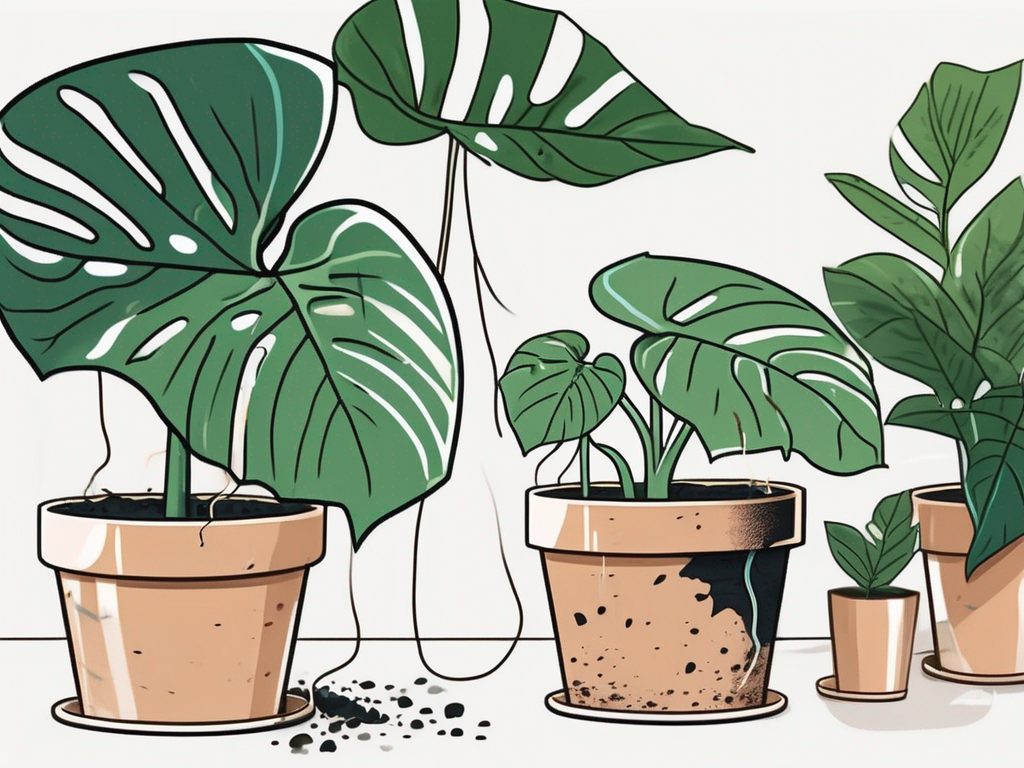
- Roots Peeking Out: If you notice roots pushing through the drainage holes or growing over the soil surface, it's a clear sign that your Monstera has outgrown its pot. The roots are searching for more space, and it's time to provide them with one.
- Slowed Growth: If your Monstera seems to be in a growth slump, repotting might help. When a plant becomes root-bound, its growth can stagnate because the roots can't spread out to absorb nutrients effectively.
- Watering Issues: If water rushes straight through the pot without being absorbed, the roots might have taken over the soil space, leaving little room for water retention.
- Yellowing Leaves: While yellow leaves can indicate various issues, including overwatering, they can also be a sign that your Monstera's roots are too cramped.
Interestingly enough, repotting isn't just about solving current problems. It's also a preventive measure that can keep your plant healthy and thriving for years to come. That said, let's move on to choosing the right pot and soil for your Monstera's new home.
Choosing the Right Pot and Soil
When it comes to repotting, the pot and soil you choose can have a big impact on your Monstera's health. Here's what you need to know to make the best choice:
Picking the Perfect Pot
Choosing a pot isn't just about aesthetics—although, let's be honest, it’s always nice when the pot looks good too! Here are some practical considerations:
- Size Matters: Aim for a pot that's 2-4 inches larger in diameter than the current one. This gives the roots ample space to grow without overwhelming them with too much soil.
- Drainage is Crucial: A pot with drainage holes is non-negotiable. These holes prevent water from sitting at the bottom and causing root rot, a common issue with Monsteras.
- Material Considerations: While terracotta pots are breathable and help prevent overwatering, they can dry out quickly. On the other hand, plastic pots retain moisture longer but may need more attention to avoid waterlogging.
Soil Selection
Monsteras are relatively forgiving, but they do have a few preferences when it comes to soil:
- Well-Draining Mix: A mix that drains well is essential. Consider a blend of potting soil, perlite, and orchid bark. This combination provides the drainage Monsteras love while retaining enough moisture.
- Rich in Organic Matter: Ensure the soil has some organic content to supply nutrients. Adding a bit of compost or worm castings can give your Monstera a nutrient boost.
- Avoid Heavy Soils: Soils meant for outdoor plants or those heavy in clay aren't ideal. They retain too much moisture and can suffocate the roots.
By choosing the right pot and soil, you're setting your Monstera up for success. With that sorted, let's move on to the actual repotting process. Don't worry—it's easier than you might think!
Step-by-Step Repotting Process
Now that you have your new pot and soil ready, it's time to get your hands dirty. Here's a simple guide to repotting your Monstera:
Gather Your Materials
Before you start, make sure you have all the tools and materials you need:
- New pot with drainage holes
- Fresh potting soil
- Gardening gloves (optional, but helpful!)
- Clean scissors or pruning shears
- Watering can
Remove the Monstera from Its Current Pot
Gently tip the plant on its side and carefully slide it out of its pot. If it's stubborn, you may need to coax it out by tapping the sides of the pot or running a knife around the edge to loosen it.
Examine the Roots
Once the plant is free, take a good look at the roots:
- Healthy Roots: These should be white or light tan. If you see any that are dark, mushy, or smelly, trim them with your clean scissors.
- Tease Out the Roots: If they're circling around the root ball, gently loosen them up. This encourages them to spread into the new soil.
Prepare the New Pot
Place a layer of fresh soil at the bottom of the new pot. This creates a nice base for the plant to sit on. Position your Monstera in the center, ensuring it's at the right height. You want the top of the root ball to be about an inch below the pot's rim.
Fill in with Soil
Begin adding soil around the root ball, pressing it down gently as you go to eliminate air pockets. Be careful not to bury the plant too deep; the base of the stem should be above the soil line.
Water Thoroughly
Once your Monstera is comfortably settled in its new pot, give it a good drink of water. This helps the soil settle and ensures the roots have immediate access to moisture.
Congratulations! You've successfully repotted your Monstera. Now, let's cover some post-repotting care tips to make the transition as smooth as possible for your plant.
Post-Repotting Care Tips
Repotting can be a bit stressful for plants, so it's important to give your Monstera some extra TLC afterwards. Here are some tips to help it bounce back quickly:
Provide the Right Lighting
Monsteras thrive in bright, indirect light. After repotting, avoid direct sunlight, which can scorch the leaves and add stress. A spot near a window with filtered light is ideal.
Be Mindful of Watering
After repotting, your Monstera won't need as much water as usual. The fresh soil retains moisture better, so wait until the top inch of soil is dry before watering again. Overwatering is the most common mistake during this period.
Consider Humidity Levels
Monsteras love humidity, so if your home is on the dry side, consider using a pebble tray or humidifier. This can help the plant transition more smoothly to its new pot.
Avoid Fertilizing Immediately
While it might be tempting to feed your plant for a growth boost, hold off on fertilizing for at least a month after repotting. The fresh soil provides plenty of nutrients, and extra fertilizer can burn the roots.
With these care tips, your Monstera should settle into its new pot with ease. But let's not stop there—how about a few tips for integrating your newly repotted beauty into your home decor?
Incorporating Your Monstera into Home Decor
Now that your Monstera is happily repotted, it’s time to think about how it fits into your living space. Monsteras make a bold statement, and with a little creativity, you can showcase your plant beautifully:
Choosing the Right Spot
Monsteras are attention-grabbers, so choose a spot where it can be admired. Consider placing it in a corner where its leaves can spread out, or near a window where it can soak in the light.
Complementing Decor
Think about your Monstera's pot as part of your decor. A pot that matches your room’s color scheme can bring the whole look together. Or, opt for a neutral pot and let the plant steal the show.
Creative Stands and Shelves
Consider using plant stands or shelves to elevate your Monstera. This adds dimension to your space and helps the plant’s unique features stand out. Just ensure the stand is sturdy enough to support the plant’s weight.
Pairing with Other Plants
Monsteras look great with other plants. Try grouping it with smaller plants for a layered effect, or with plants of similar height to create a sense of balance.
By thoughtfully incorporating your Monstera into your decor, you can create a space that’s not only beautiful but also harmonious. Now, let's address some common questions and concerns plant lovers might have about repotting Monsteras.
Common Questions and Concerns
Repotting can seem daunting at first, but it doesn't have to be. Here are answers to some common questions that might be on your mind:
How Often Should I Repot My Monstera?
Monsteras typically need repotting every 1-2 years. However, this can vary based on the plant's growth rate and overall health. Keep an eye out for the signs we discussed earlier to determine when it’s time.
Can I Repot During Any Season?
Spring and early summer are the best times to repot, as this is when the plant is actively growing. If you need to repot outside of this window, it's usually okay, but avoid repotting during the dormant winter months if possible.
What If I Damage Some Roots?
Don't panic if you accidentally damage a few roots. Monsteras are resilient and can recover from minor root damage. Just make sure to trim any severely damaged roots and give the plant proper care after repotting.
Addressing these questions can help you feel more confident about repotting your Monstera. And remember, every plant is unique, so don't be afraid to trust your instincts too.
Addressing Potential Repotting Problems
Even with the best intentions, repotting can sometimes present challenges. Here’s how to tackle some common issues:
Wilting or Drooping After Repotting
It's normal for a Monstera to look a bit droopy after repotting. This usually resolves in a week or two as the plant adjusts. Ensure it's getting the right light and water, and be patient.
Yellow Leaves Post-Repotting
If you notice yellow leaves, don't fret. It's often a response to stress. Check your watering routine and light conditions, and remove any leaves that don't improve to help the plant focus its energy on healthy growth.
Root Rot Concerns
To prevent root rot, make sure your pot has adequate drainage, and avoid overwatering. If you suspect root rot, you may need to gently remove the plant, trim affected roots, and repot it again in fresh soil.
By being proactive and attentive, you can handle any issues that arise during the repotting process. Now, let’s wrap things up with some final thoughts.
Final Thoughts
Repotting a Monstera might seem like a big task, but with the right approach, it can be a rewarding experience for both you and your plant. From choosing the perfect pot and soil to giving your plant the care it needs afterwards, each step is an opportunity to strengthen your bond with your Monstera.
At Cafe Planta, we're passionate about helping you care for your plants. Whether you need advice or are looking for a new addition to your collection, we're here to support you. Feel free to email us or reach out on Instagram. We believe in the power of plants to connect us with nature and each other, and we can't wait to see how your Monstera flourishes in your home.


