Oncidium orchids are like the divas of the orchid world, with their vibrant blooms and graceful arching sprays. But today, let's give some attention to their leaves — those green wonders that do more than just sit there looking pretty. Understanding Oncidium orchid leaves is crucial for keeping these beauties healthy and thriving in your home.
Throughout this article, we'll chat about everything from identifying healthy leaves to troubleshooting common leaf problems. We'll also touch on how to incorporate Oncidium orchids into your interior design for a splash of natural elegance. Ready to turn your thumb a little greener? Let's get started!
Identifying Healthy Oncidium Orchid Leaves
First things first, let's talk about what healthy Oncidium orchid leaves should look like. Recognizing the signs of a happy plant can help you keep it that way, and save you some headaches down the road.
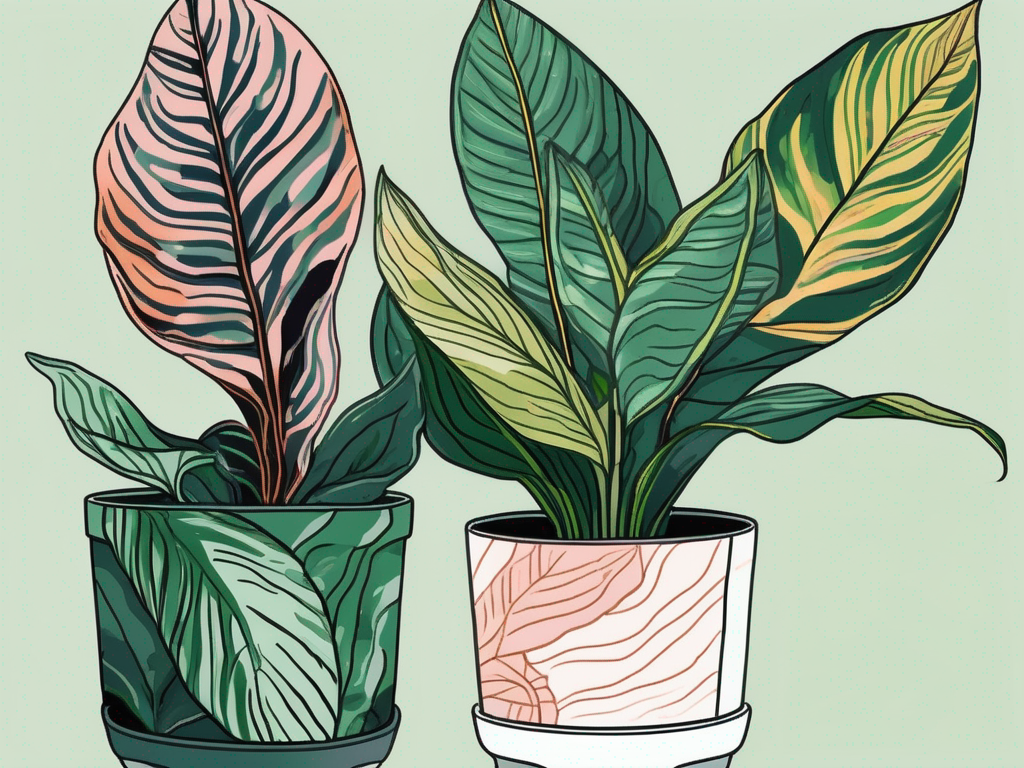
Healthy Oncidium leaves are typically long, slender, and have a vibrant green color. They should be firm to the touch, without any signs of wilting or yellowing. A slight sheen on the surface is normal, indicating that the plant is photosynthesizing well.
Here are some quick pointers to keep in mind:
- Color: Look for leaves that are a bright, consistent green. Pale or yellowing leaves could be a sign of nutrient deficiency or lighting issues.
- Texture: The leaves should feel smooth and firm. Avoid plants with leaves that are soft, wrinkled, or brittle.
- Shape: Oncidium orchid leaves are typically long and narrow. If you notice any unusual growth patterns, it might be time to investigate further.
If your Oncidium's leaves don't quite match this description, don't panic! There's usually a fixable reason behind it, which leads us to our next section.
Common Leaf Problems and Solutions
Even with the best care, sometimes things can go a bit sideways. Let's talk about some common leaf problems and how you can tackle them like a pro.
Yellow Leaves
Yellowing leaves are probably the most common issue. The cause could be too much light or not enough nutrients.
- Light: If your orchid is sitting in direct sunlight, it might be getting scorched. Try moving it to a spot with bright, indirect light.
- Nutrients: Consider feeding your plant with a balanced orchid fertilizer. A lack of nutrients can also lead to yellow leaves.
Soft or Wilted Leaves
This could be due to overwatering or underwatering. It’s all about finding that sweet spot.
- Overwatering: If the leaves are soft and mushy, cut back on watering. Make sure your pot has good drainage.
- Underwatering: On the flip side, if the leaves are thin and limp, your plant might be thirsty. Increase your watering frequency but be careful not to overdo it.
Spotted Leaves
Spots on leaves can be a sign of fungal or bacterial infections. This is usually more serious and may require some intervention.
- Fungal Issues: Try a fungicide and make sure your plant is getting good air circulation.
- Bacterial Problems: Prune away affected leaves and consider treating with a bactericide.
A little detective work can go a long way in keeping your Oncidium orchid leaves healthy and happy.
Optimizing Light Conditions
Light is like the lifeblood of plants, and getting it right is especially important for orchids. Oncidium orchids enjoy bright, indirect light. Too much direct sunlight can scorch their leaves, while too little can stunt their growth.
Here’s how to find the sweet spot:
- Indirect Light: Place your orchid near a north or east-facing window. They love the morning sun but shy away from the harsh afternoon rays.
- Artificial Light: If natural light is limited, consider using grow lights. Position them about 12 inches above the plant to mimic the indirect sunlight they crave.
- Adjusting Seasons: During winter, you may need to move your plant closer to the light source or increase artificial lighting, as the days get shorter.
By optimizing the light conditions, your orchid leaves should maintain their lush green color and robust texture.
Watering and Humidity
Watering orchids can be a bit of an art form. Oncidium orchids prefer to stay on the drier side, so it's better to underwater than overwater.
Here’s a simple watering guide:
- Frequency: Water once a week during the growing season. In winter, reduce this to once every two weeks.
- Method: Use room-temperature water and pour it evenly over the potting medium. Make sure excess water drains out to prevent root rot.
- Humidity: Oncidiums love humidity. Aim for 40-60% humidity in their environment. You can use a humidifier or place a tray of water near the plant to help.
Remember, healthy leaves start with a healthy watering routine.
Feeding and Nutrition
Like us, plants need a balanced diet to thrive. Oncidium orchids are no different, and providing the right nutrients can make a world of difference.
Here’s how to keep your orchid well-fed:
- Fertilizer Choice: Use a balanced orchid fertilizer, diluted to half strength. A 20-20-20 formula works well for most Oncidiums.
- Frequency: Feed your plant every two weeks during the growing season. In winter, cut back to once a month.
- Signs of Malnutrition: Yellowing leaves or stunted growth can indicate a lack of nutrients. Adjust your feeding schedule accordingly.
By feeding your orchid the right nutrients, you’ll enjoy lush, vibrant leaves and stunning blooms year-round.
Repotting Your Oncidium Orchid
Repotting is an essential part of orchid care, as it refreshes the growing medium and promotes healthy root development. Typically, Oncidium orchids should be repotted every 1-2 years.
Here’s a step-by-step guide to repotting:
- Timing: The best time to repot is in spring, right after the blooming period.
- Potting Medium: Use a well-draining orchid mix, consisting of bark, perlite, and charcoal.
- Procedure: Gently remove the orchid from its pot, trim any dead roots, and place it in the new pot with fresh medium. Water lightly afterward.
Repotting not only gives your orchid a fresh start but also ensures those leaves stay healthy and vigorous.
Dealing with Pests
Even the most vigilant plant parent can encounter pests. Oncidium orchids are no exception and can fall victim to a few common culprits.
Here’s how to tackle them:
- Aphids and Mealybugs: These pests are common and can be removed by wiping the leaves with a damp cloth or using insecticidal soap.
- Spider Mites: These tiny pests can cause leaves to look speckled. Increase humidity and use a miticide if necessary.
- Scale Insects: These appear as small, brown bumps on leaves. Scrape them off gently and treat with insecticidal soap.
Regular checks and prompt action can keep your Oncidium orchid pest-free and thriving.
Incorporating Oncidium Orchids into Your Home Decor
Orchids are not just plants; they're living art. Adding Oncidium orchids to your home can elevate your space, creating a natural and elegant atmosphere.
Here are some decor tips:
- Placement: Display your Oncidium on a windowsill, shelf, or table where it can be admired. Just ensure it gets the right light.
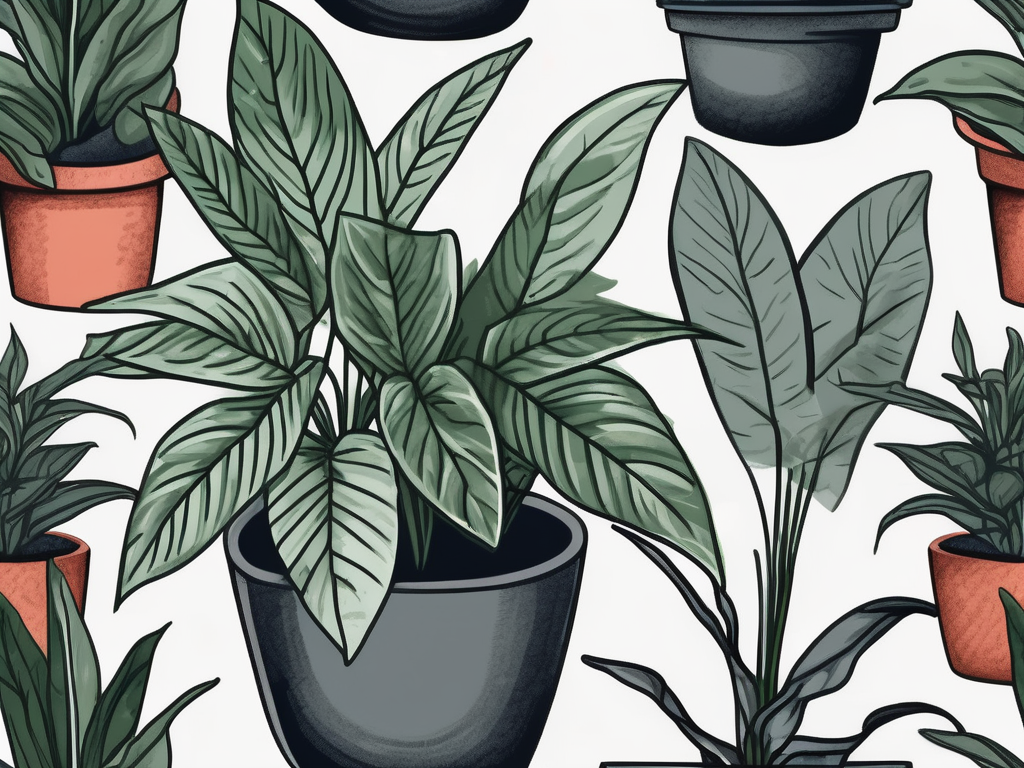
- Pot Choice: Use decorative pots that complement your interior style, whether that's minimalist, rustic, or modern.
- Grouping: Pair your orchid with other plants or decor elements. This can create a cohesive and inviting look.
With a bit of creativity, your Oncidium orchid can become the star of your home decor.
Final Thoughts
Oncidium orchid leaves are more than just foliage; they’re a vital part of your plant's health and beauty. By understanding their needs and addressing any issues promptly, you can enjoy a thriving orchid that brings joy and elegance to your home.
At Cafe Planta, we're here to support you on your plant journey. Whether you're looking for a new plant to add to your collection or need advice on care, we're just a message away. Feel free to email us, or reach out via Instagram. Let's connect over our shared love of plants and create beautiful, thriving spaces together!

