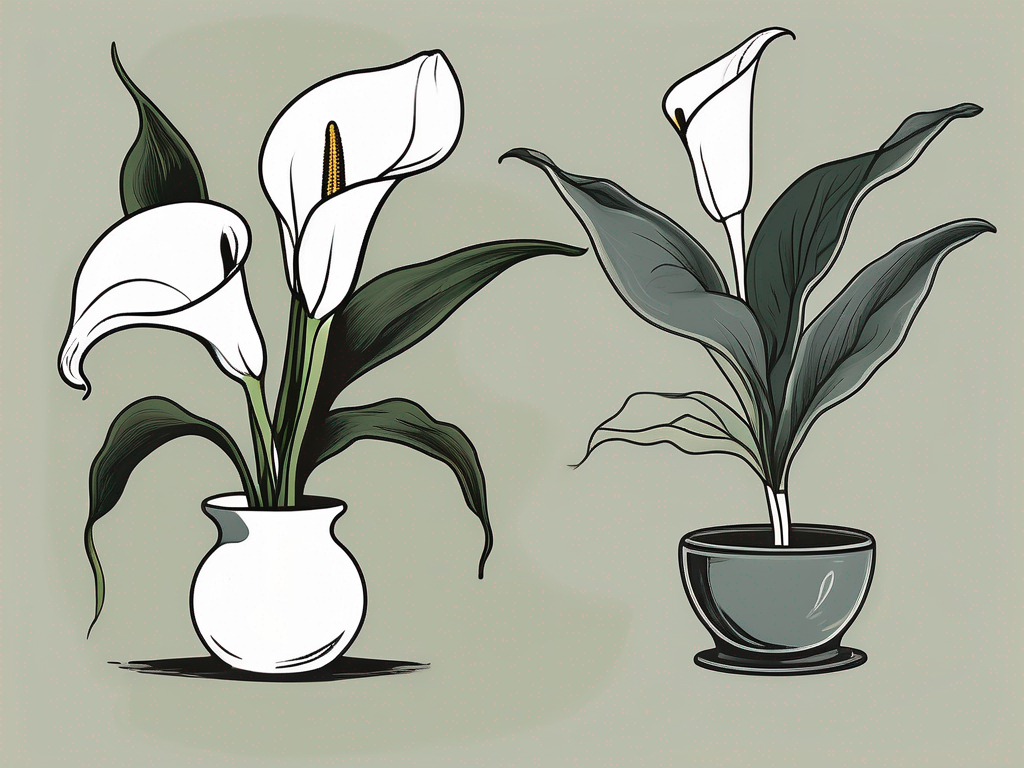
Ah, the Peace Lily—it's as calming and elegant as its name suggests. This plant, with its lush green leaves and striking white blooms, can transform any space into a serene sanctuary. But taking care of a Mauna Loa Peace Lily requires a bit of know-how. Whether you're a seasoned plant parent or just diving into the joys of houseplants, understanding the needs of this particular species can make all the difference.
In this article, we'll cover everything you need to know about the Mauna Loa Peace Lily. From selecting the right pot and soil to dealing with pests and designing the perfect home environment, you'll find tips and tricks that are both practical and easy to follow. Let's get started on making your Peace Lily the star of your indoor garden!
Choosing the Right Spot for Your Peace Lily
Location, location, location! It's as important for plants as it is for real estate. The Mauna Loa Peace Lily thrives in moderate to low light, making it perfect for those slightly dim corners of your home. But what exactly does that mean?
Interestingly enough, Peace Lilies prefer indirect light. Placing them near a window with filtered sunlight or in a room with northern exposure works wonders. Direct sunlight, on the other hand, can scorch their leaves, turning your green oasis into a crispy mess. Think of them as the introverts of the plant world—they love being around people, but too much spotlight can be overwhelming.
What if your home doesn't have a lot of natural light? Fear not! Peace Lilies are quite adaptable. They can survive in low-light conditions, although their growth might slow down a bit. If you're noticing fewer blooms, try moving them to a brighter spot for a few hours a day to give them a little boost.
Keep in mind that Peace Lilies are sensitive to temperature changes and drafts. Avoid placing them near heaters, air conditioners, or draughty windows. A stable, cozy environment will keep your plant happy and healthy.
Picking the Perfect Pot and Soil
Choosing the right pot and soil is like picking out the perfect outfit—it has to fit just right. For Peace Lilies, a pot with drainage holes is non-negotiable. These plants don't like to sit in waterlogged soil, as it can lead to root rot.
When it comes to the material of the pot, both plastic and terracotta work fine. Plastic pots retain moisture longer, which can be helpful if you tend to forget to water. On the other hand, terracotta pots are porous and allow the soil to dry out more quickly, ideal if you're prone to overwatering.
Now, let's talk soil. A well-draining potting mix is crucial for Peace Lilies. You can use a standard houseplant mix, but consider adding some perlite or orchid bark to improve drainage. This mix will ensure your plant's roots get the air they need while preventing that dreaded soggy soil scenario.
Repotting should be on your radar every couple of years. If you notice roots poking out of the drainage holes or the soil drying out more quickly than usual, it might be time to upgrade to a larger pot. When repotting, gently loosen the roots and remove any old soil clinging to them before settling your plant into its new home.
Watering Wisely
Watering can be a bit of a balancing act, especially with Peace Lilies. These plants are quite expressive when it comes to their hydration needs. If they’re thirsty, you'll see the leaves droop dramatically. But don't worry—give them a drink, and they'll perk up in no time.
As a general rule of thumb, water your Peace Lily when the top inch of soil feels dry to the touch. This usually means once a week, but it can vary depending on your home's humidity and temperature. In winter, when the plant's growth slows down, you might find yourself watering less frequently.
It's important to use room temperature water and, if possible, let it sit out for 24 hours to allow any chlorine to evaporate. Peace Lilies are sensitive to chemicals commonly found in tap water, and using filtered or distilled water can help avoid any leaf browning.
Remember, overwatering is the biggest mistake you can make with a Peace Lily. Soggy soil can lead to root rot, a common issue that can be fatal if not addressed promptly. If you suspect overwatering, check the roots for any signs of mushiness or discoloration and trim away affected areas.
Feeding Your Peace Lily
Feeding your Peace Lily is like giving it a little pep talk—it provides the nutrients necessary for vibrant growth and blooms. However, these plants aren't heavy feeders, so a little goes a long way.
A balanced liquid houseplant fertilizer is perfect for Peace Lilies. Aim to fertilize once a month during the growing season, typically from spring through early fall. Be sure to follow the instructions on the fertilizer label, as over-fertilizing can lead to salt buildup in the soil, causing leaf tips to brown.
During the winter months, you can give your plant a break from fertilizing. With reduced sunlight and cooler temperatures, its growth naturally slows down, and it requires fewer nutrients.
If you're noticing yellowing leaves or a lack of blooms, it might indicate a nutrient deficiency. In such cases, check your fertilizing routine and adjust accordingly. But remember, patience is key—sometimes it takes a little time for your plant to bounce back.
Managing Pests and Fungal Issues
Even the most diligent plant parent can face pest invasions and fungal issues. When it comes to Peace Lilies, the usual suspects include spider mites, mealybugs, and aphids. Spotting these intruders early on is crucial to keeping your plant healthy.
Regularly inspect the leaves, both tops and undersides, for any signs of pests. Affected leaves might have small webbing, sticky residue, or tiny insects. If you notice any of these, wipe the leaves with a damp cloth or use insecticidal soap to treat the problem.
Fungal issues, such as powdery mildew or root rot, can also afflict Peace Lilies. Maintaining proper watering habits and ensuring good air circulation around the plant can help prevent these issues. If you spot any mold or mildew, removing affected leaves and adjusting your care routine can usually nip the problem in the bud.
Prevention is always better than cure, so keep an eye out for any changes in your plant's appearance. A healthy Peace Lily can usually fend off these problems, but a little vigilance goes a long way.
Pruning and Grooming
Pruning your Peace Lily isn't just about aesthetics—it's an essential part of keeping your plant healthy. Trimming away dead or yellowing leaves allows your plant to direct its energy towards new growth and blooms.
To prune, use clean, sharp scissors or pruning shears to cut leaves at the base, close to the soil. If you're dealing with spent blooms, trim the flower stalks at the base as well.
Regular grooming also involves keeping the leaves dust-free. A damp cloth or a gentle shower can help remove dust buildup, which can interfere with photosynthesis. Plus, a clean plant just looks happier!
If your Peace Lily is looking a bit unruly, don't be afraid to give it a little haircut. Trimming back some of the longer leaves can encourage bushier growth, making your plant look fuller.
Designing with Peace Lilies
Incorporating Peace Lilies into your home decor is a fantastic way to bring life and elegance to any space. Their versatile nature means they can fit into a variety of design styles, from modern minimalism to cozy cottage vibes.
For a minimalist look, consider placing a single Peace Lily in a sleek, neutral pot. The contrast of the bright white blooms against the dark green leaves creates a striking visual effect, perfect for a clean, modern aesthetic.
If you're going for a more bohemian or eclectic style, group your Peace Lily with other plants of varying heights and textures. Pairing it with trailing plants or cacti can create a lush, layered look that's full of character.
- Use decorative pots to add a splash of color or pattern.
- Place Peace Lilies on plant stands to add height and dimension.
- Combine with decorative elements like candles or books for a cozy vibe.
Remember, Peace Lilies are more than just pretty faces—they can improve indoor air quality by filtering out pollutants. So not only will your space look great, but it will feel fresher too.
Troubleshooting Common Problems
Even with the best care, Peace Lilies can sometimes run into issues. The good news is that most problems have simple solutions. Here are a few common issues and how to address them:
- Drooping leaves: This is usually a sign that your plant is thirsty. Check the soil and water if it's dry.
- Yellow leaves: This can indicate overwatering or a lack of nutrients. Adjust your watering schedule and check your fertilizing routine.
- Brown leaf tips: Often caused by dry air or tap water chemicals. Increase humidity around your plant and consider using filtered water.
- Few or no blooms: Your plant might need more light or a boost of fertilizer. Try moving it to a brighter spot or adjusting your feeding schedule.
Don't be discouraged if your Peace Lily isn't thriving right away. Like learning any new skill, it takes time and practice to get it just right. And remember, plants are forgiving—if you make a mistake, they usually bounce back with a little TLC.
Final Thoughts
Caring for a Mauna Loa Peace Lily can be a joyful and rewarding experience. With the right spot, pot, and care routine, your plant can thrive and bring beauty to your home. Remember, it's all about finding the right balance and being attentive to your plant's needs.
At Cafe Planta, we're passionate about helping you succeed on your plant journey. Whether you're looking for new houseplants or need advice, we're here to support you. Feel free to email us or send a DM on Instagram with your questions. Let's create beautiful, thriving plant collections together!


