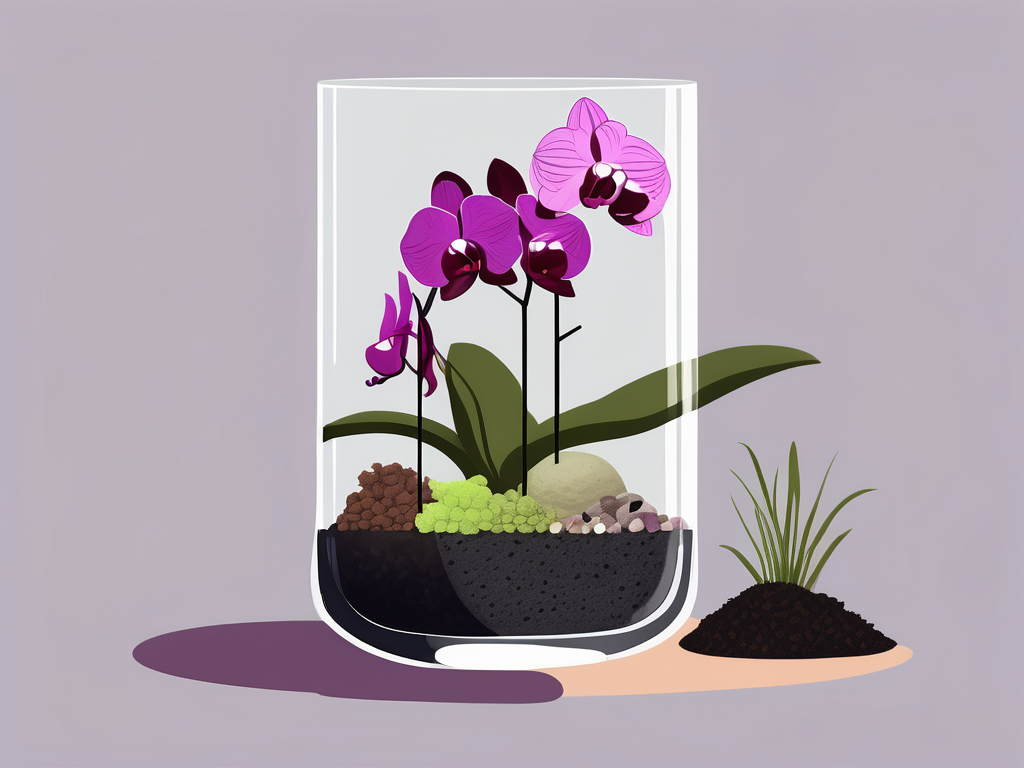
If you've ever tried your hand at growing orchids, you know these beauties can be a bit finicky. But don't let that deter you! With the right soil mix, you can give your orchids the foundation they need to thrive. Today, we'll be crafting the ultimate orchid soil recipe together, ensuring your plants have everything they need to flourish.
Throughout this post, we'll discuss the various components that make up an ideal orchid soil mix, why each ingredient is important, and how to combine them effectively. By the end, you'll be well-equipped to create a happy home for your orchids. So, let's get started!
Understanding Orchid Soil Needs
Before diving into the specifics of our soil recipe, it's essential to understand why orchids need a unique soil mix. Unlike many houseplants, orchids are epiphytes, which means they naturally grow on trees rather than in the ground. This growth habit means they require well-draining soil that mimics the airy environment of their natural habitat.
In the wild, orchids get their nutrients from the air and debris around them. This means their roots need to breathe, and they don't do well in dense or waterlogged soil. The right soil mix will support their growth by providing the right balance of air, moisture, and nutrients.
To achieve this, we'll focus on a mix of ingredients that replicate their natural growing conditions. This will involve using elements like bark, charcoal, and other airy materials that allow for proper drainage and aeration.
The Main Components of Orchid Soil
Creating the perfect orchid soil mix is all about balance. Here are the primary components you'll need:
- Bark: Often the main ingredient, bark provides structure and aeration, allowing roots to breathe while retaining some moisture.
- Charcoal: This helps with drainage and absorbs impurities, keeping the soil fresh.
- Sphagnum Moss: It holds moisture and provides a bit of acidity, which some orchids prefer.
- Perlite: A lightweight material that enhances drainage and aeration.
- Coconut Coir: An alternative to peat moss, it retains moisture without becoming compacted.
These ingredients work together to create an environment that's similar to the natural habitat of orchids. It's all about providing a balance of moisture, air, and nutrients.
Step-by-Step: Creating the Ultimate Orchid Soil Mix
Now that we've covered the components, let's piece them together. Follow these steps to create your orchid soil mix:
- Gather Your Ingredients: Start by collecting bark, charcoal, sphagnum moss, perlite, and coconut coir. You can find these at most garden centers or online.
- Prepare the Bark: If your bark pieces are large, break them into smaller pieces. This will help create a more uniform mix.
- Mix the Dry Ingredients: In a large container, combine the bark, charcoal, and perlite. Aim for equal parts of each.
- Add Moisture: Lightly moisten the sphagnum moss and coconut coir. This will help them mix more easily with the dry ingredients.
- Combine Everything: Mix all the components thoroughly, ensuring an even distribution. The final texture should be loose and airy, not compacted.
- Test the Mix: Take a handful of the soil and squeeze it. It should hold its shape loosely but fall apart easily when poked.
You've now created your ultimate orchid soil mix! This blend will provide your orchids with the environment they need to thrive.
Why Each Ingredient Matters
Let's take a closer look at why each component is essential for your orchid soil mix:
- Bark: This is the foundation of your mix, providing structure and aeration. It's similar to the surfaces orchids grow on in the wild.
- Charcoal: By absorbing impurities, charcoal keeps the soil fresh and prevents odor build-up, acting like a natural filter.
- Sphagnum Moss: This component retains moisture, helping to keep the roots hydrated without waterlogging them.
- Perlite: Known for its lightweight and airy nature, perlite enhances drainage, ensuring the roots don't sit in water.
- Coconut Coir: As an eco-friendly alternative to peat moss, coconut coir retains moisture but doesn't compress over time.
Each of these ingredients plays a crucial role in replicating the orchid's natural habitat, promoting healthy growth and preventing common issues like root rot.
Adjusting the Mix for Different Orchid Types
Not all orchids are the same, and some may have slightly different soil preferences. Here's how you can adjust the mix based on specific orchid types:
- Phalaenopsis Orchids: These popular orchids thrive in a basic mix of bark and sphagnum moss. They prefer slightly more moisture, so you might increase the moss content.
- Cattleya Orchids: Known for their large, showy blooms, Cattleyas like a drier mix. You can reduce the moss and increase the perlite for better drainage.
- Dendrobium Orchids: These can tolerate a bit more moisture, so adding a bit more coconut coir can be beneficial.
By tweaking the proportions of each ingredient, you can cater to the specific needs of your orchid variety. It's a bit like tailoring a suit – the fit may differ slightly, but the overall structure is the same.
Common Mistakes and How to Avoid Them
Even with the best intentions, missteps can occur. Here are some common pitfalls when creating orchid soil and how to steer clear of them:
- Overwatering: Orchid roots need to breathe, so ensure your mix is well-draining and avoid letting the roots sit in water.
- Using Garden Soil: Regular soil is too dense for orchids and can lead to root rot. Stick with the airy mix we've discussed.
- Ignoring Light Requirements: While not soil-related, remember that orchids need the right light conditions to thrive. Ensure they're getting bright, indirect sunlight.
Avoiding these mistakes will help you maintain a healthy environment for your orchids, allowing them to grow and bloom beautifully.
Caring for Orchids After Repotting
Once you've got your orchid in its new soil mix, it's important to care for it properly to ensure a smooth transition. Here are some tips:
- Watering: Water thoroughly, then allow the soil to dry out slightly before the next watering. The frequency will depend on your home's humidity and temperature.
- Fertilizing: Orchids benefit from regular feeding during the growing season. Use a balanced orchid fertilizer, diluted to half strength.
- Monitoring: Keep an eye on your orchid's leaves and roots. Healthy roots are firm and white, while healthy leaves are vibrant and green.
With these simple care tips, your orchid should adapt well to its new environment and continue to thrive.
Repotting: When and How to Do It
Repotting can be a daunting task, but it's necessary for your orchid's health. Here's when and how to do it:
- When to Repot: Orchids generally need repotting every 1-2 years. Signs include roots growing out of the pot, degraded soil, or the plant becoming top-heavy.
- How to Repot: Gently remove the orchid from its pot, trim any dead roots, and place it in a new pot with fresh soil mix. Be careful not to damage the roots.
- Aftercare: Keep the orchid in a shaded area for a few days after repotting and water sparingly to help it settle in.
Repotting might seem intimidating, but with a little practice, it becomes a straightforward process that benefits your orchids in the long run.
Final Thoughts
Orchids can be a bit finicky, but with the right soil mix and care, they can thrive beautifully in your home. By understanding their unique needs and creating a soil mix that supports their growth, you set the stage for a healthy, blooming plant.
At Cafe Planta, we’re passionate about connecting people with plants. Whether you’re looking for new additions to your collection or need some advice, we're here to help. Feel free to email us, connect with us on Instagram, or visit our shop. We believe in the power of plants to bring life into homes and connect us with nature.